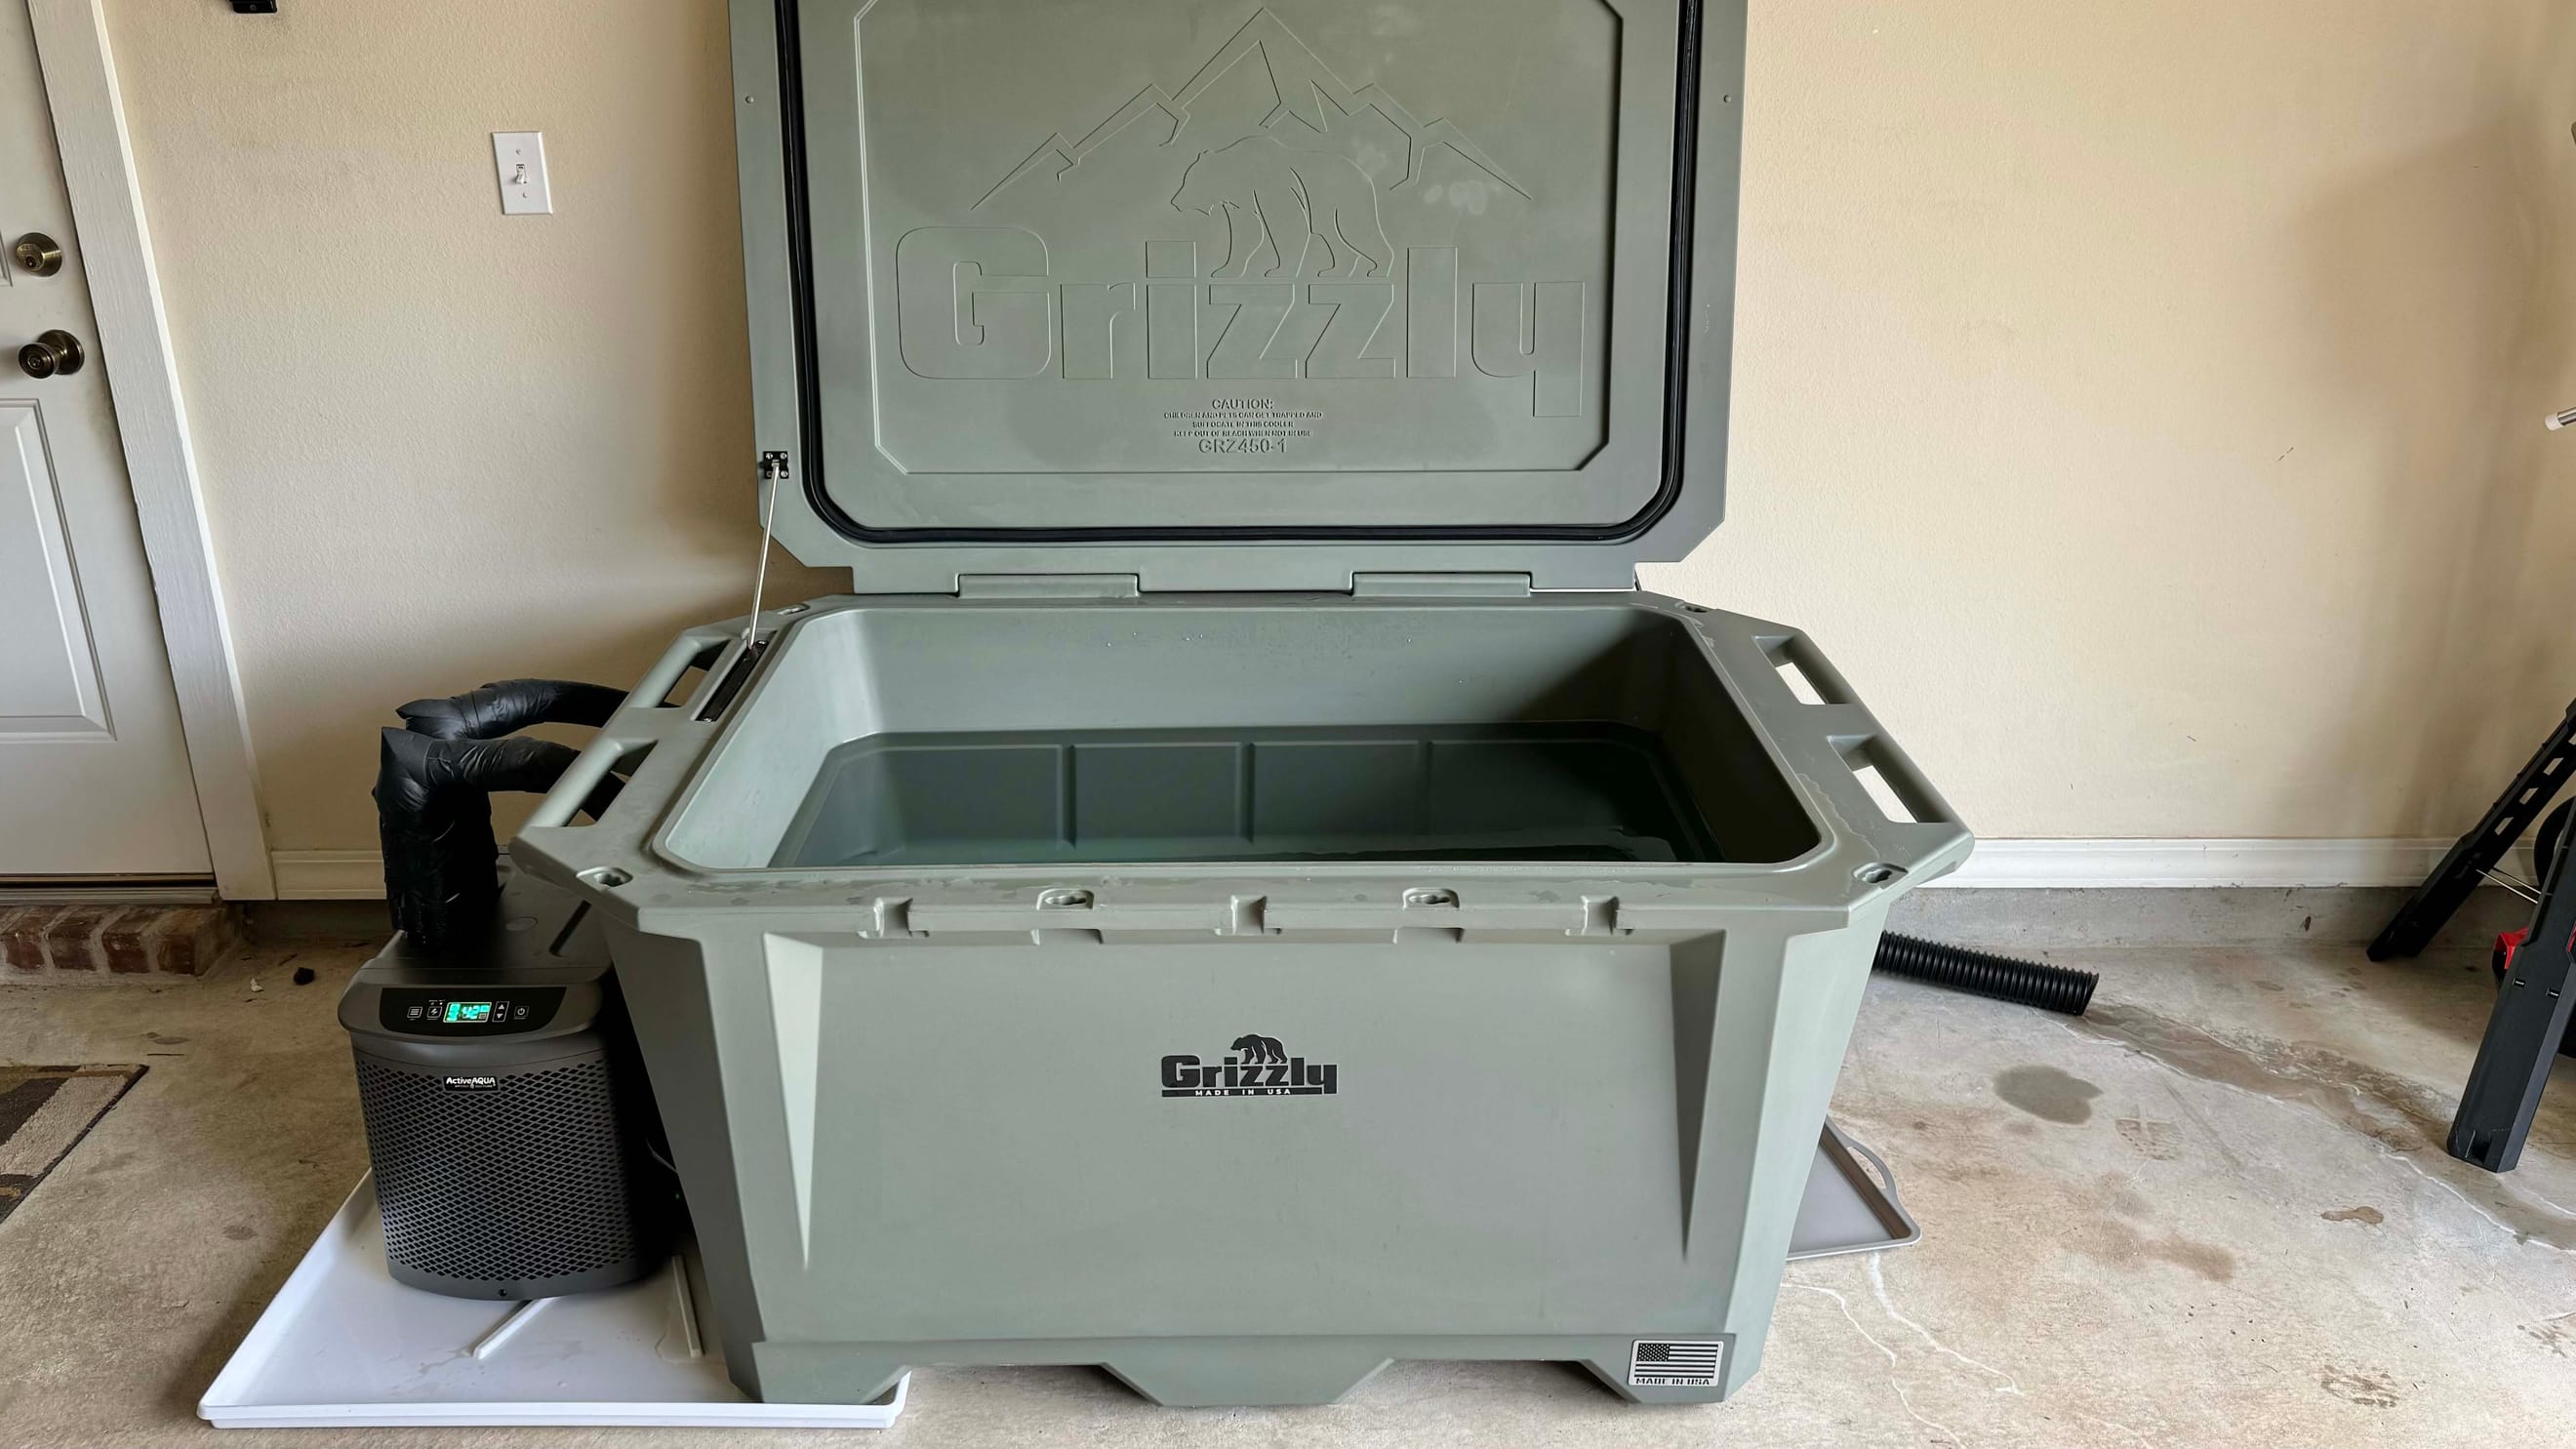
Grizzle 450 Cold Plunge: No Cooler Modifications
A hassle-free, DIY cold plunge build using a Grizzle 450 cooler. No need to drill holes into the cooler. Just add a pump, filter, and a chiller.
Intro
The idea of cold plunging has been around for a long time. It has become more popular in the last few years due to the attention it has been getting on social media. Many people boast various benefits from recovery to mental toughness. When I was in high school years ago, we had a big stainless steel trough that we would fill with water and dump ice into it. Then, two or three of us would hop in there kneeling side by side and cussing at the cold. Maybe it was that memory, or maybe I'm easily influenced by social media, but I had to get one.
The cost of entry is pretty high for just a tub of water with cold water in it 24/7. We are talking a range of $3k to f-you money. Then there are the DIY options. From what I've seen, it was really just two options: freezer conversions or ice-chest modifications. Both are still pretty expensive tbh. I didn't really dive off into the freezer conversion option much, but they have their own challenges such as, waterproofing, electrical safety, and if it breaks, repairs are challenging.
Obviously, I decided to go down the cooler rabbit hole. I'm definitely not the first person to do a mod like this. I found a reddit post that basically did the leg work for picking out the chiller and pump. But I was hesitant to buy a $1k+ cooler just to drill a hole in it. Grizzly actually discontinued the Grizzly 400 and released the new, slightly wider Grizzly 450. I got to looking at the specs, and it has a drain on each end. So now, you don't even need to drill a hole in the side of the cooler.
The only question in my mind was "Do you really need a vertical offset with the cool water returning at a higher point for it to be effective?". As it turns out, it doesn't really matter at all. In a hot af Louisiana garage through July/August, I was able to keep it at 42F using this chiller. That is just where I like it. I haven't tried setting it cooler, but the chiller can be set down to 39F, and you can also make it 5 deg colder than that by tricking the calibration of the chiller. I though I would be a hard ass pushing that lower limit, but screw that 42F is cold enough for me right now.
There were plenty of days this summer in triple digits. I would guess the garage was probably in the mid/high 90's, but I don't have a thermometer in there. With that said, this things sweats as much as I do. I left the lines uninsulated for about a month. Don't do this. I had water marks everywhere on the concrete and some mold build up under the filter housing. After the first drain, I insulated the lines, and added some drip pans and a drain basin to keep things nice and clean.
All in all, it turned out exactly how I envisioned it. I wouldn't change anything if I had to do it again. But if I was telling someone to build one, I would probably push them to just use slip fit unions on the hose connections rather than Frankenstein'ing slip fit and threaded ends to make a custom union. I feel that added some complexity and cost a little bit more in fittings. But hey, all my hoses are interchangeable, and it only took like 10 trips to Home Depot.
Cold Plunge DIY Build
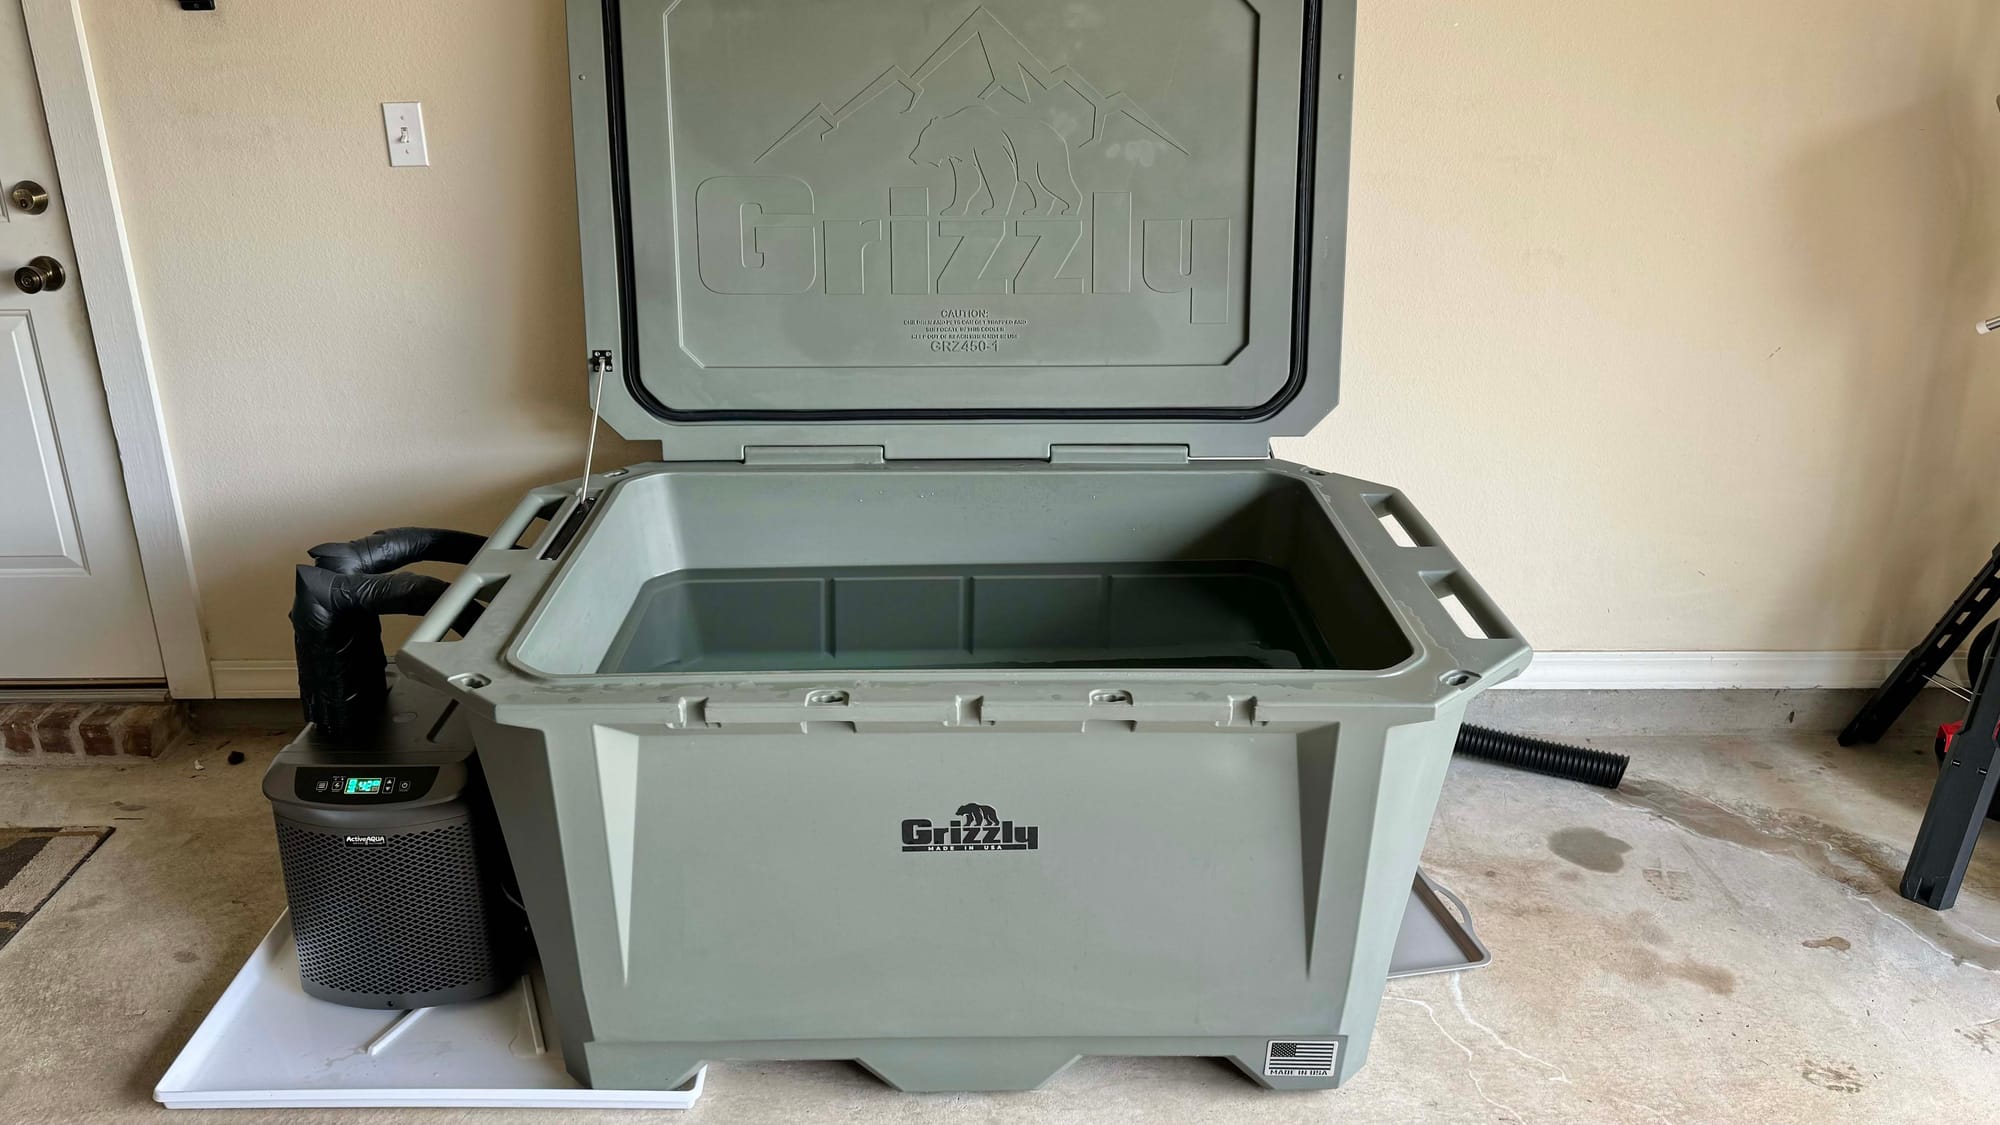
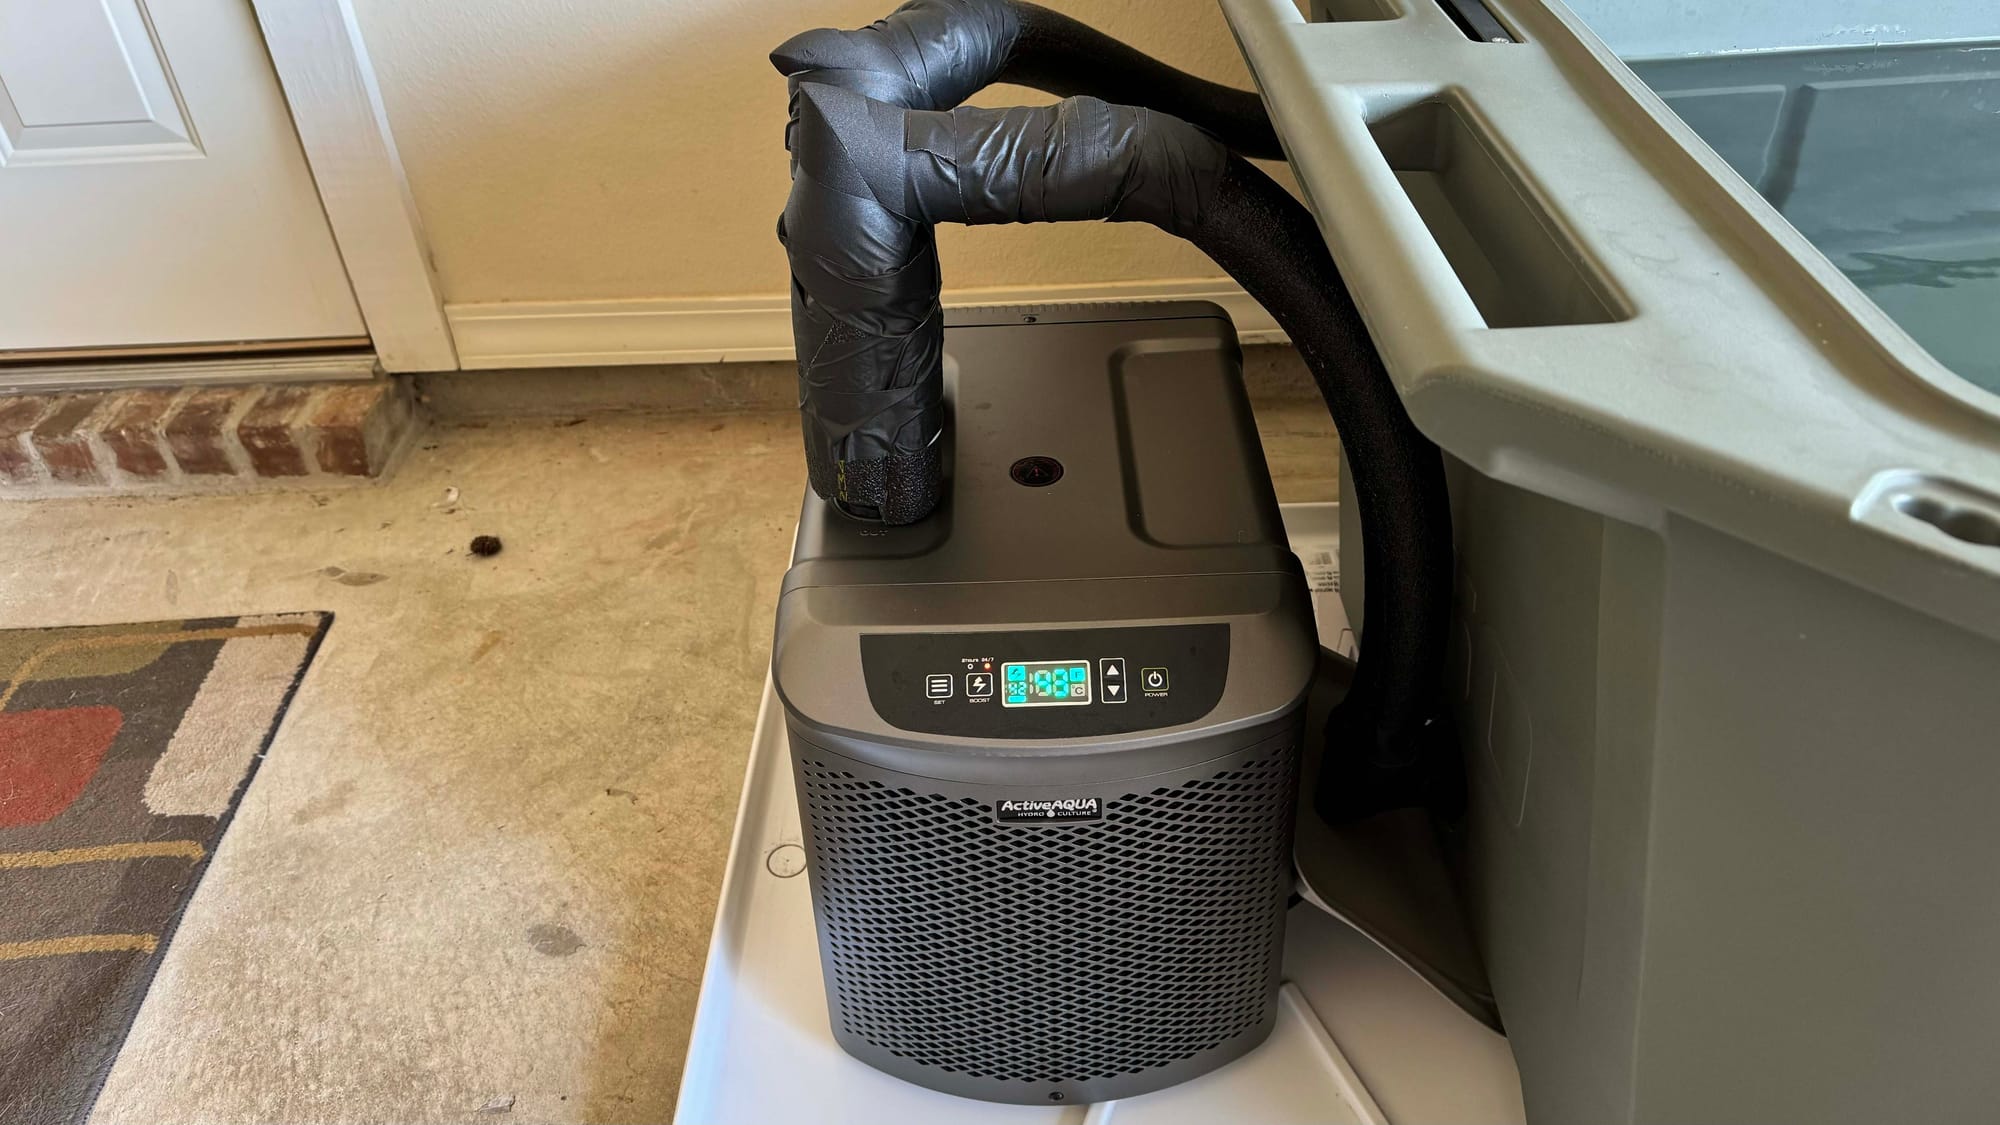
Main Components
Some of the links below are affiliate links
Grizzly 450 Cooler (Lunar Green)
Grizzly Torrent Twist with hose connection (qty 2)
Filter Housing: Pentek 10in Whole Home Filter (Clear)
Filters: 20um 10in Filter (Pack of 4)
Fittings
For anything that had threads, I used Teflon Tape. And for the PVC and flexible PVC slip fits, I used primer and cement.
Hoses
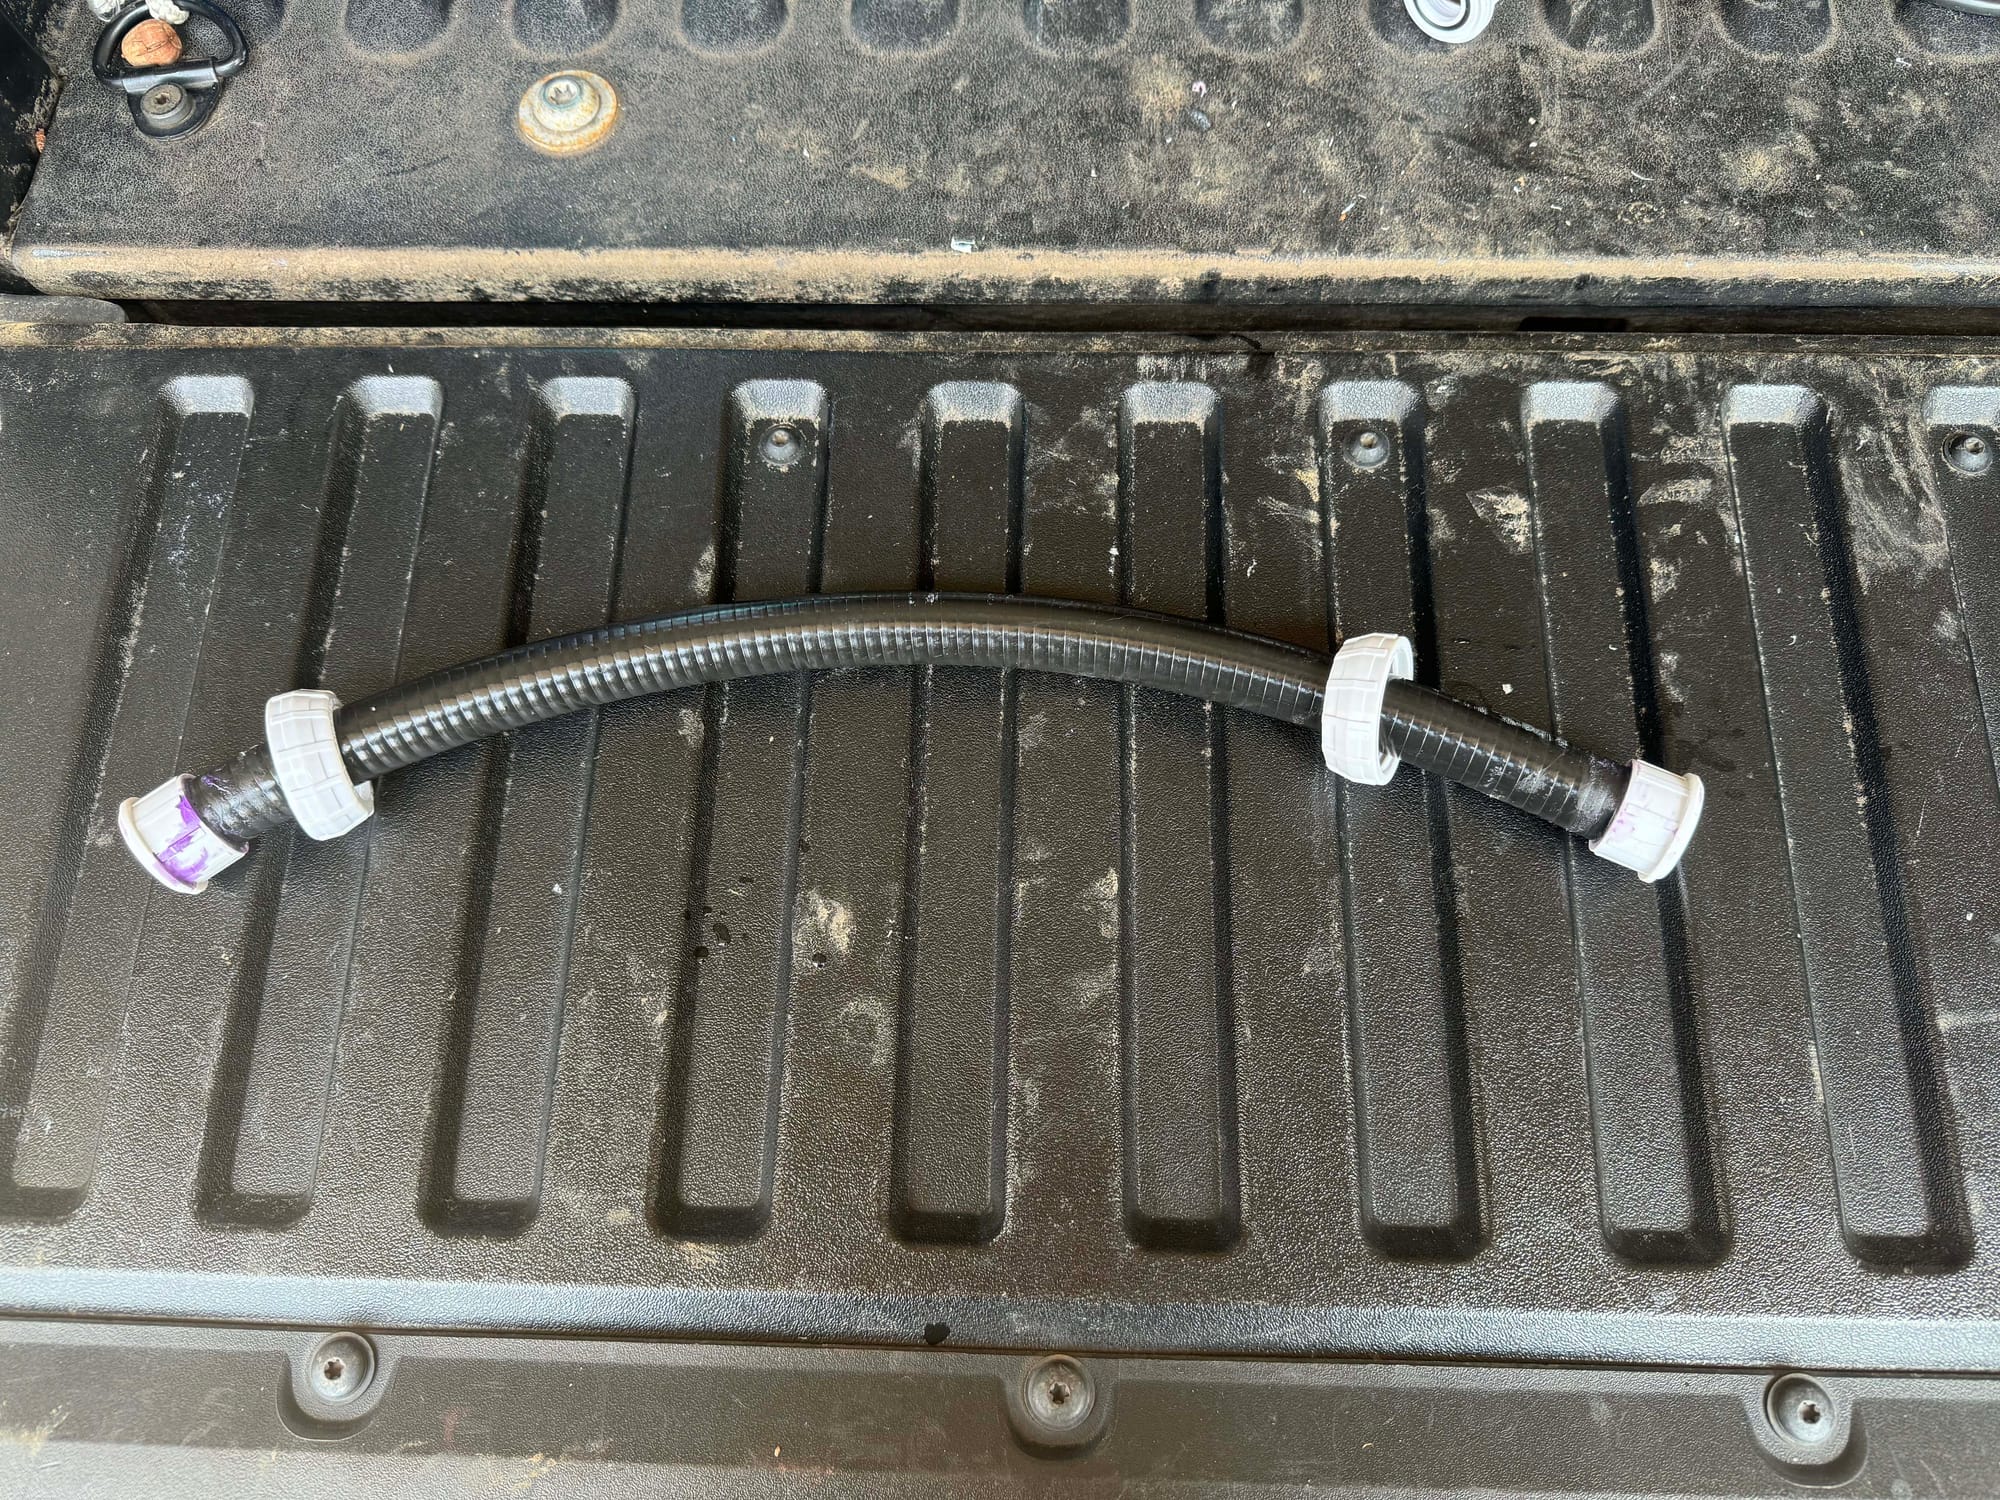
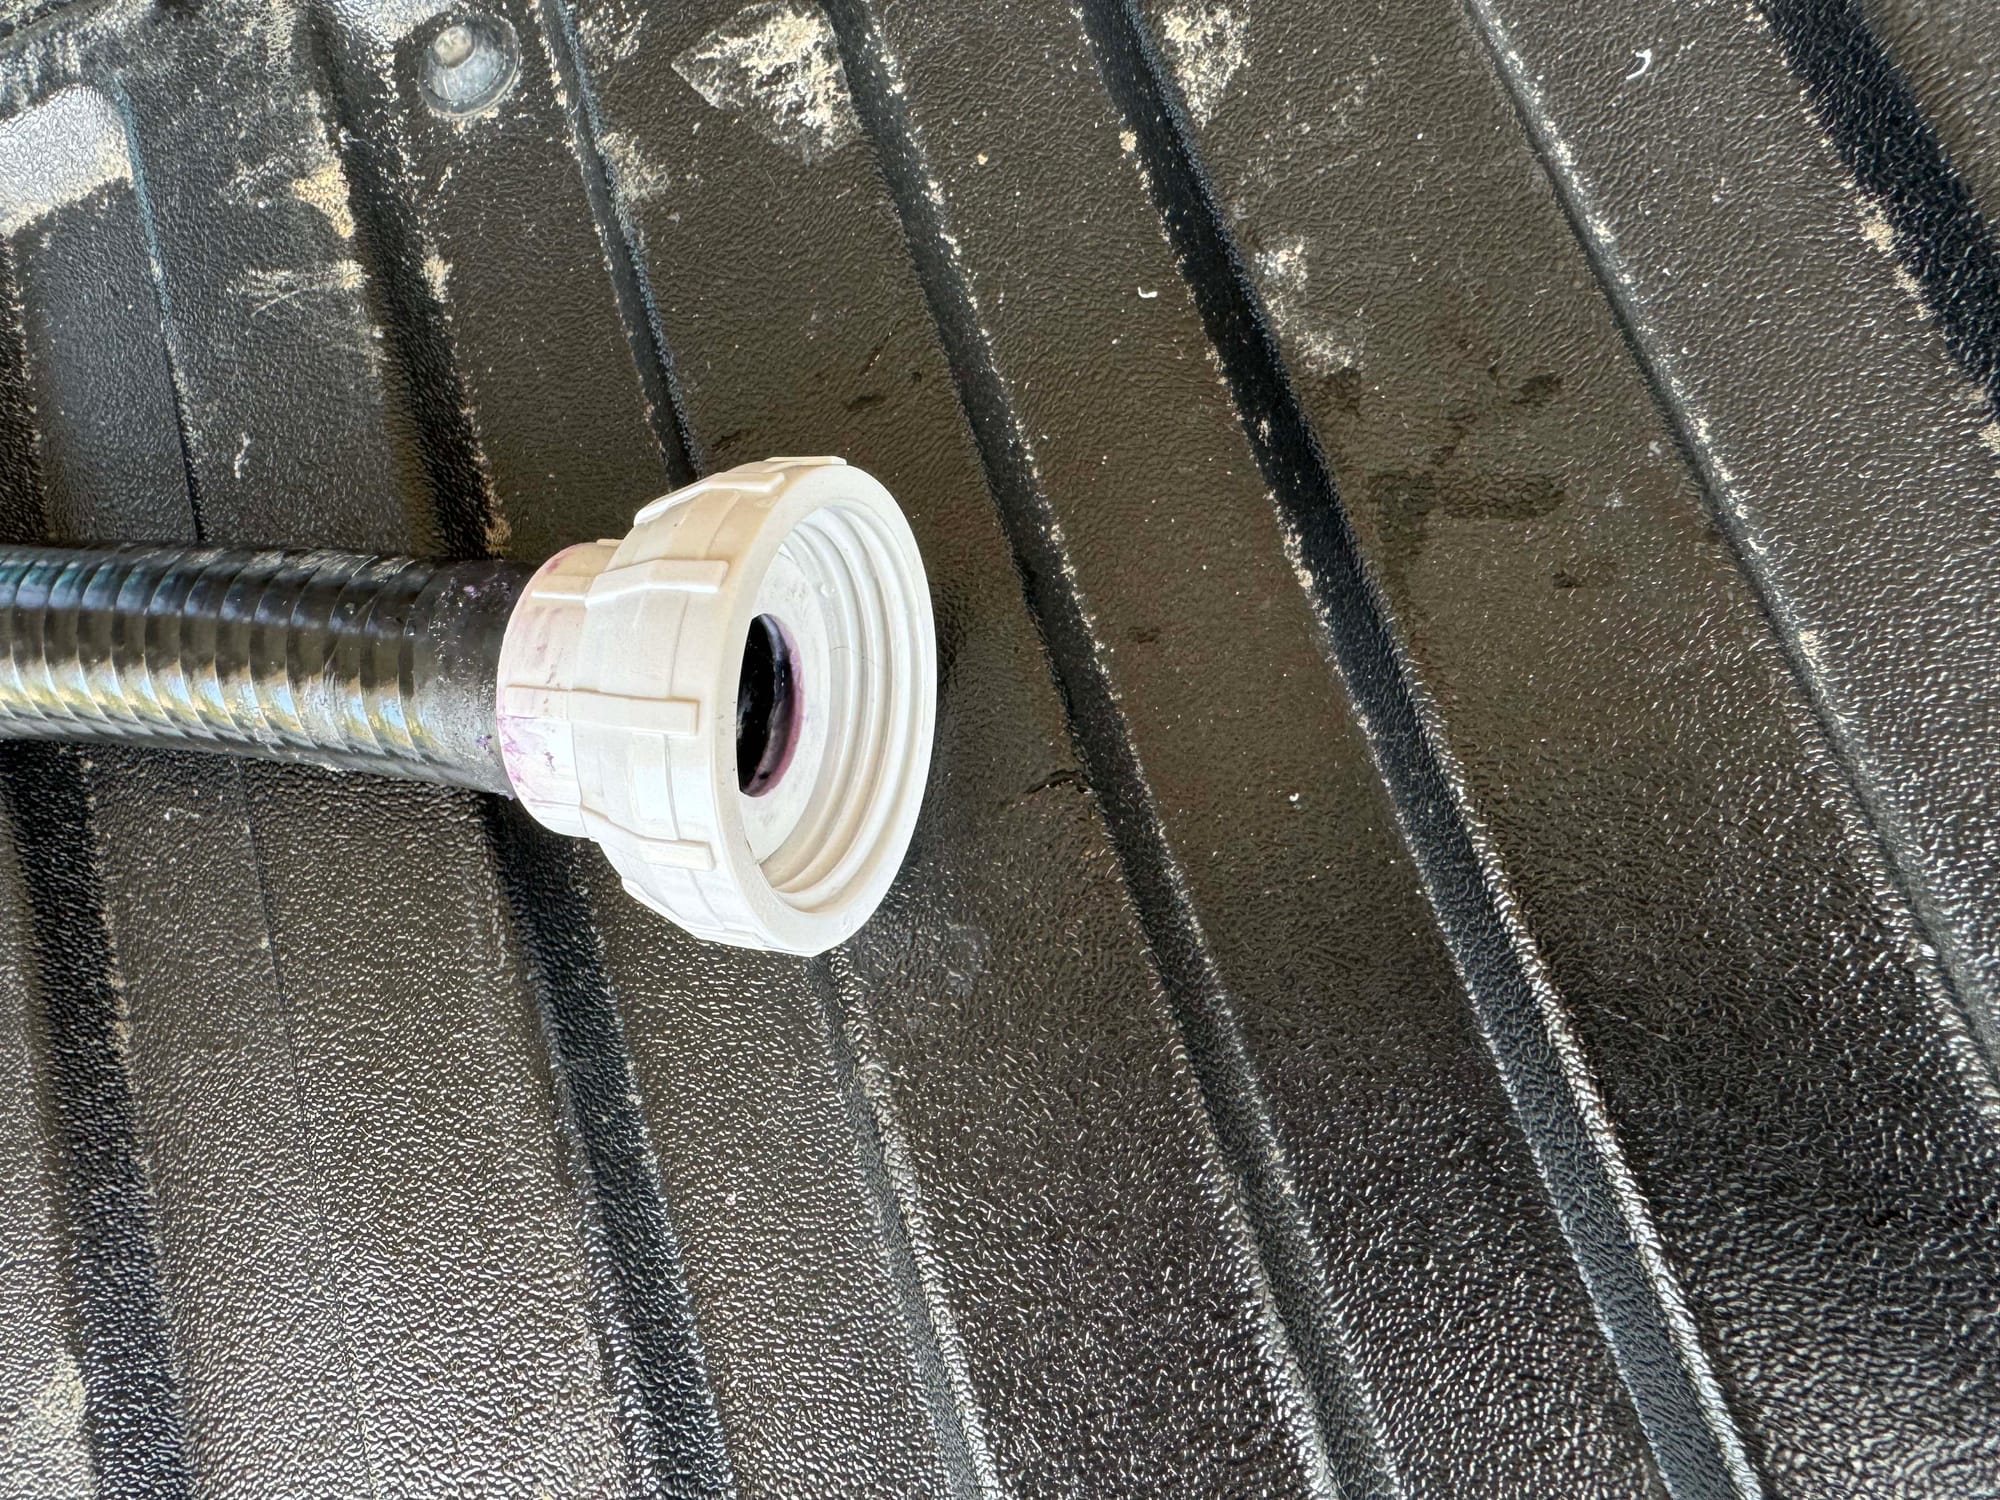
3/4 in Flexible PVC Schedule 40
3/4 in Union Slip to Slip (2 per Hose)
I only used about 8 feet of flexible PVC, but you can probably find it in shorter lengths for less money rather than that 25' bundle linked. I’d recommend getting at least 10 feet, but 15 feet would give you a little extra in case of mistakes. You’ll need to make a total of 4 hoses.
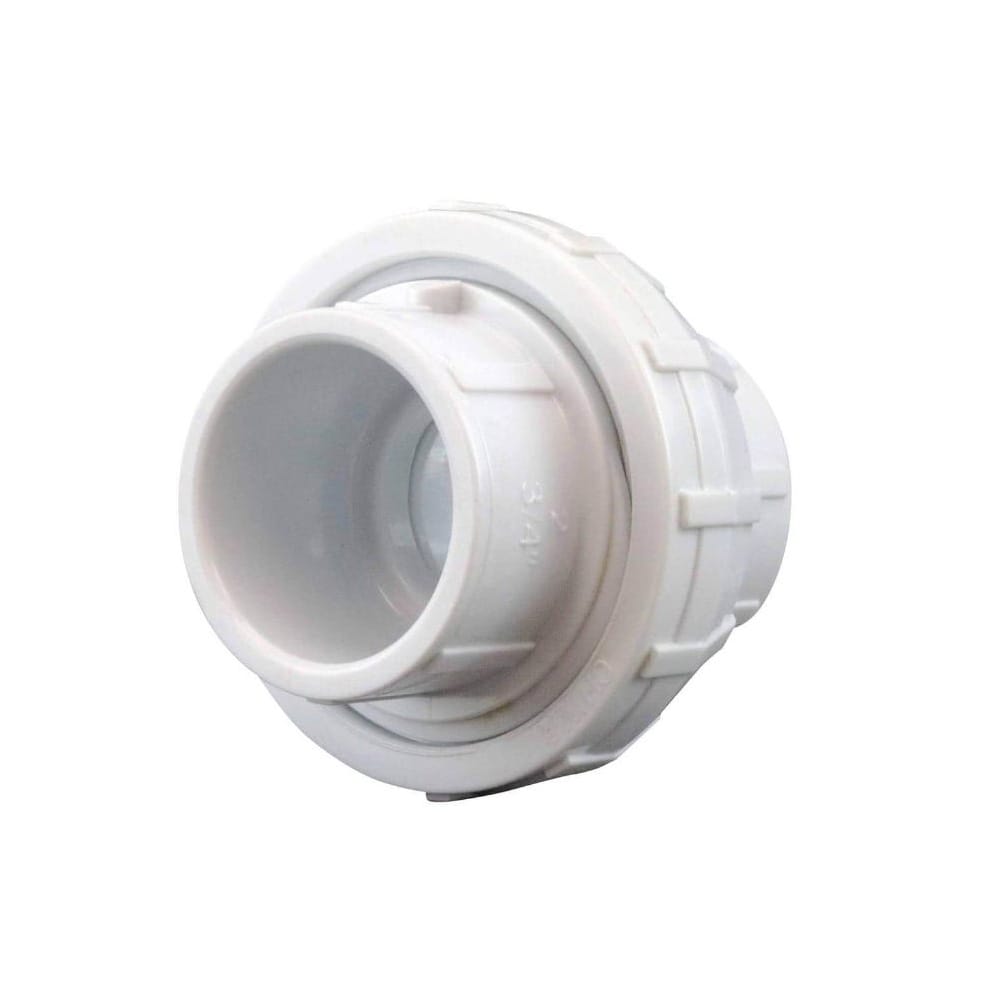
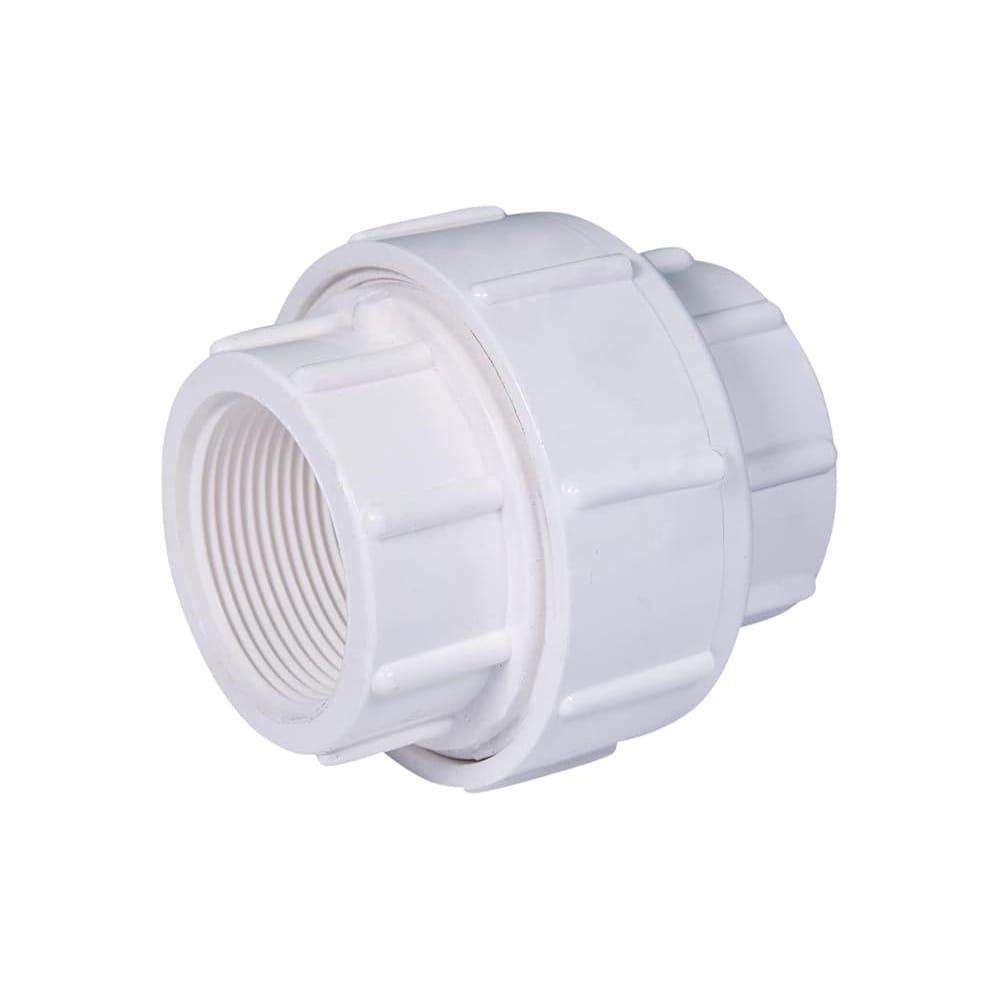
For my build, I ended up spending more than necessary because I customized the hoses the way I wanted. I basically doubled the cost of the unions by combining a slip-fit union with a threaded union for most of the connections. Each hose uses the two-piece side of the slip union (shown above), which standardized everything and made the hoses interchangeable throughout the setup. Most of the fittings the hoses connect to are threaded (FPT), so if you go this route, be sure the unions are compatible to Frankenstein them together—or you could save yourself the hassle and avoid using this method altogether.
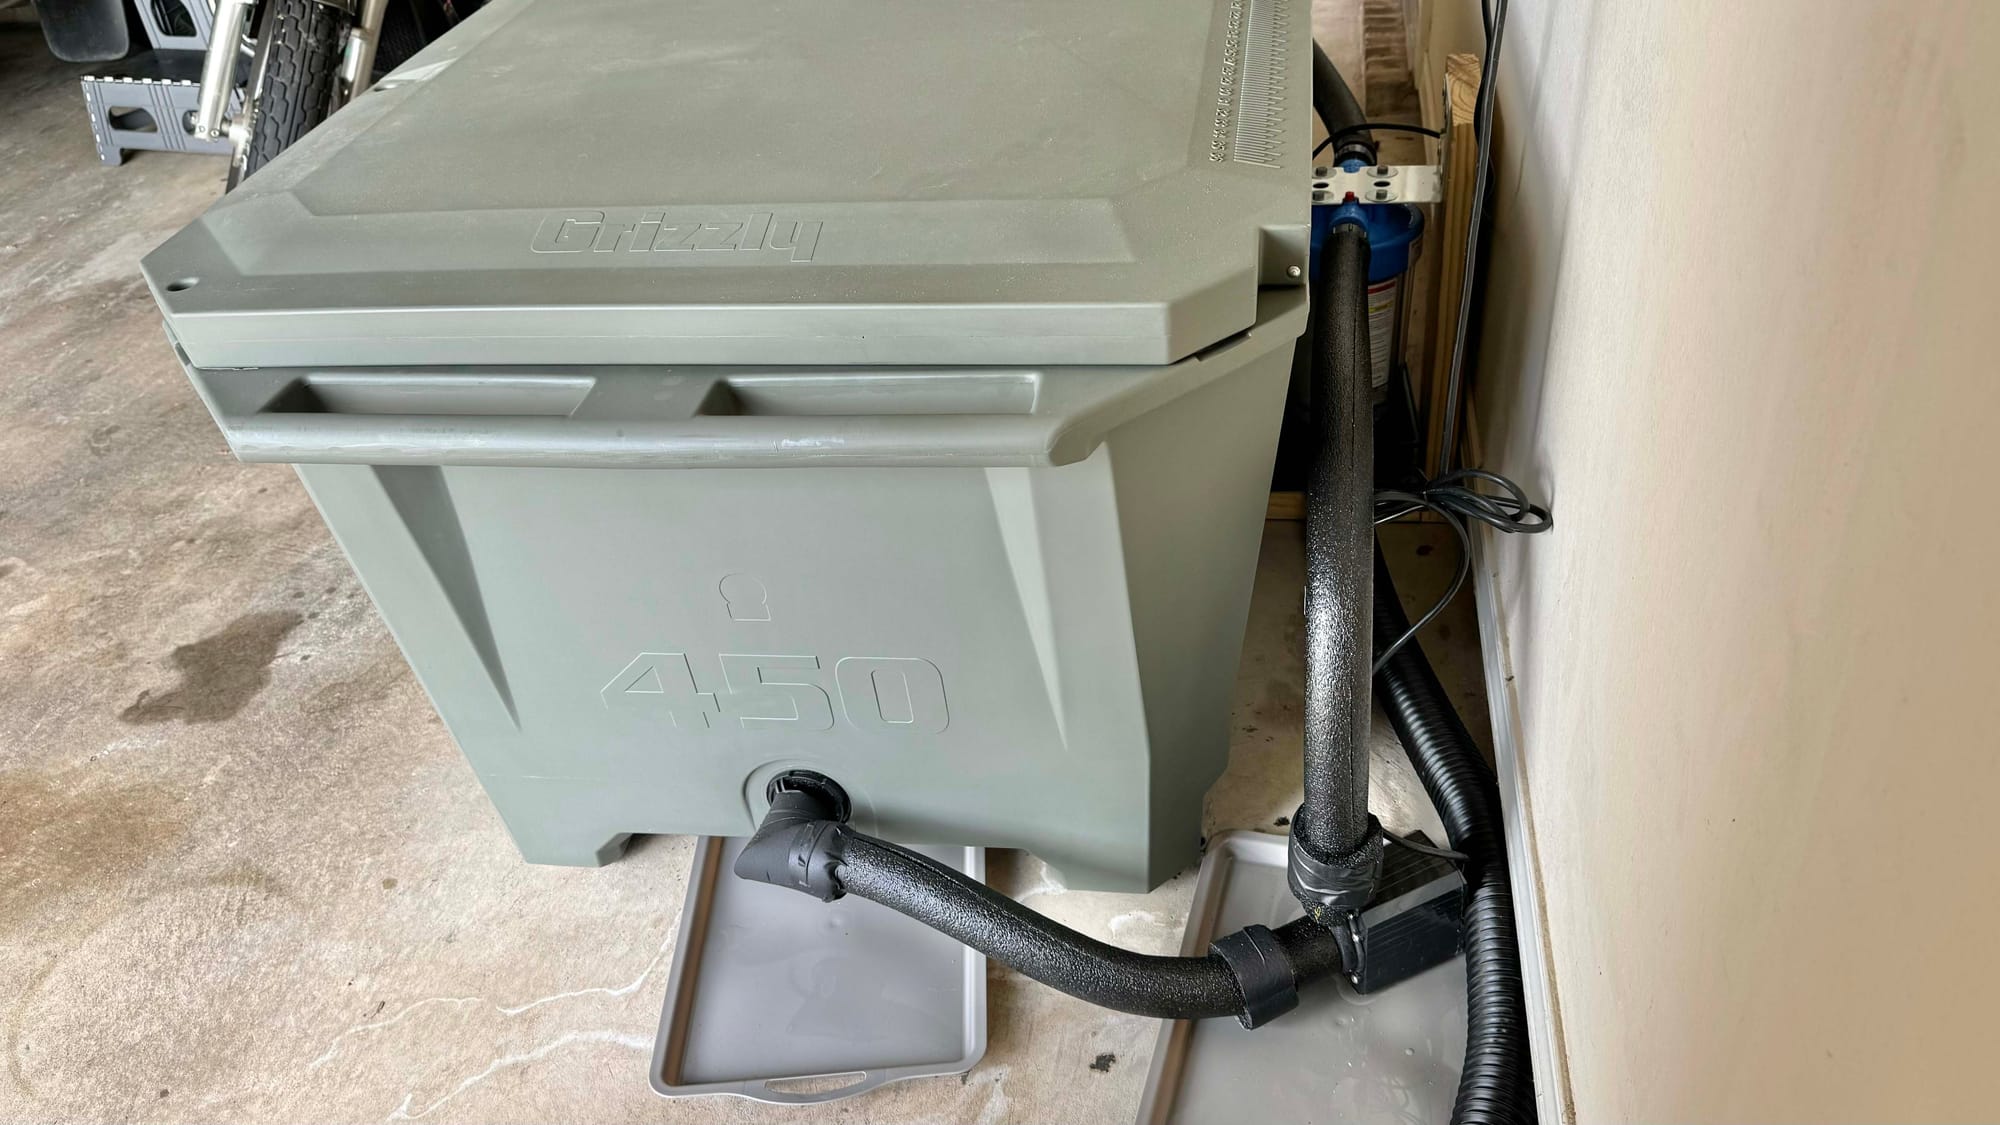
Grizzly Exit
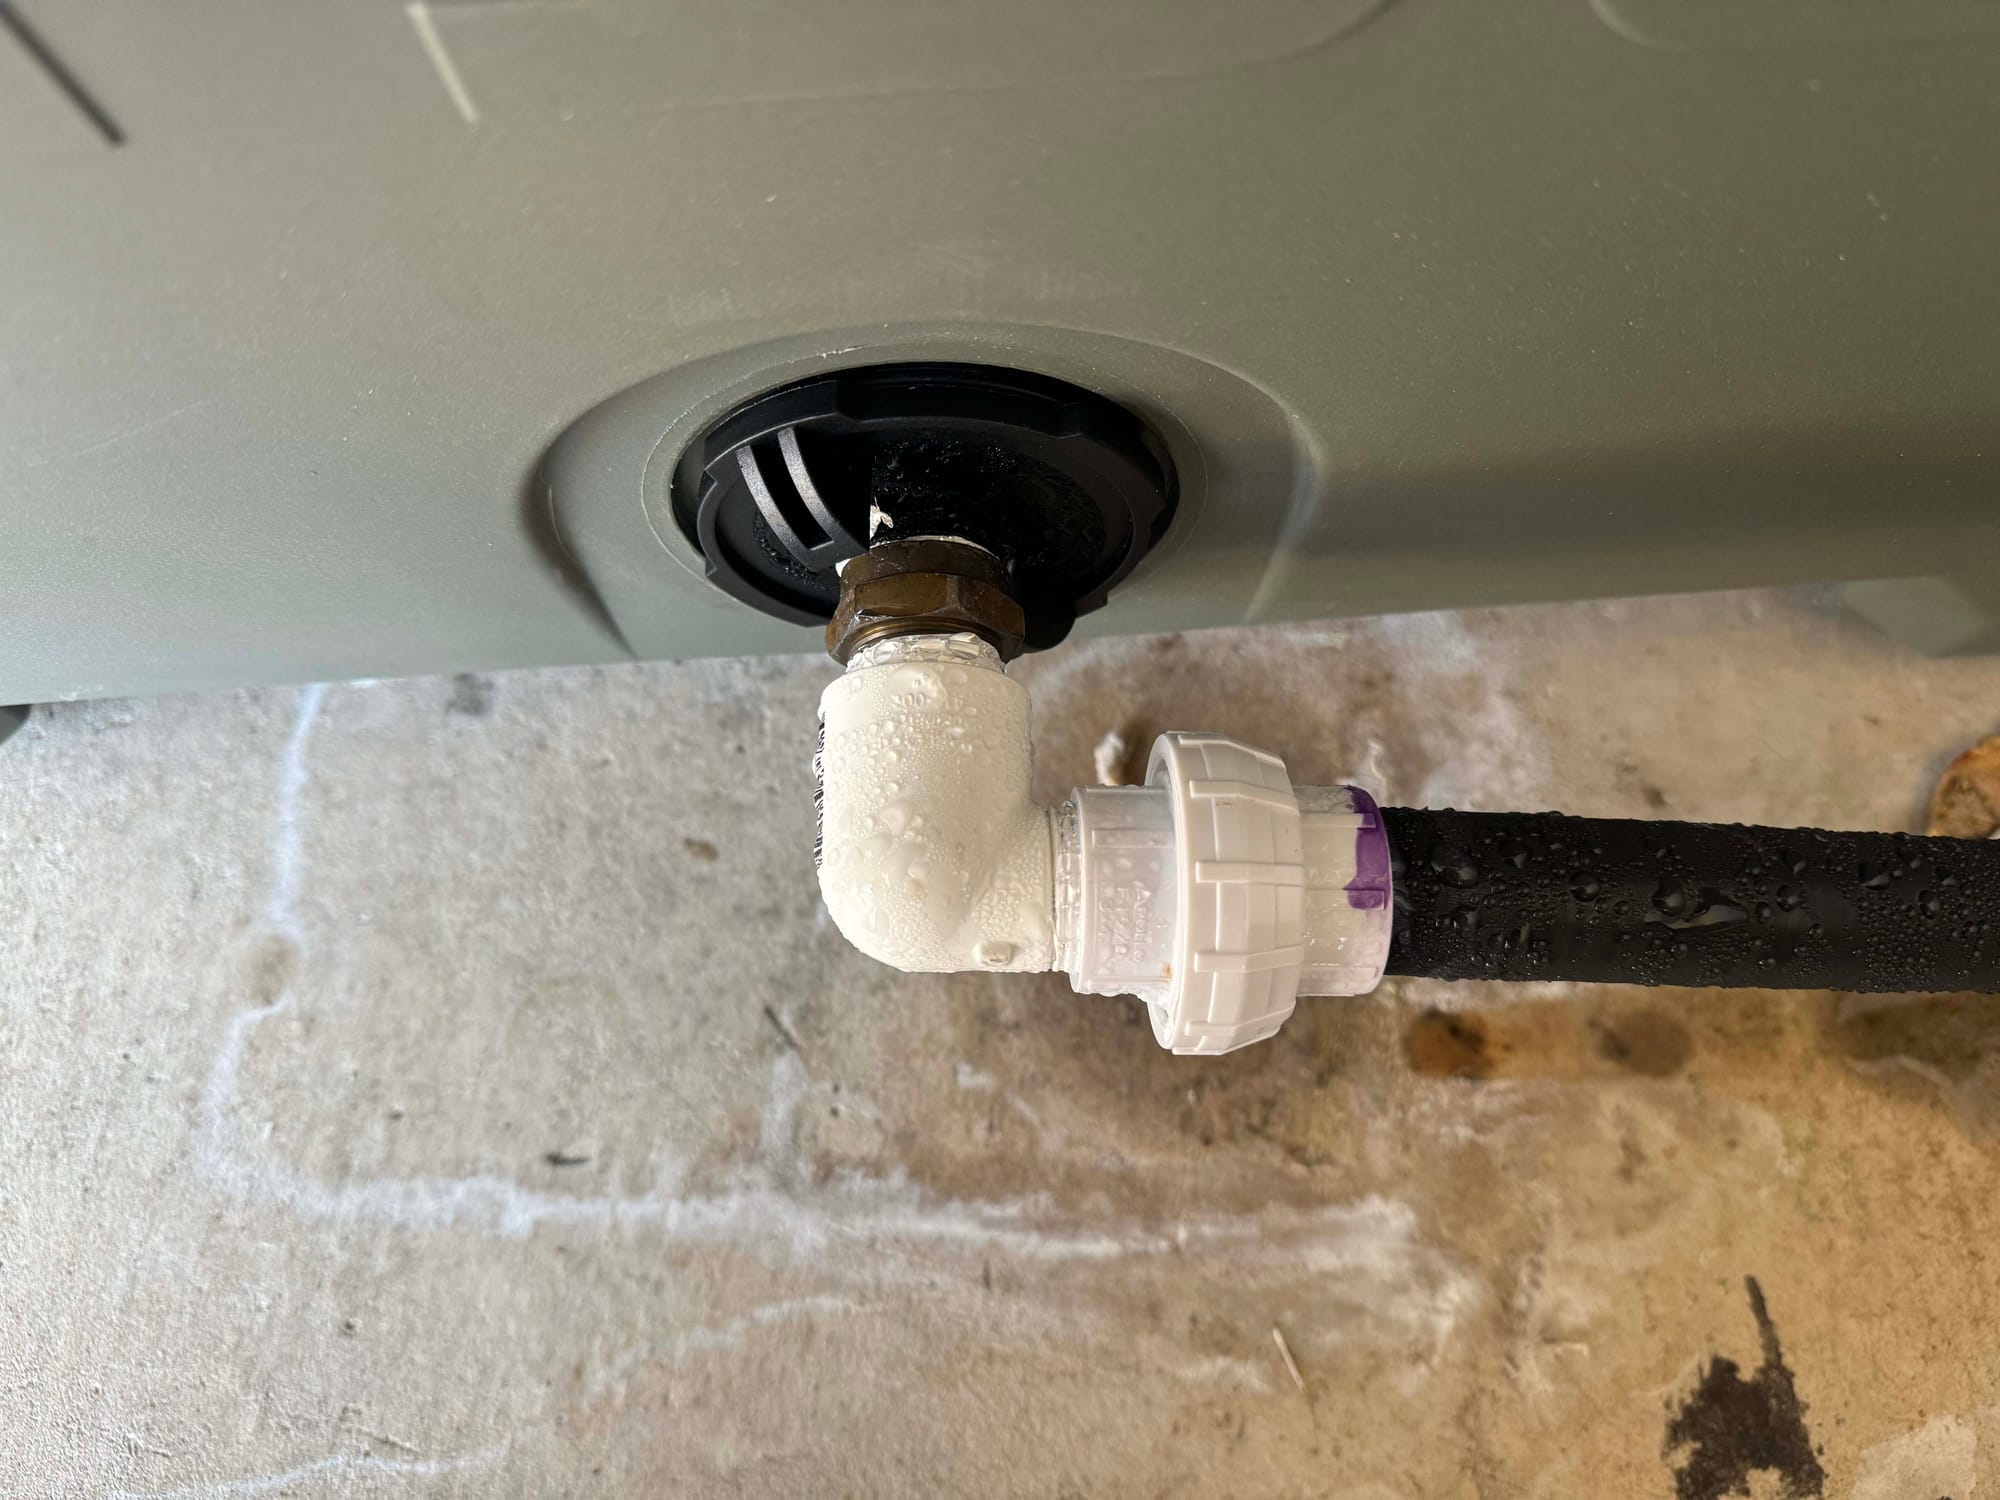
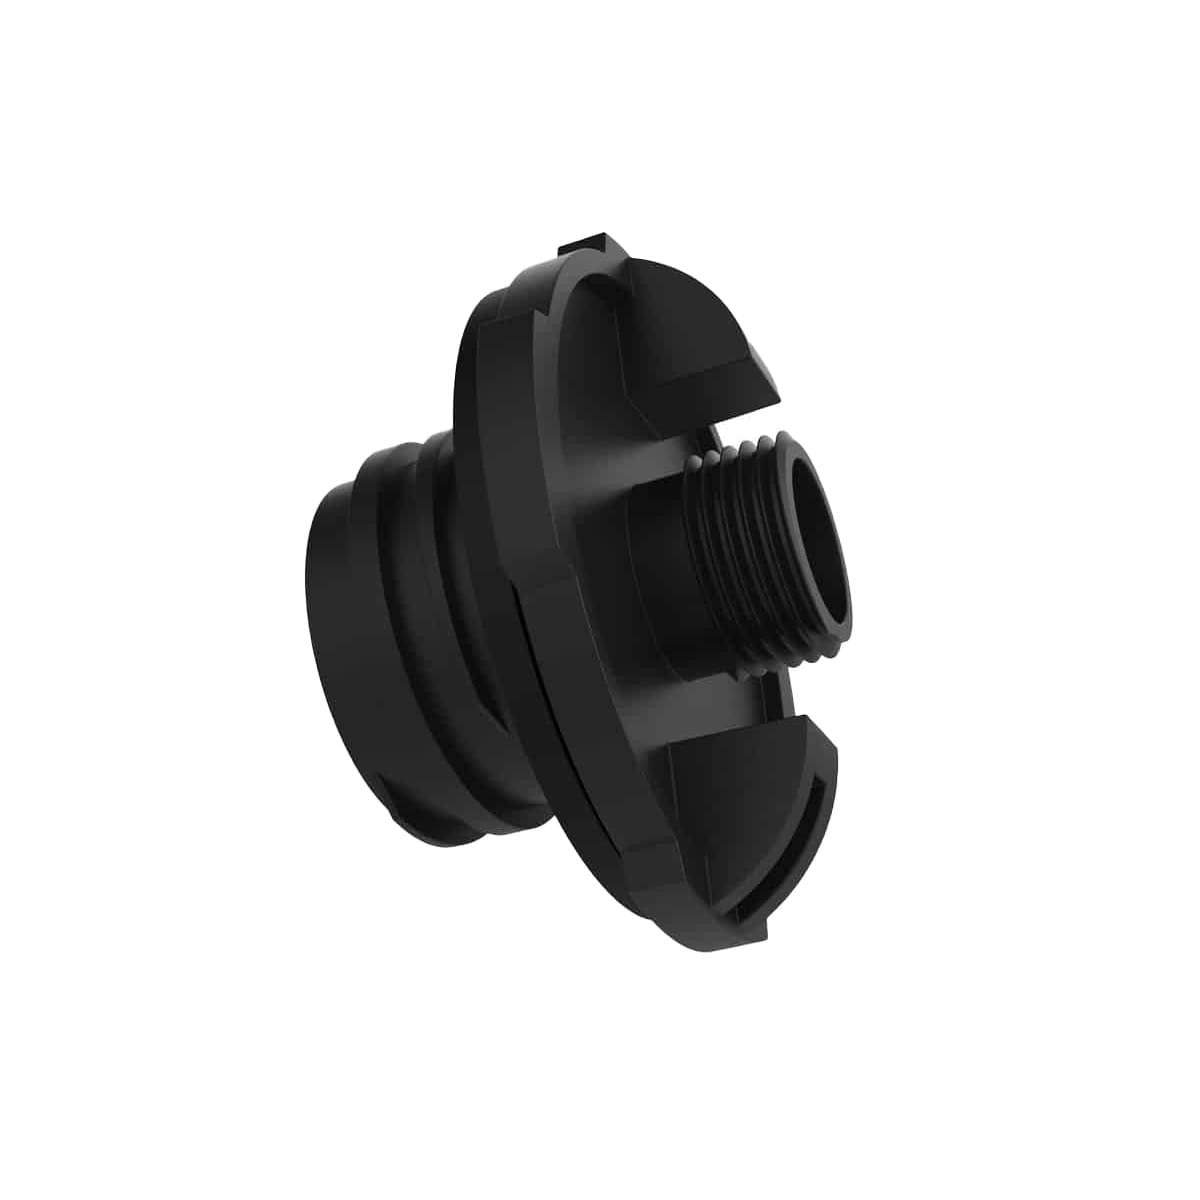
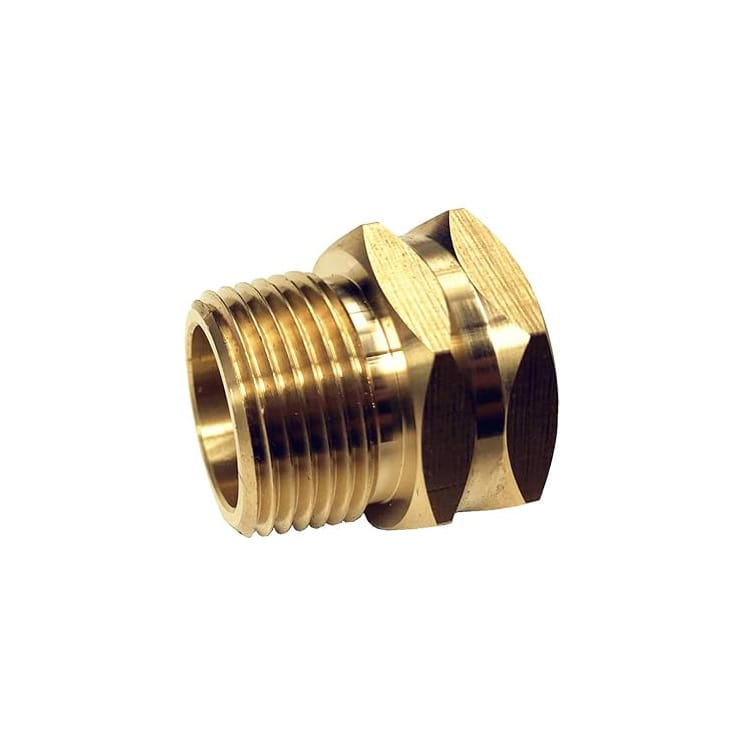
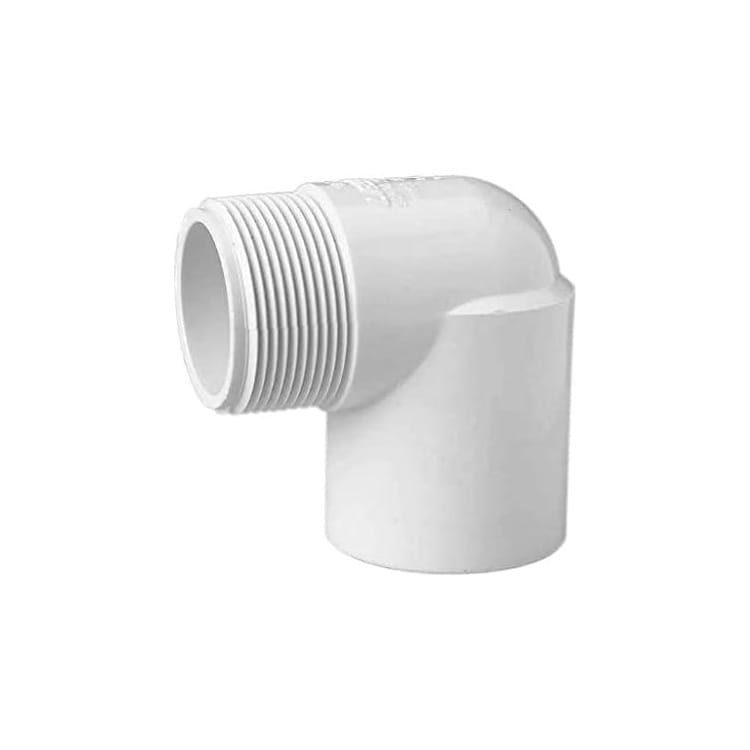
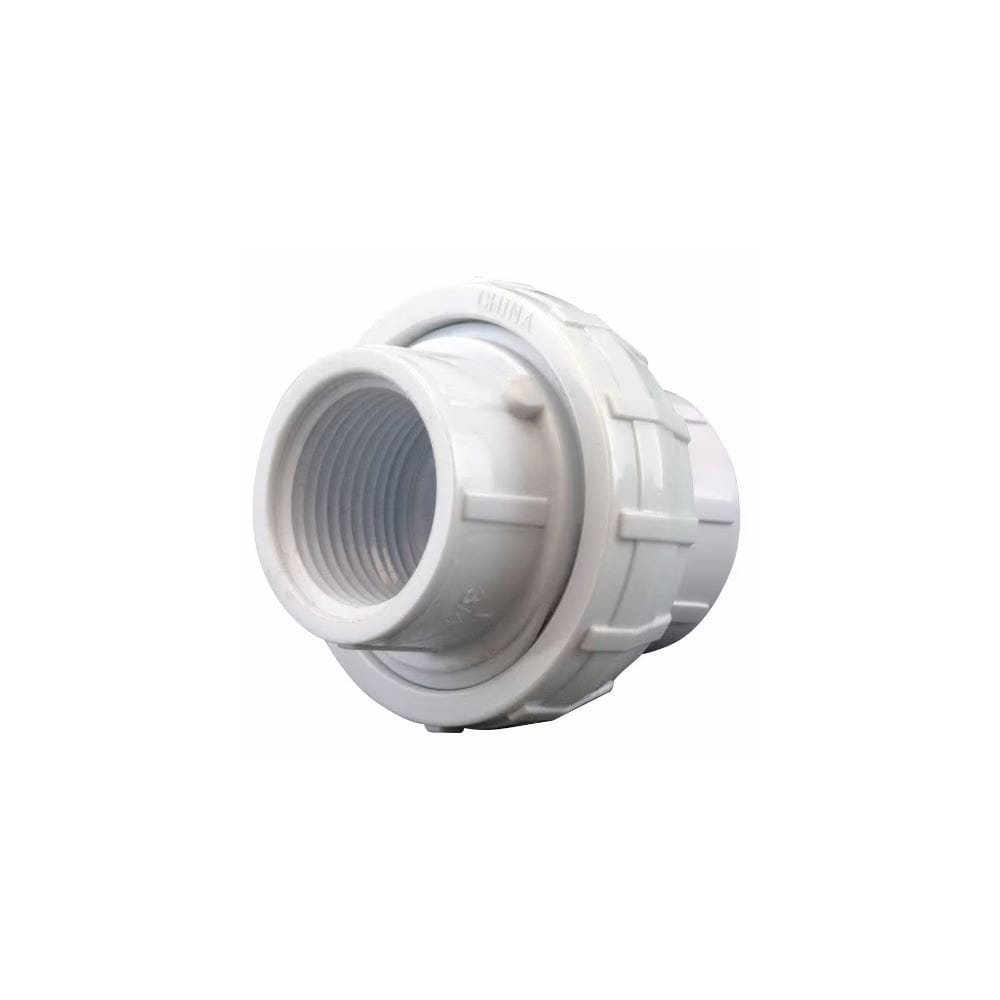
Grizzly Torrent Twist with hose connection
1x - 3/4 in GHT Female to 3/4 in NPT Male
1x - 3/4 in NPT Female to 3/4 in NPT Male Elbow
1x - 3/4 in Union NPT Female to NPT Female (Threaded)
Frankenstein'd with
1x - 3/4 in Union Slip to Slip (Hose End Connection)
Pump
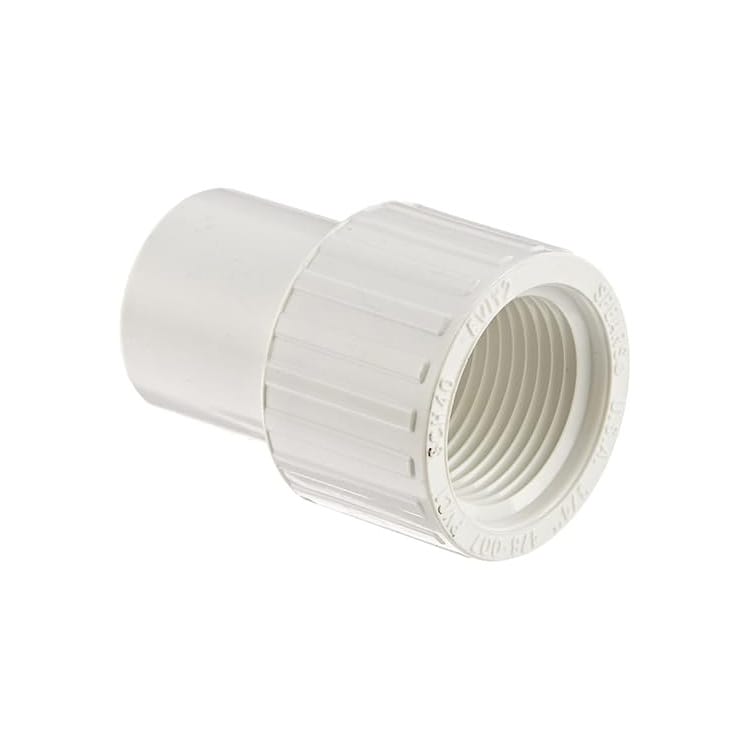
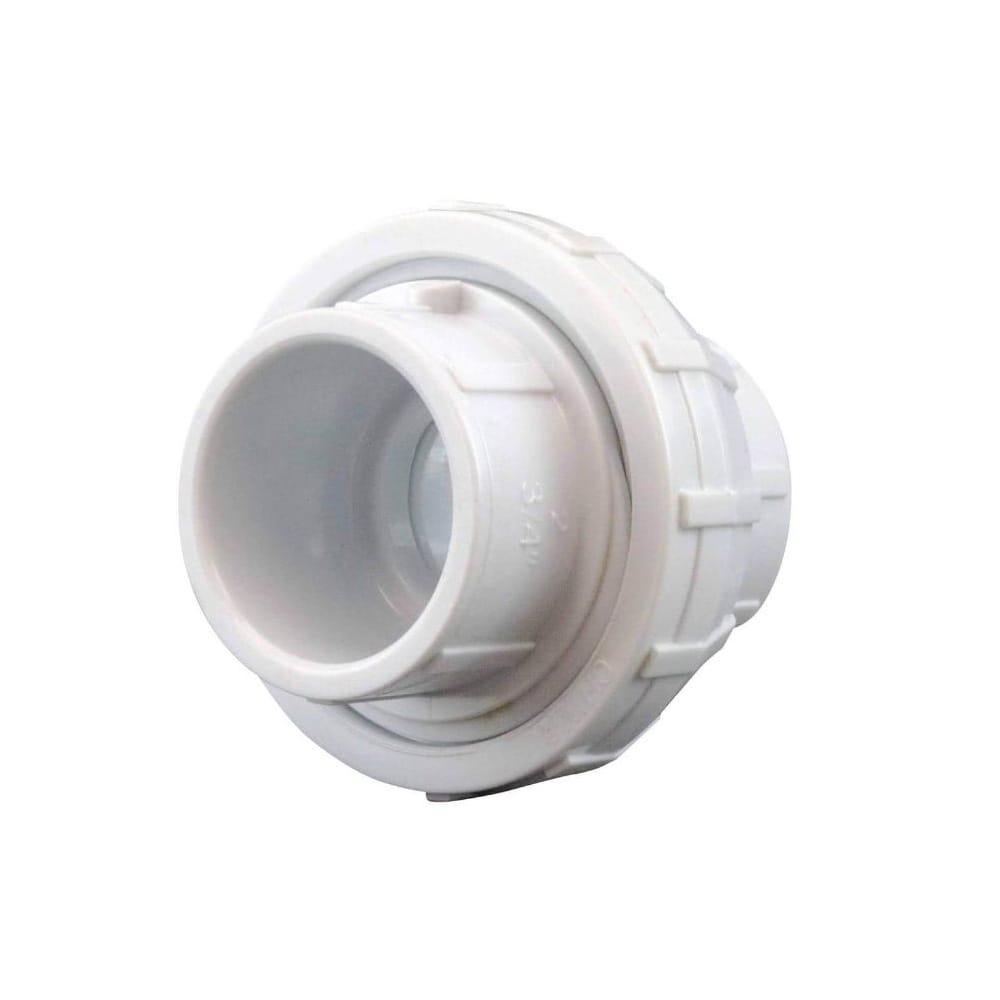
1x - 3/4 in NPT Female to 3/4 in Spigot
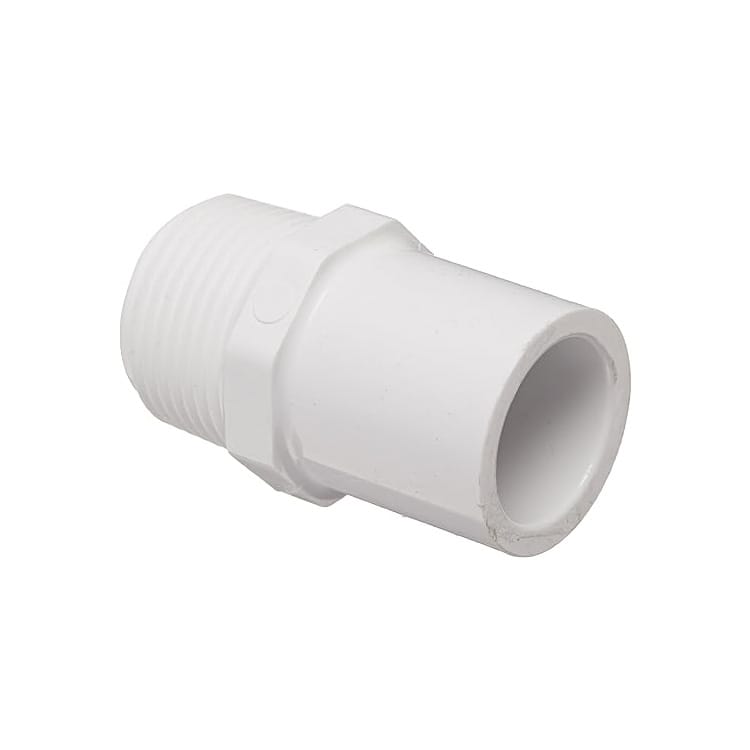
1x - 3/4 in NPT Male to 3/4 in Spigot
2x - 3/4 in Union Slip to Slip (Hose End Connection)
Filter
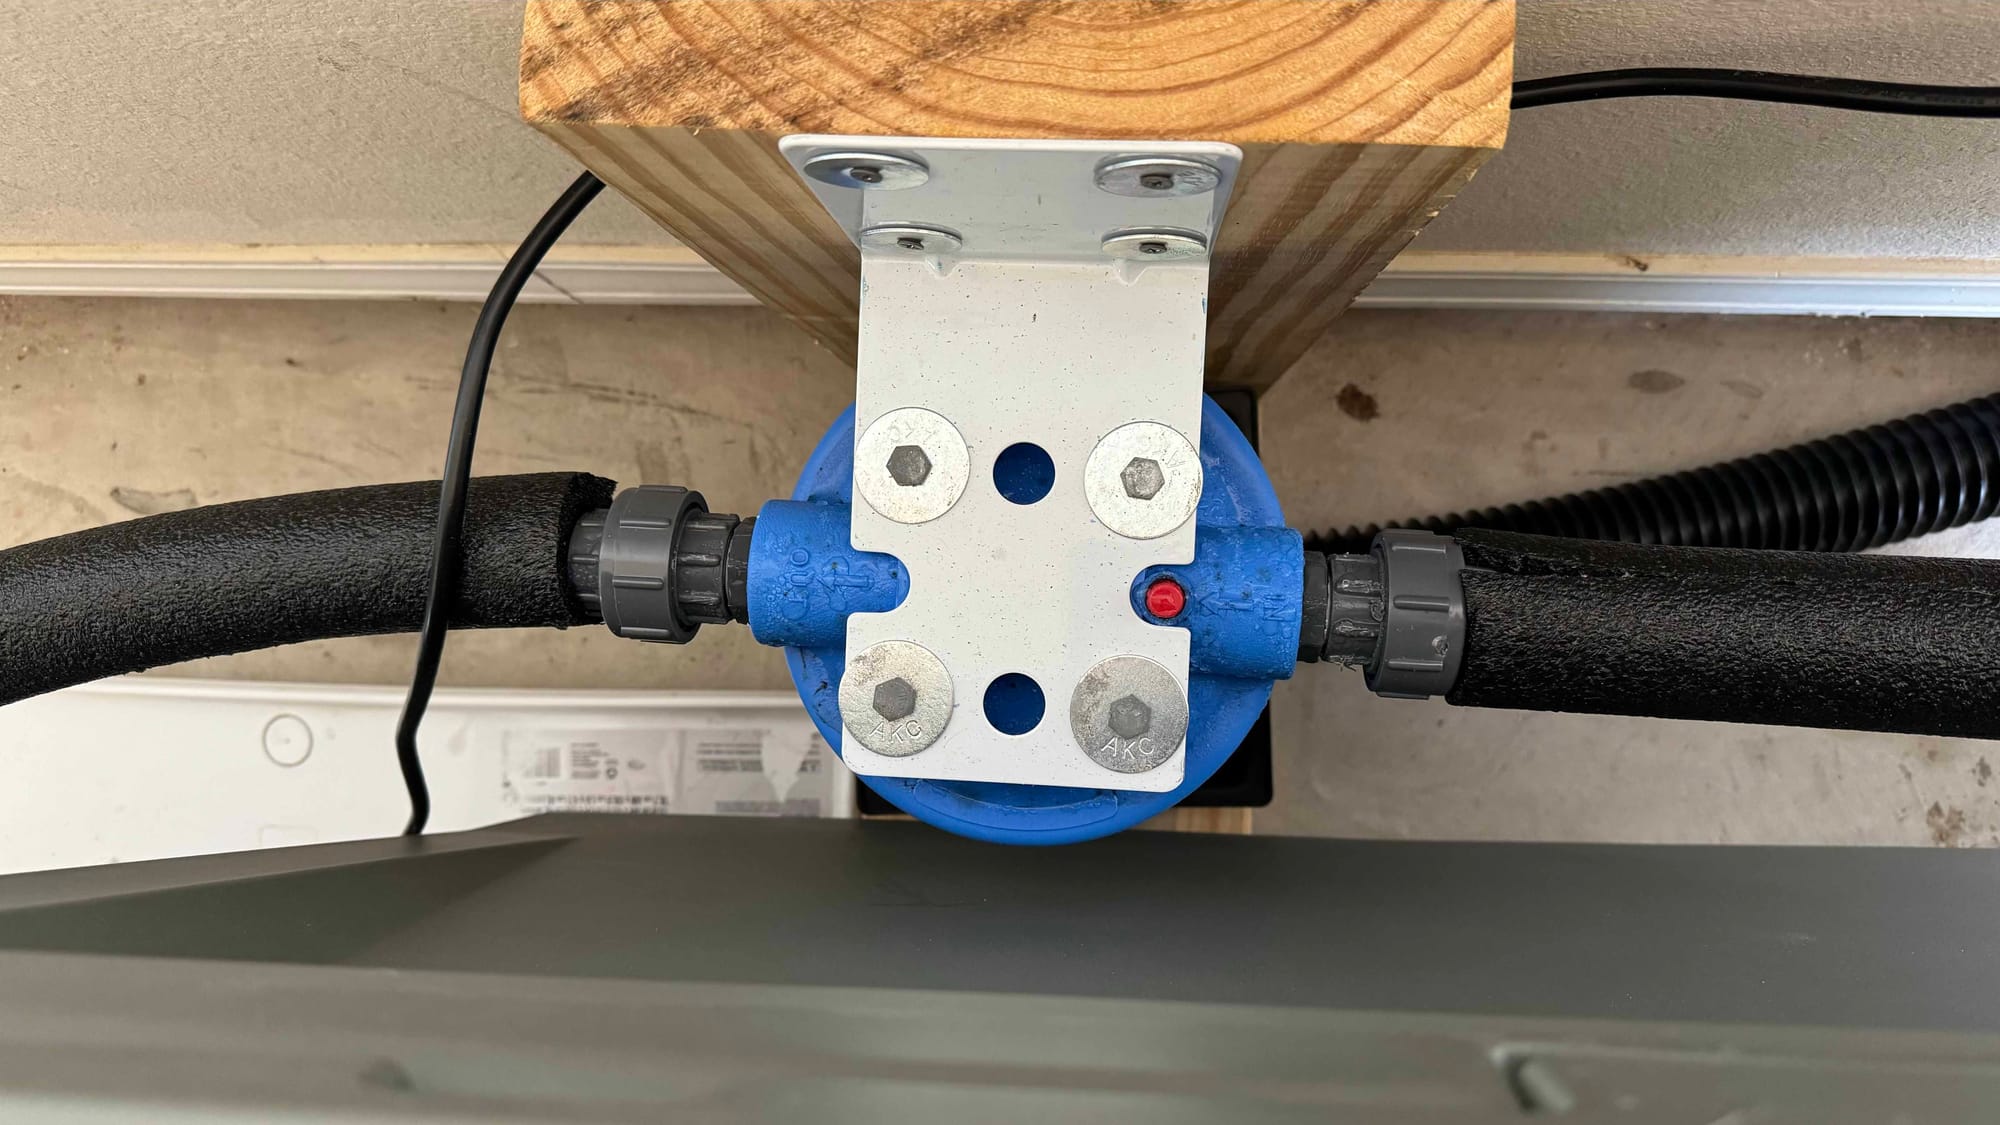
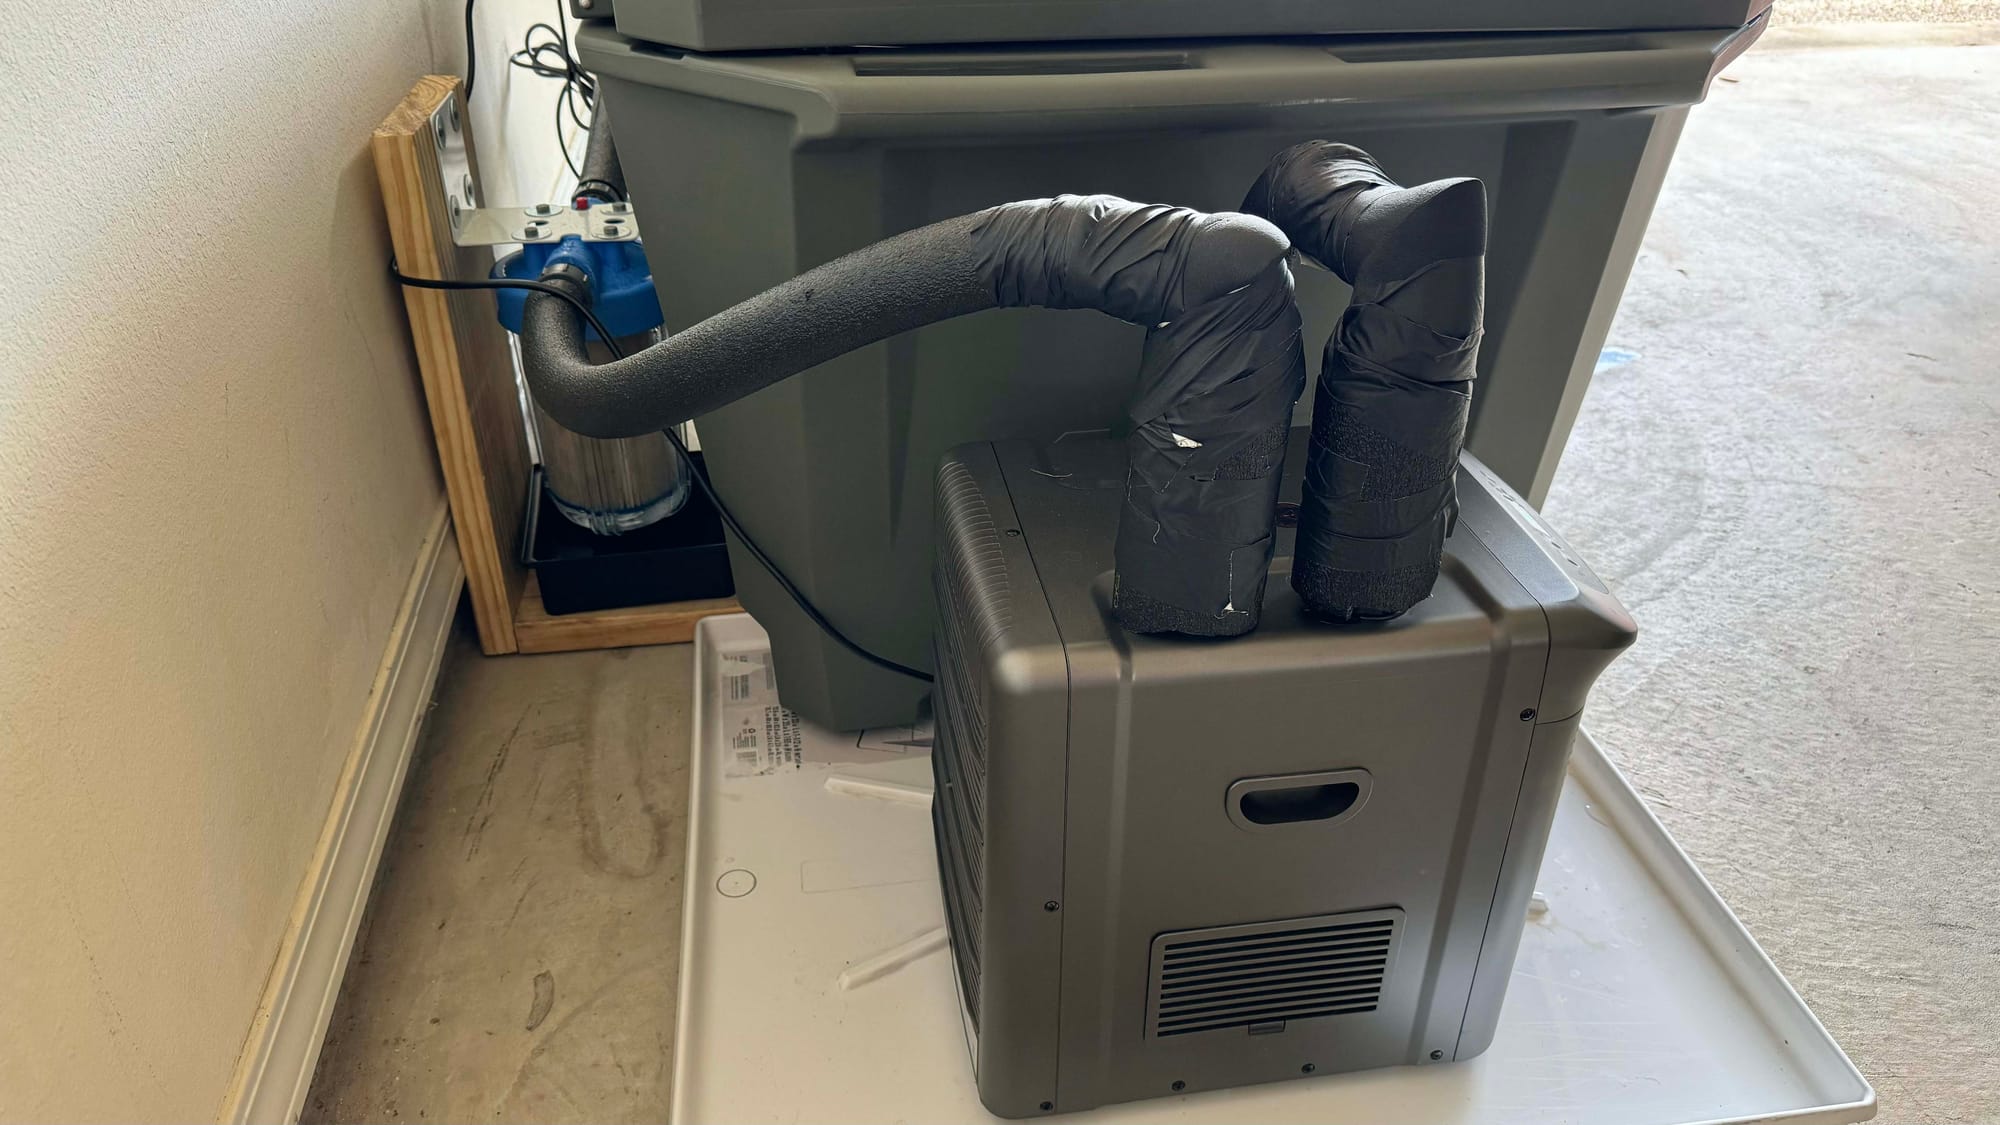
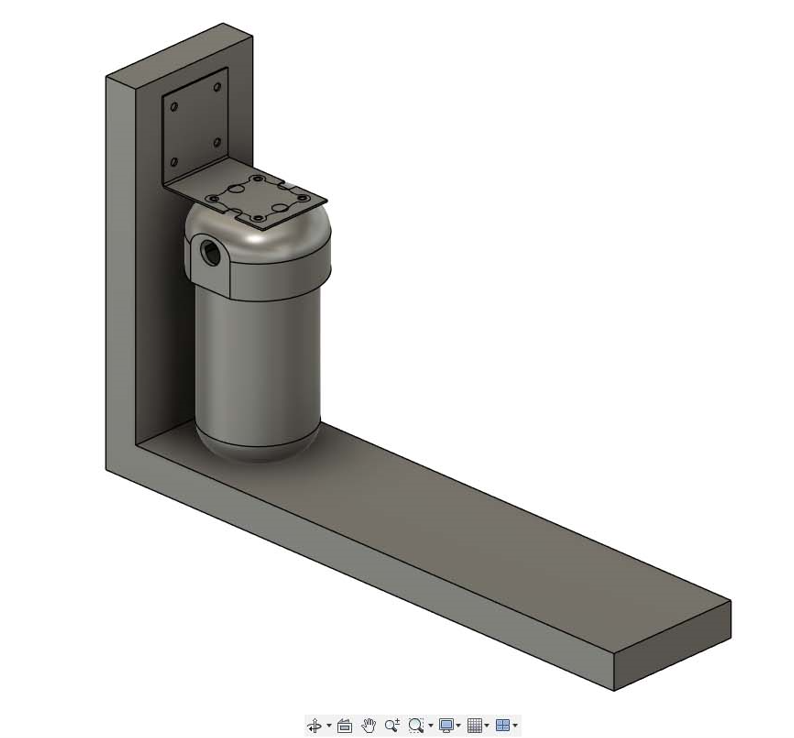
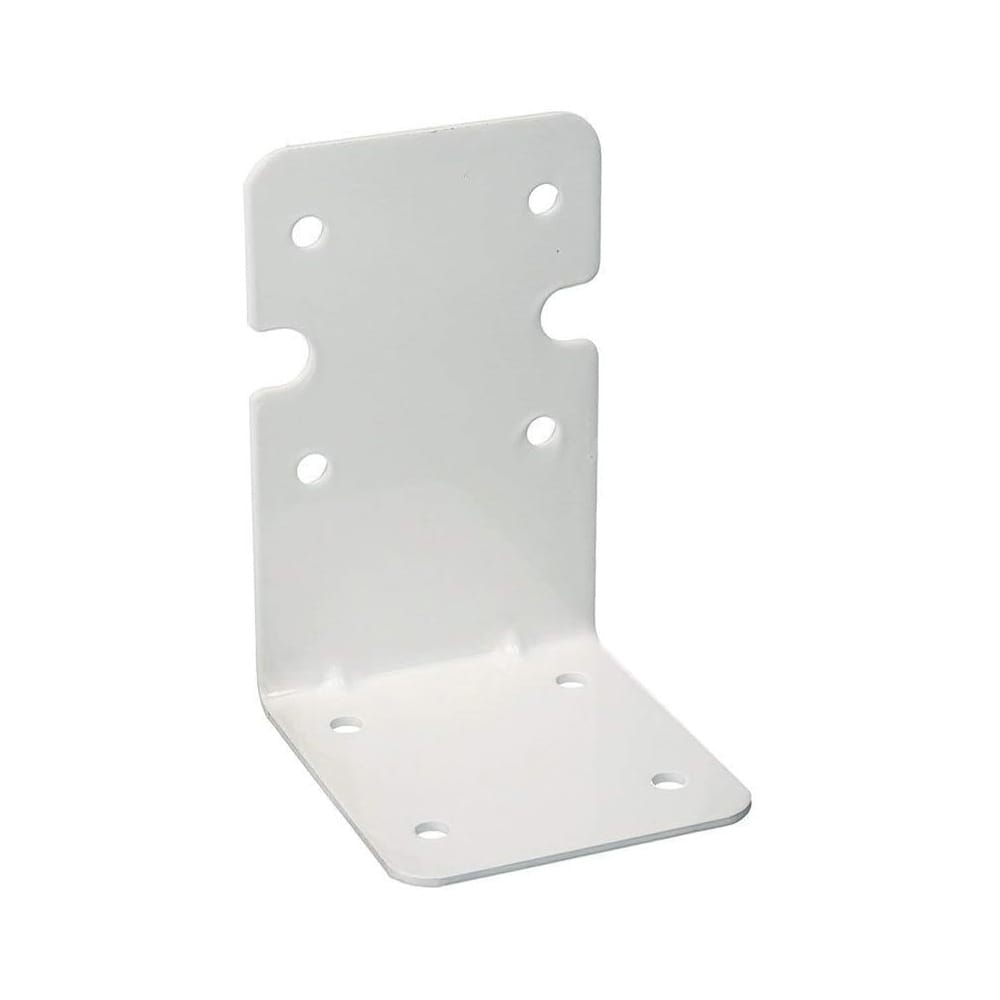
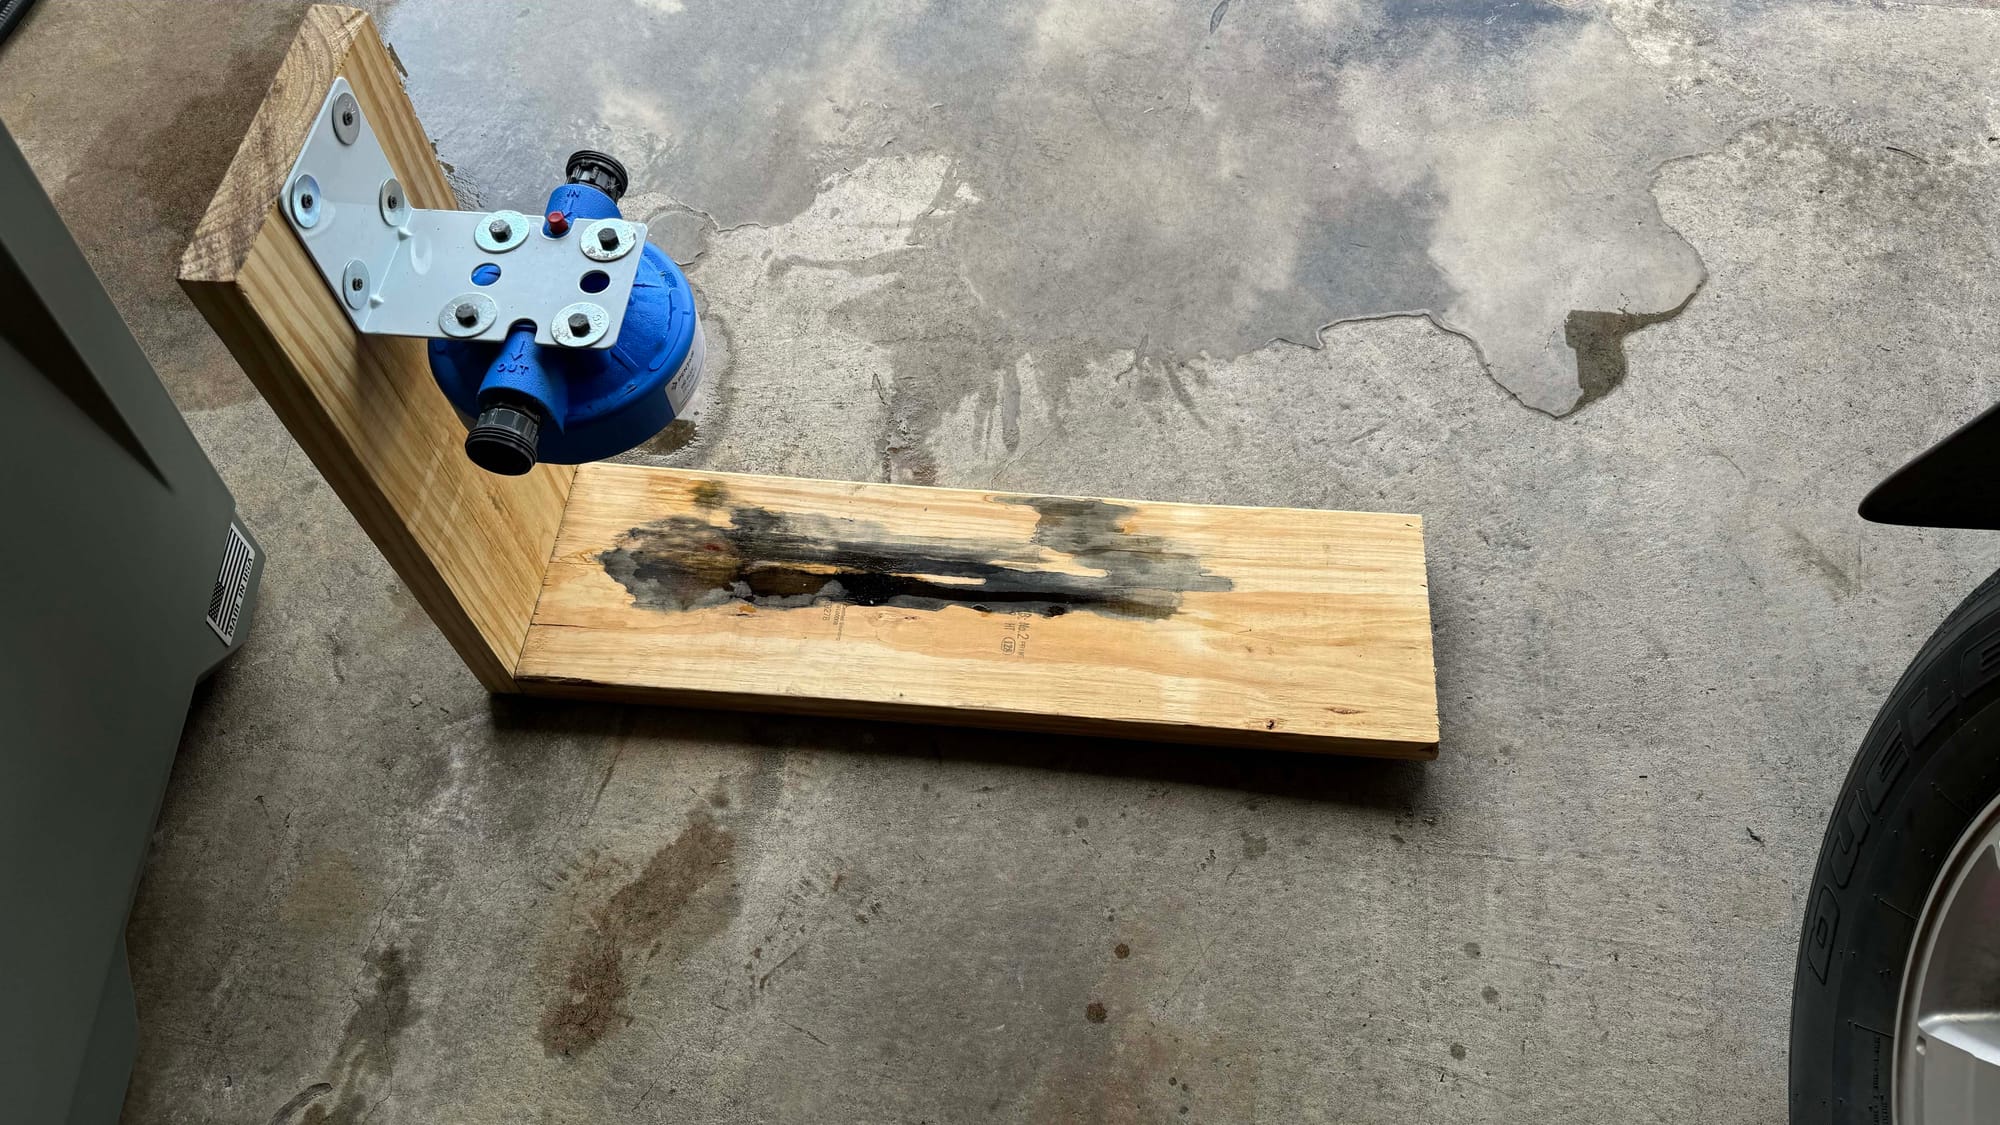
The blue top of the filter housing has four, 0.275" holes that are not threaded. I just bought some 5/16" hex lag screws and washers, and they self tapped alright. I made a small 'L' shaped mount out of some wood to have something to mount the filter to. The grizzly cooler has two slots where it can be picked up by a fork lift, and this mount is designed to slide into one of them.
The Grizzly 450 cooler naturally has a significate gap between the cooler and the wall due to the way the lid opens. Adding the filter housing behind the cooler didn't really increase that gap at all. The lid still slightly hits the wall when I open the cooler.
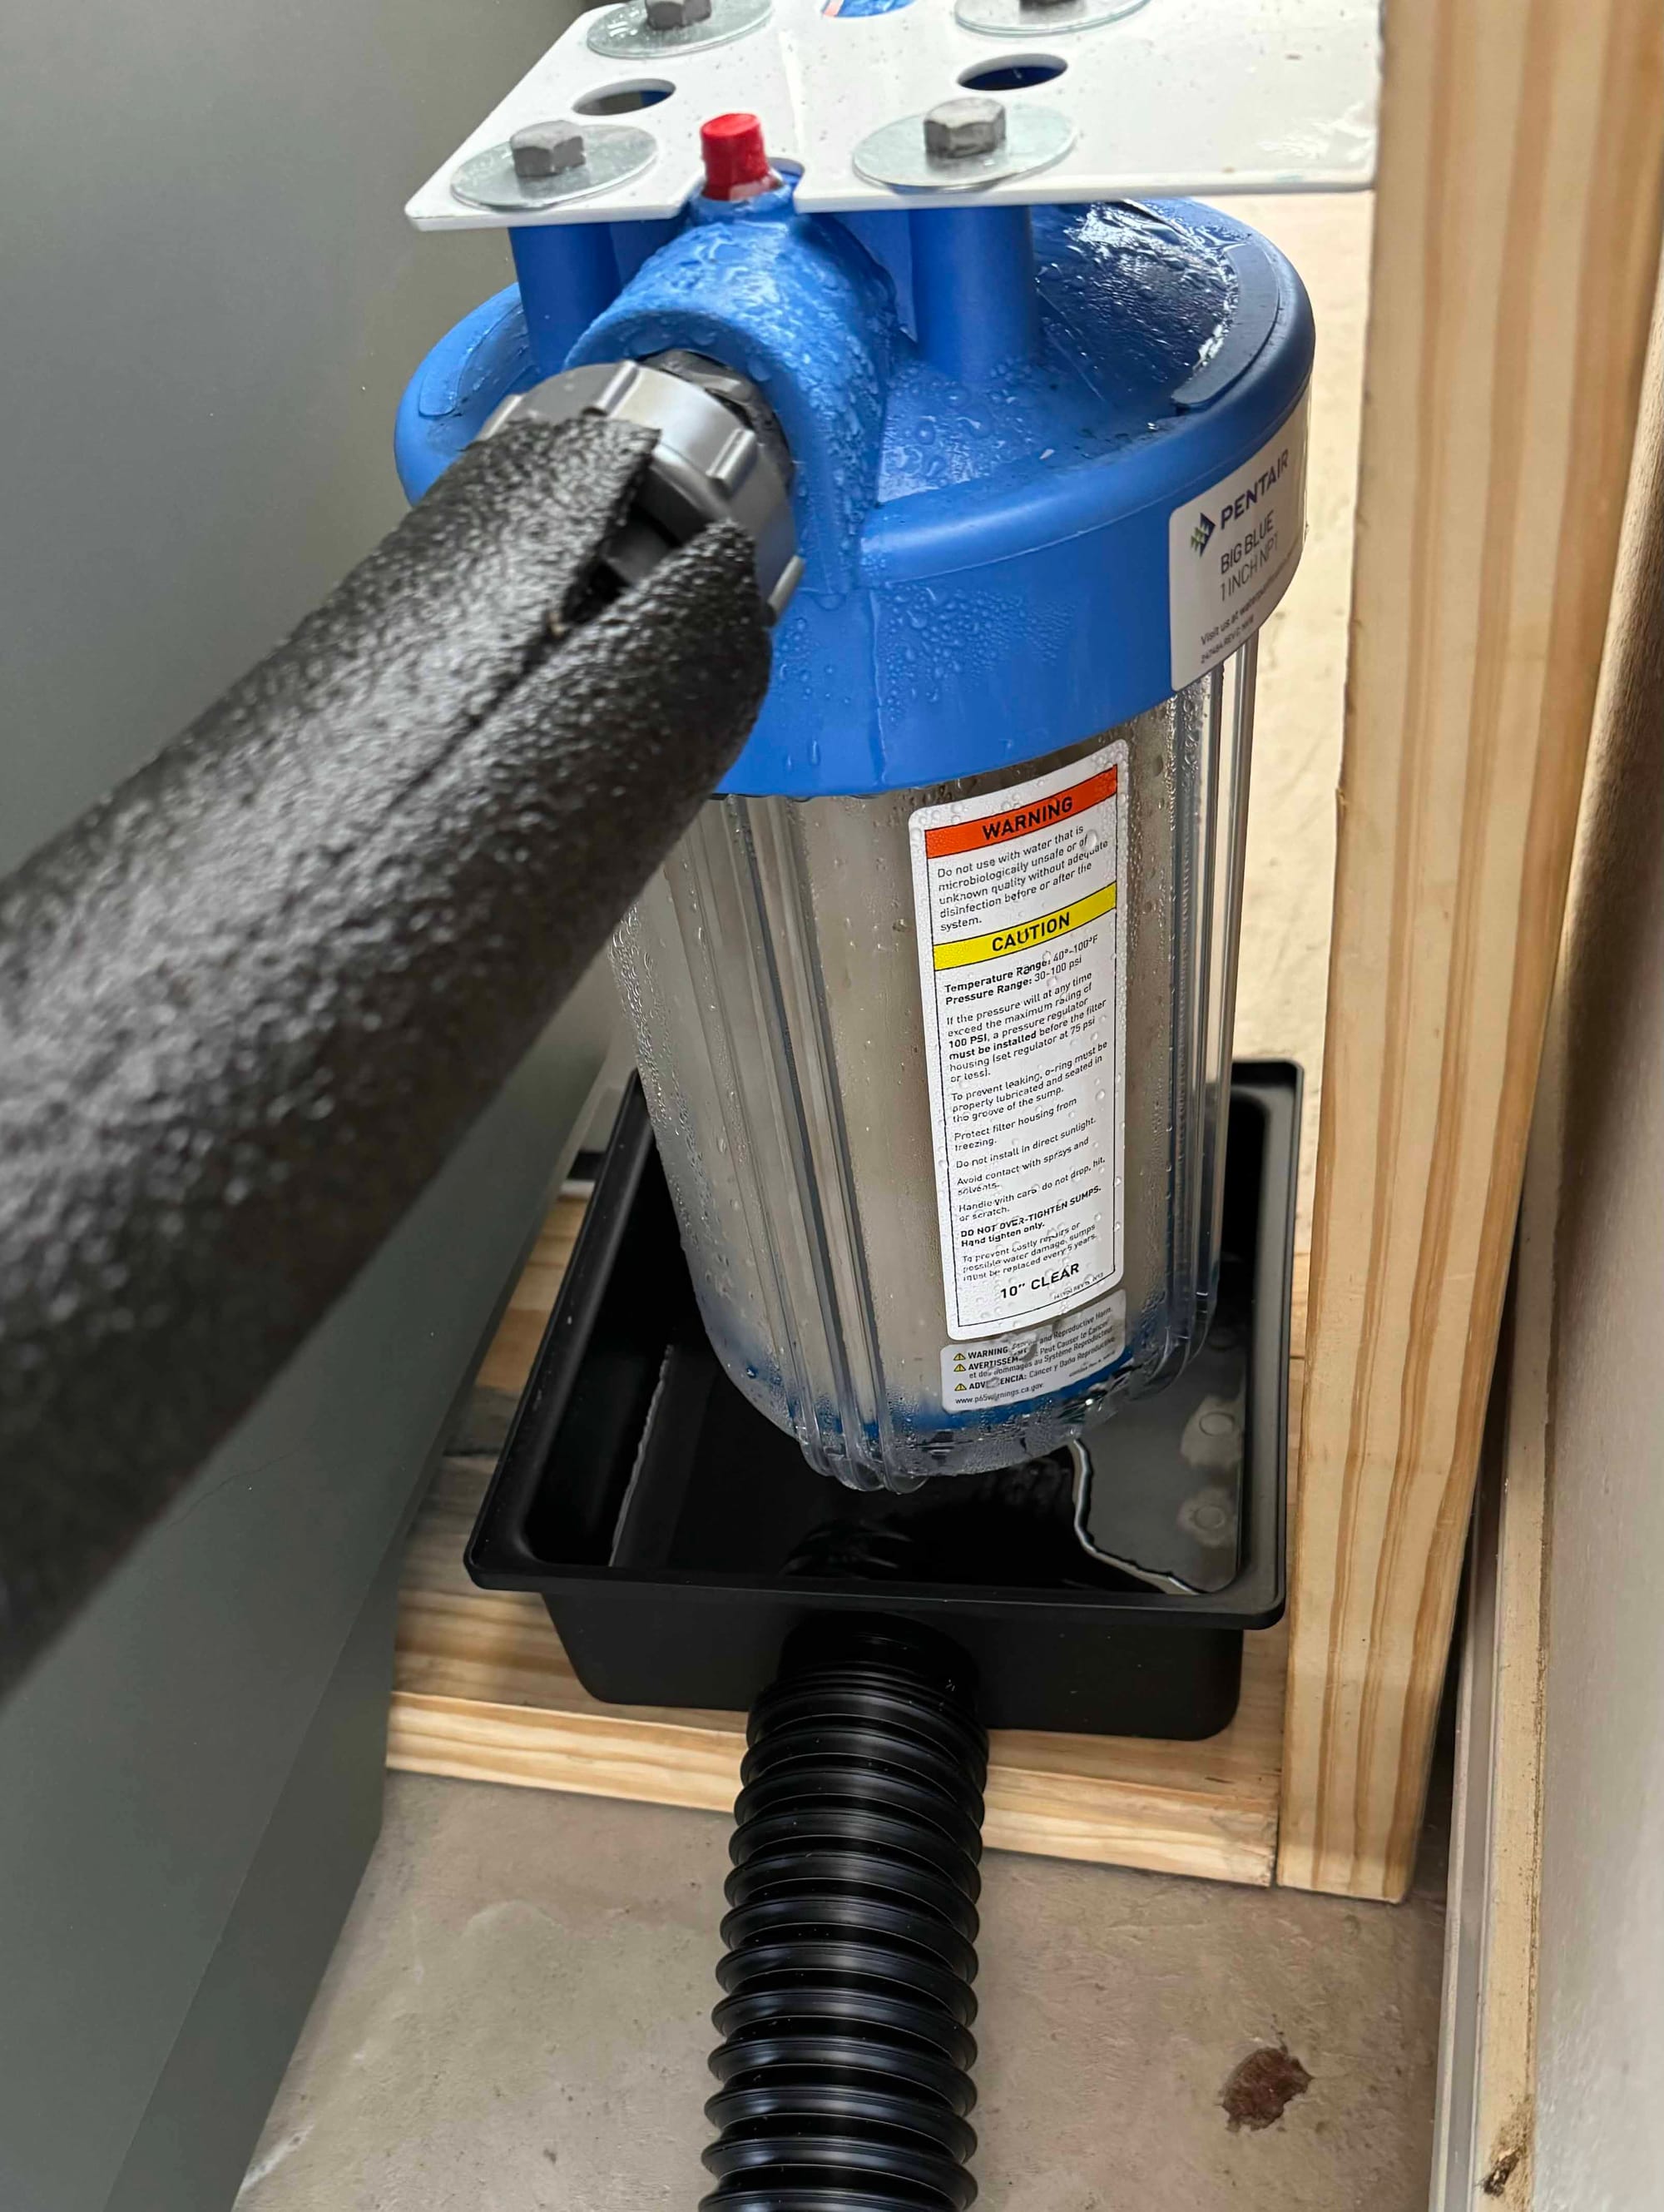
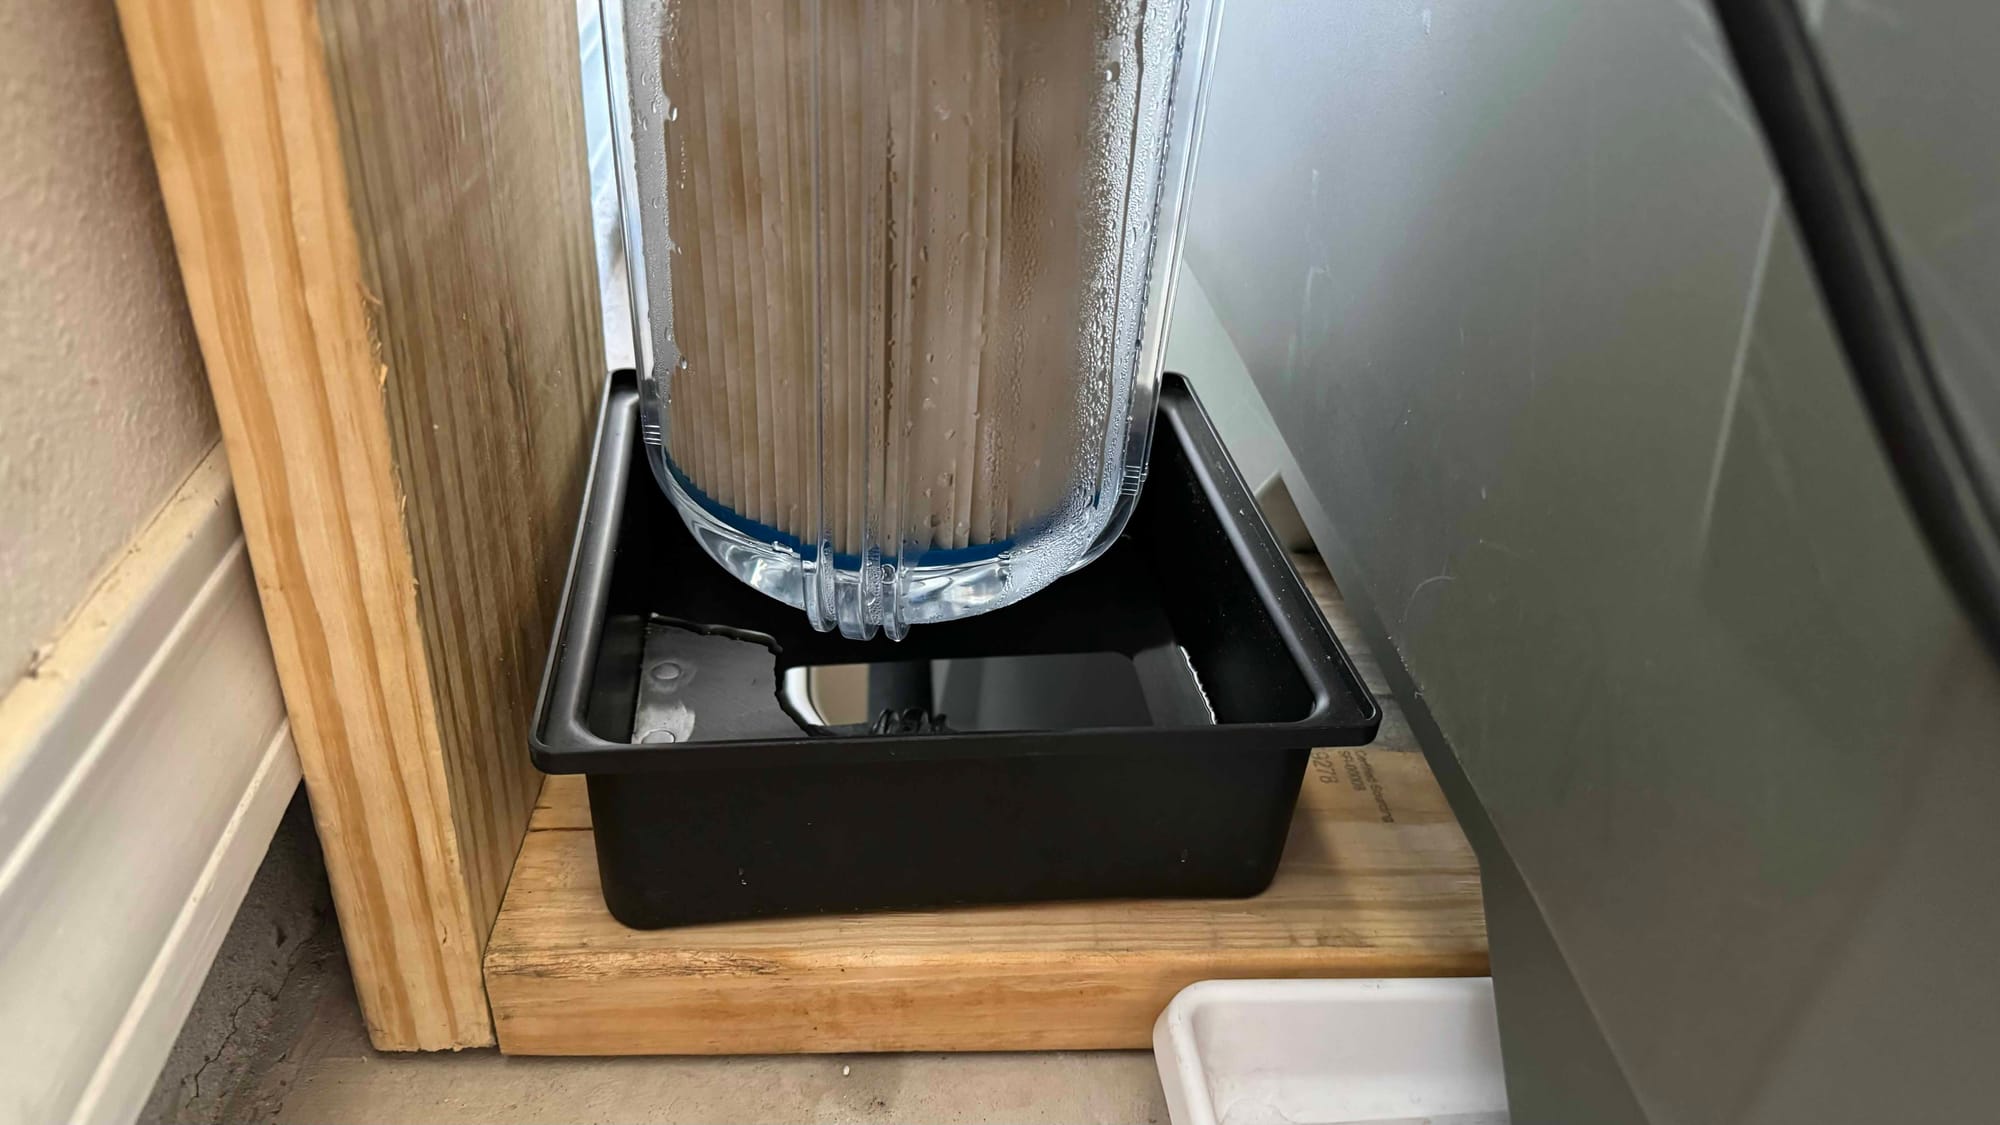
Before I insulated everything, I had some condensation and molding issues that I'll talk about later, but I put the drain basin in there to route the sweat/condensation from the filter housing away.
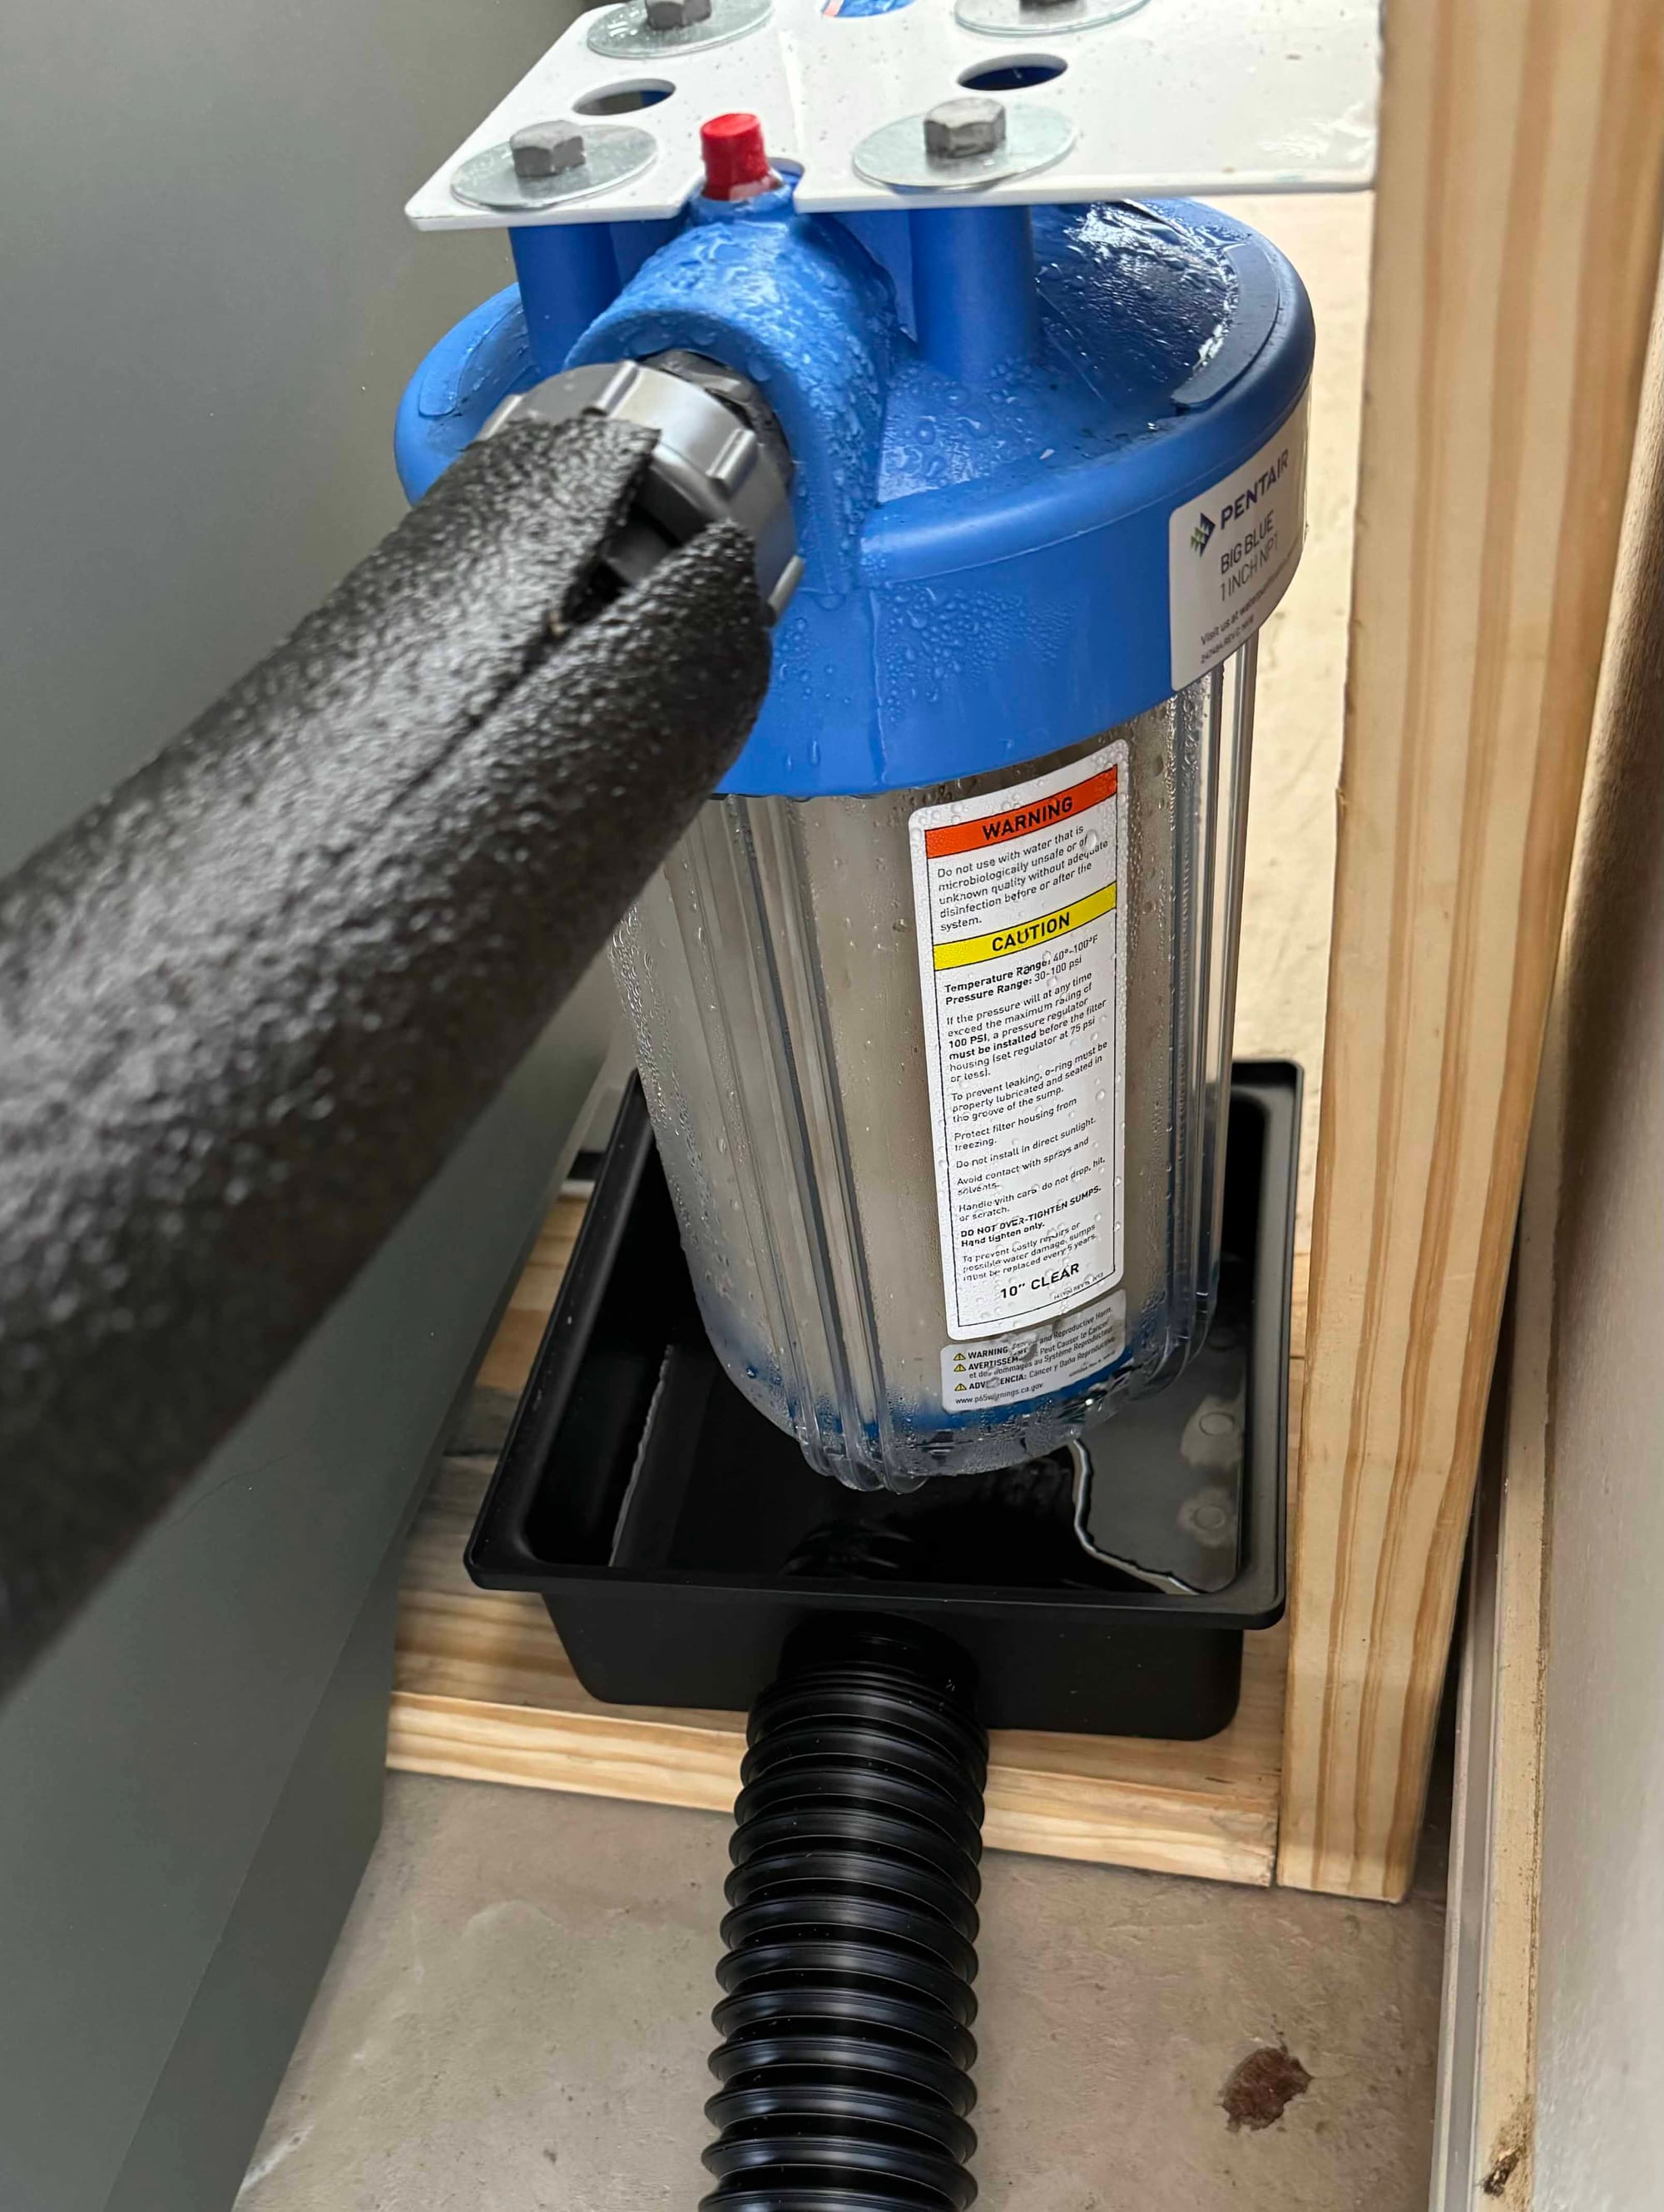
Filter Housing: Pentek 10in Whole Home Filter (Clear)
Filters: 20um 10in Filter (Pack of 4)
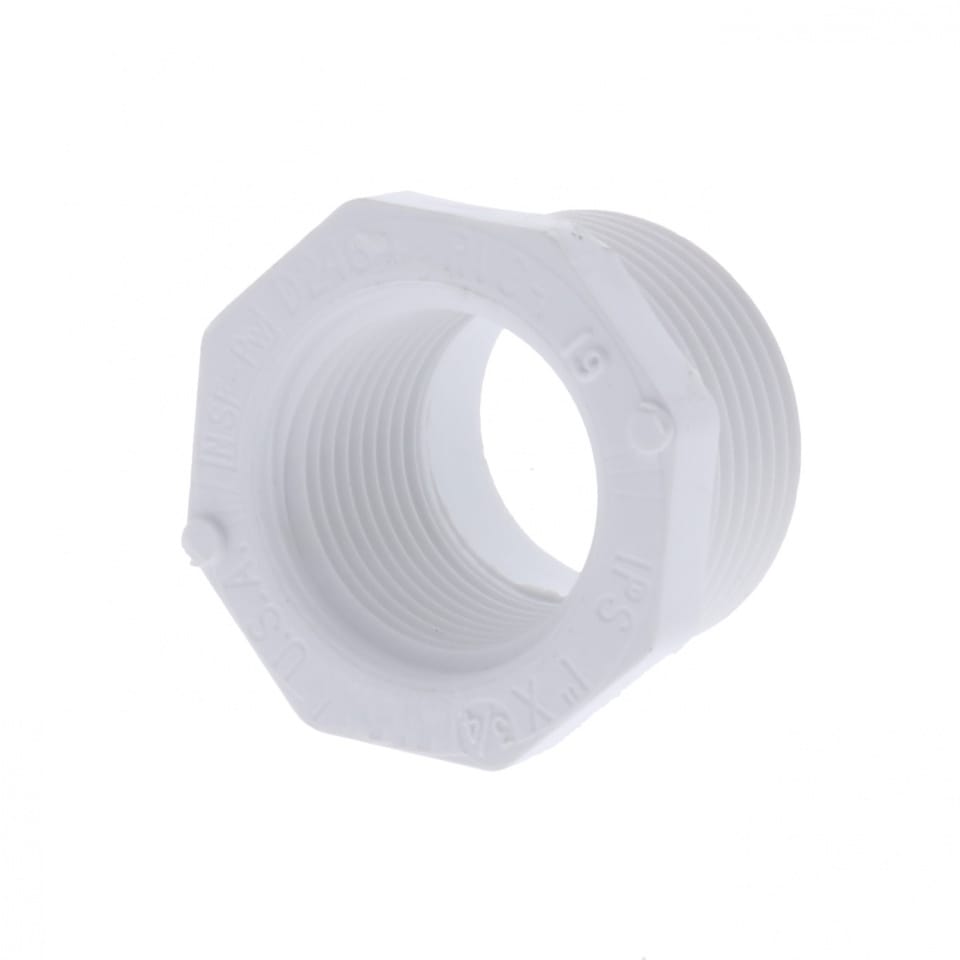
2x - 1 in NPT x 3/4 in NPT Reducing Bushing
1x - 3/4 in Union NPT Female to NPT Female (Threaded)
Frankenstein'd with
1x - 3/4 in Union Slip to Slip (Hose End Connection)
Chiller
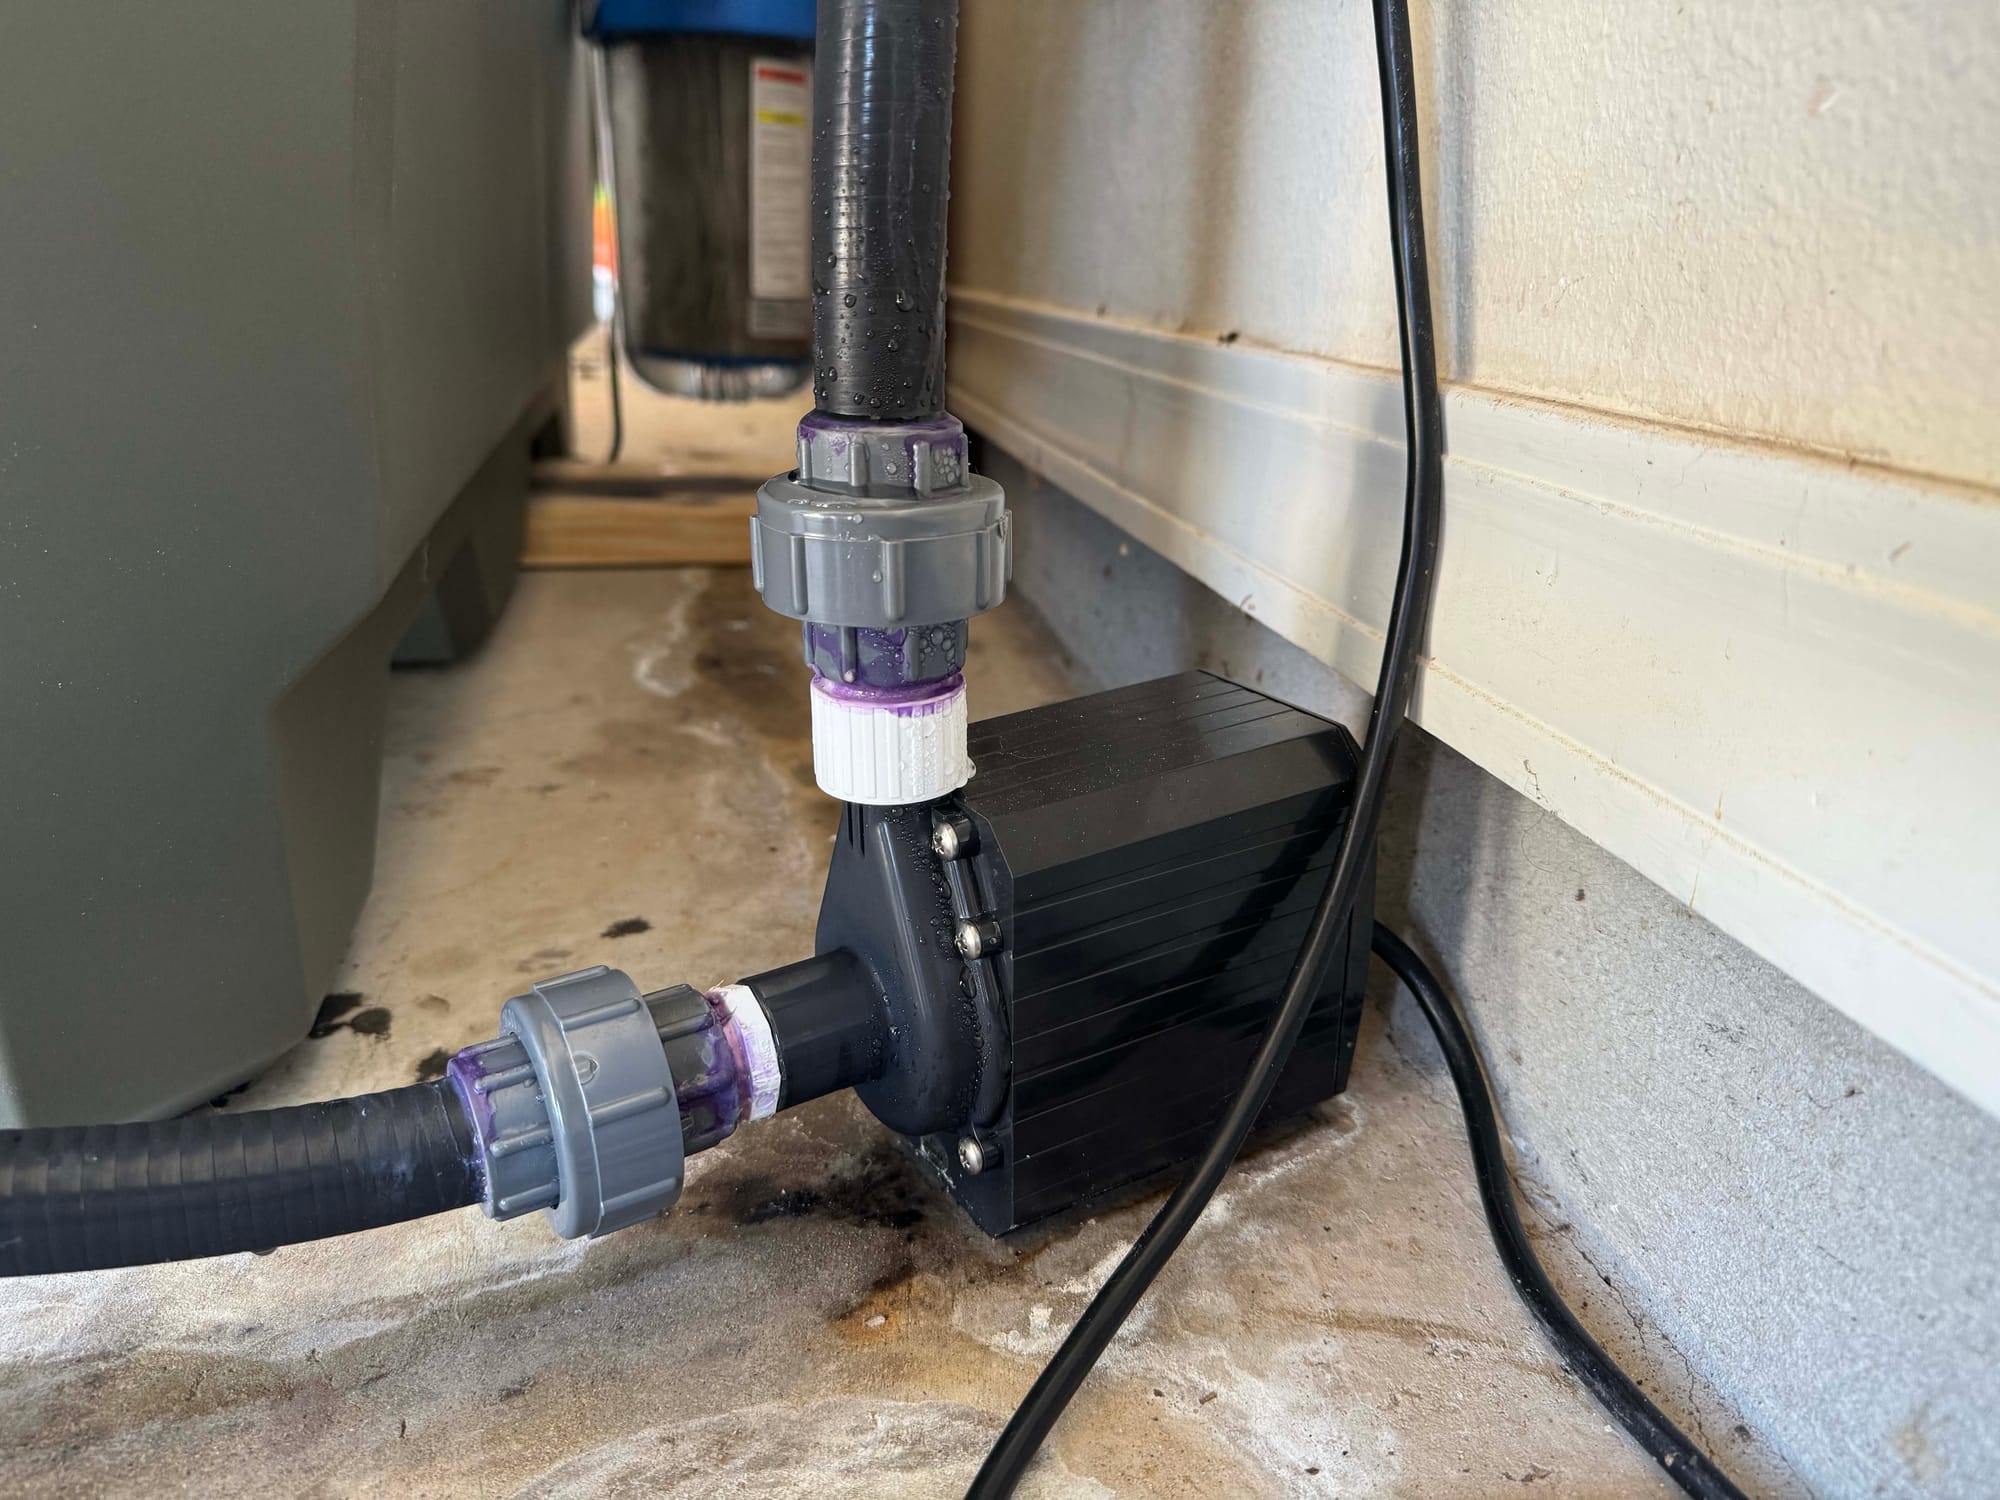
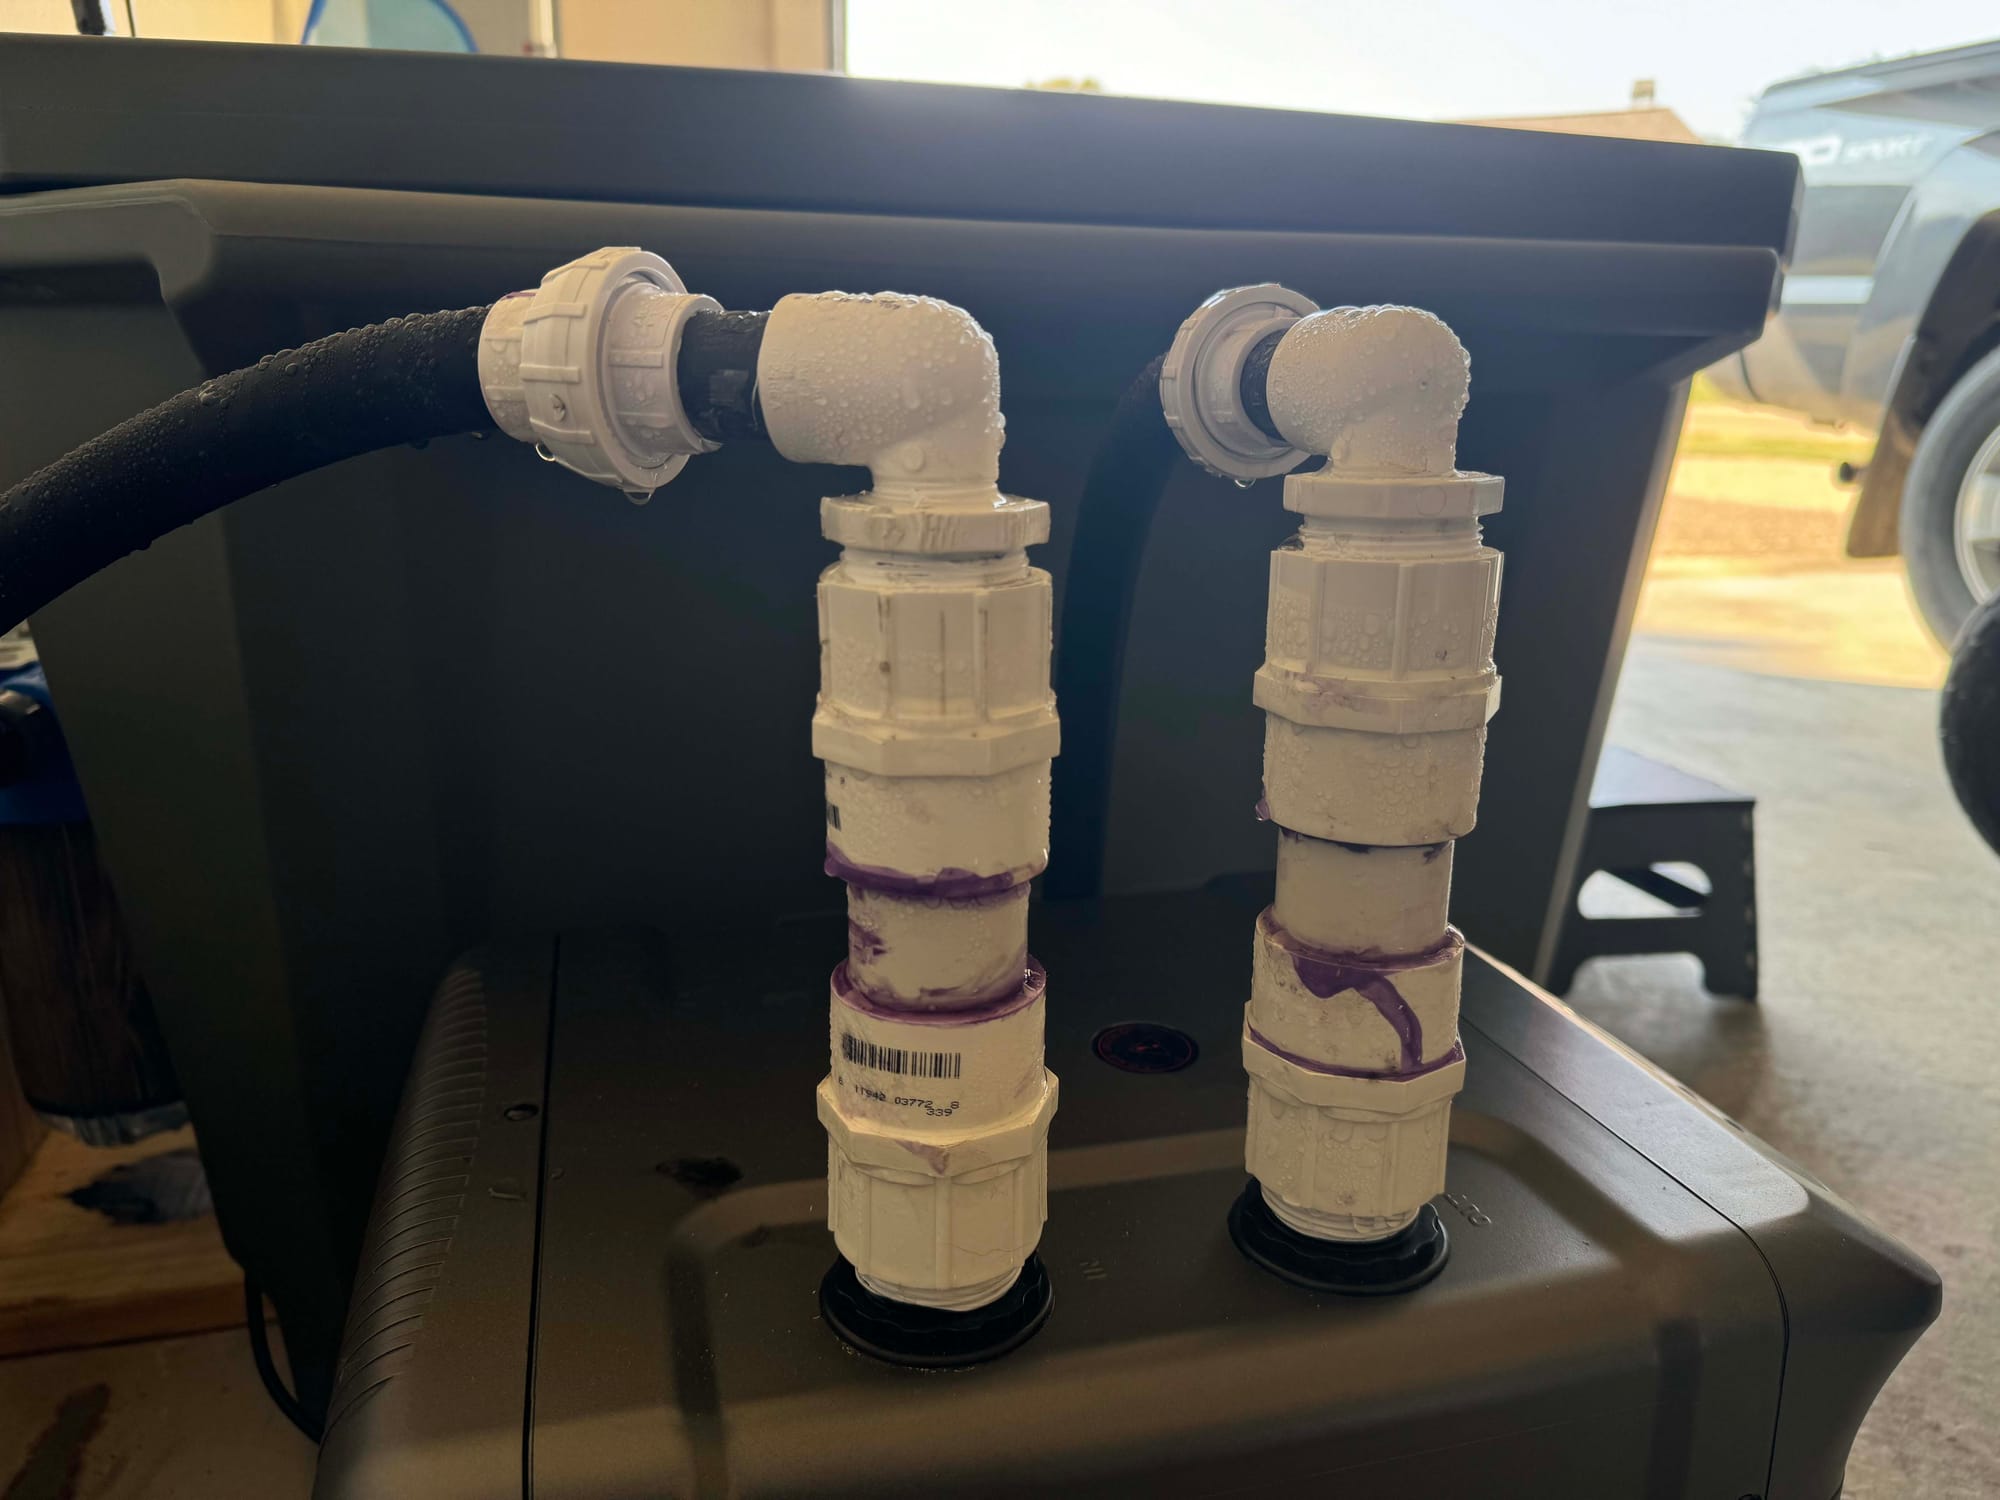
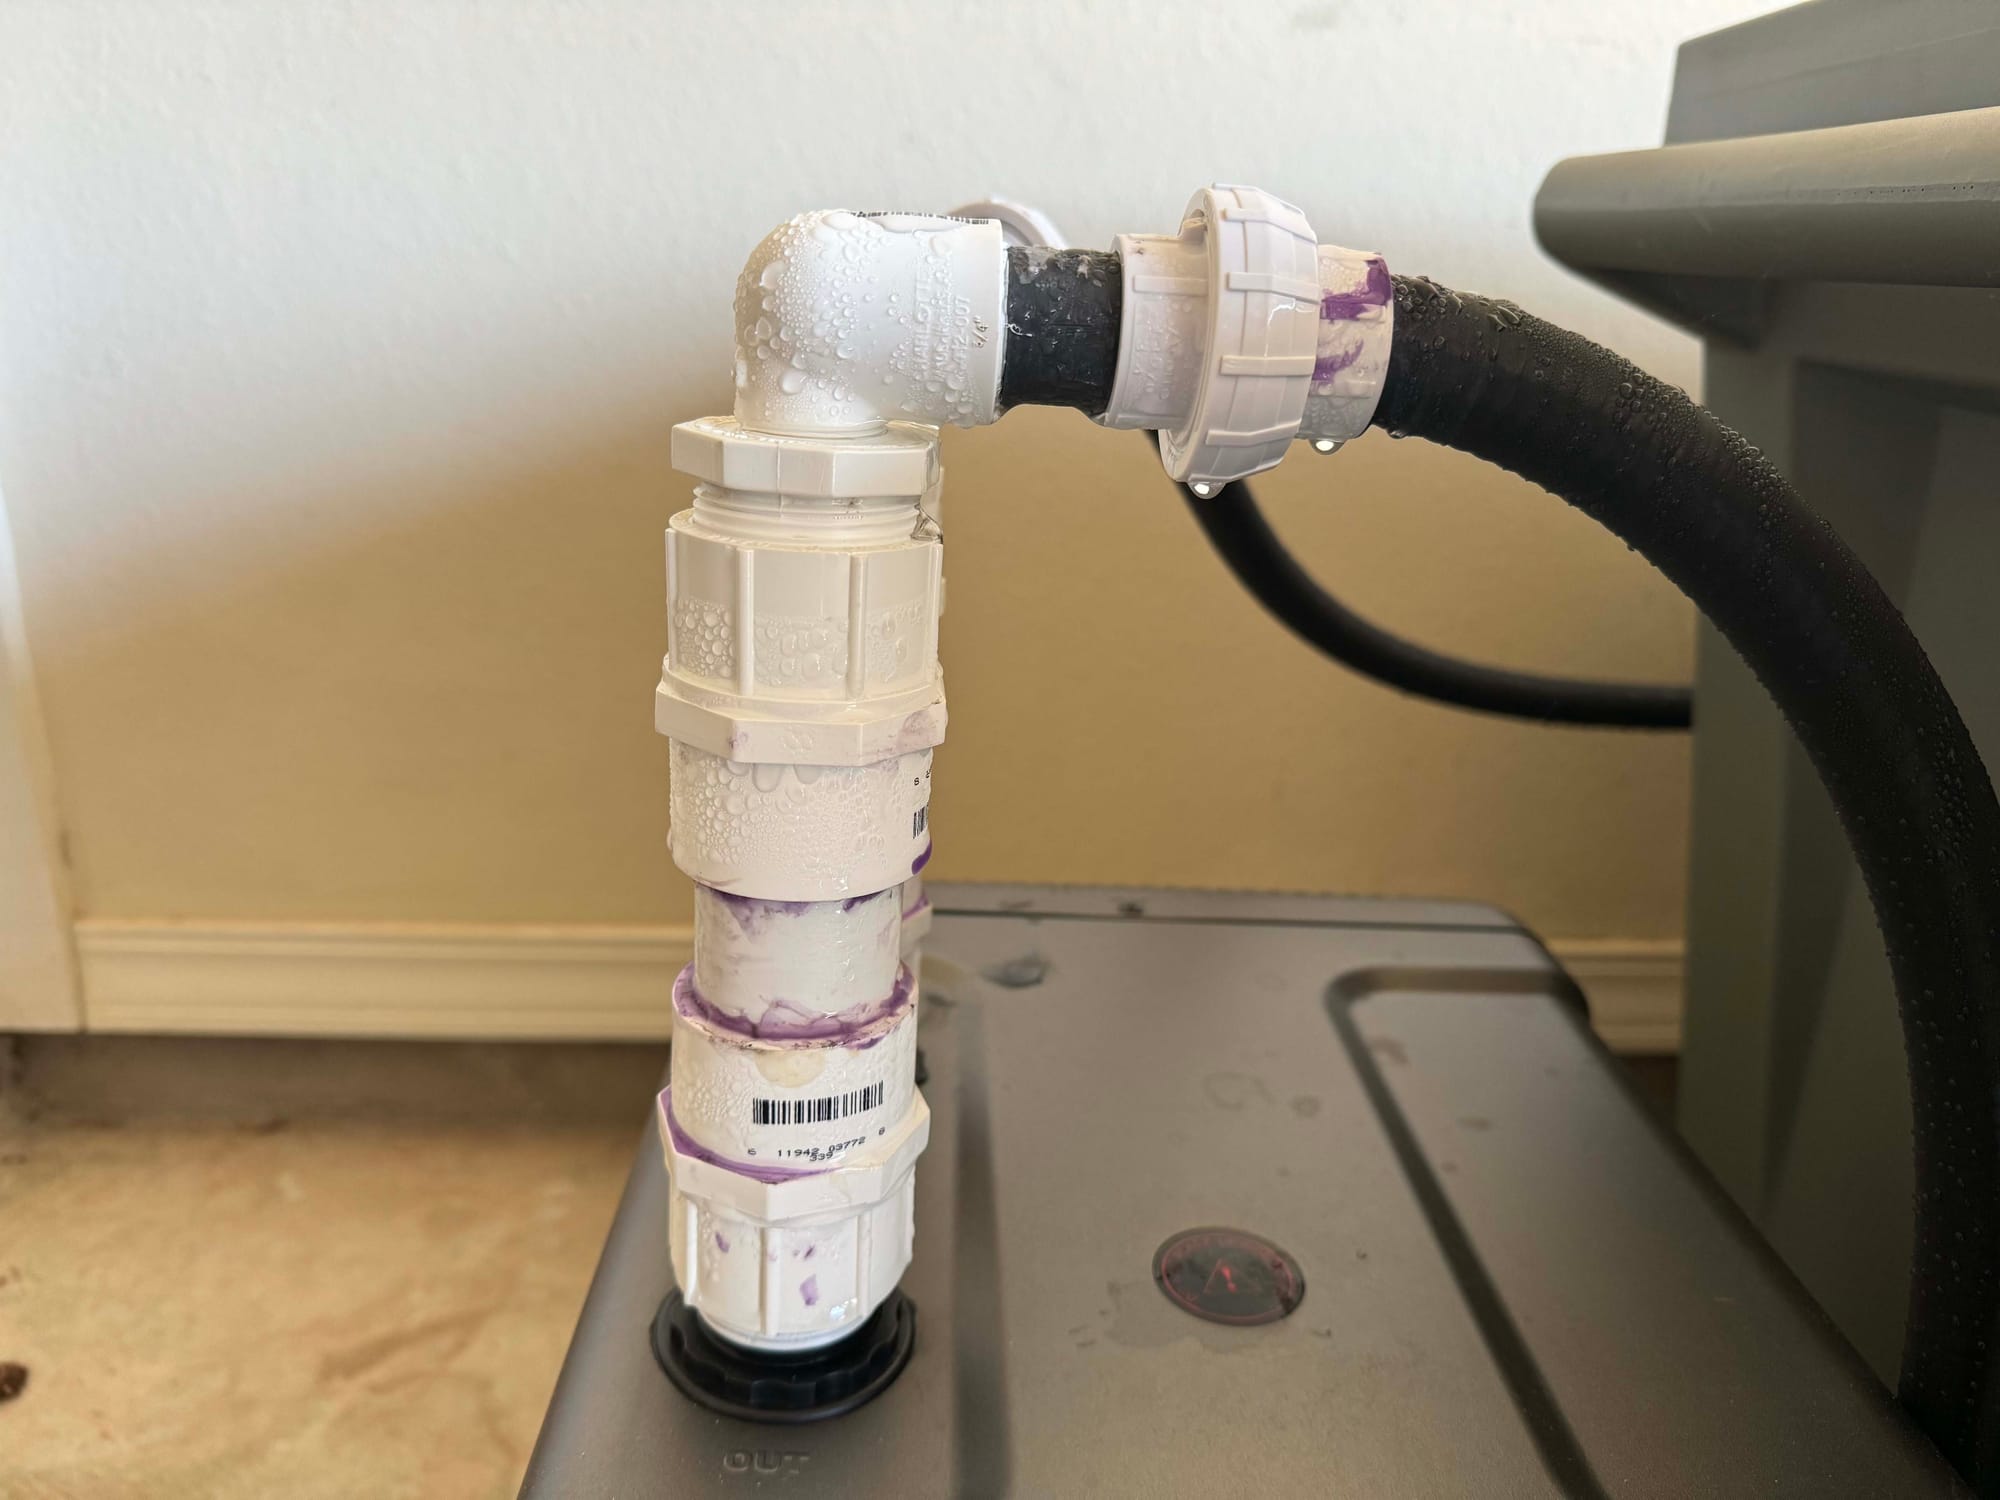
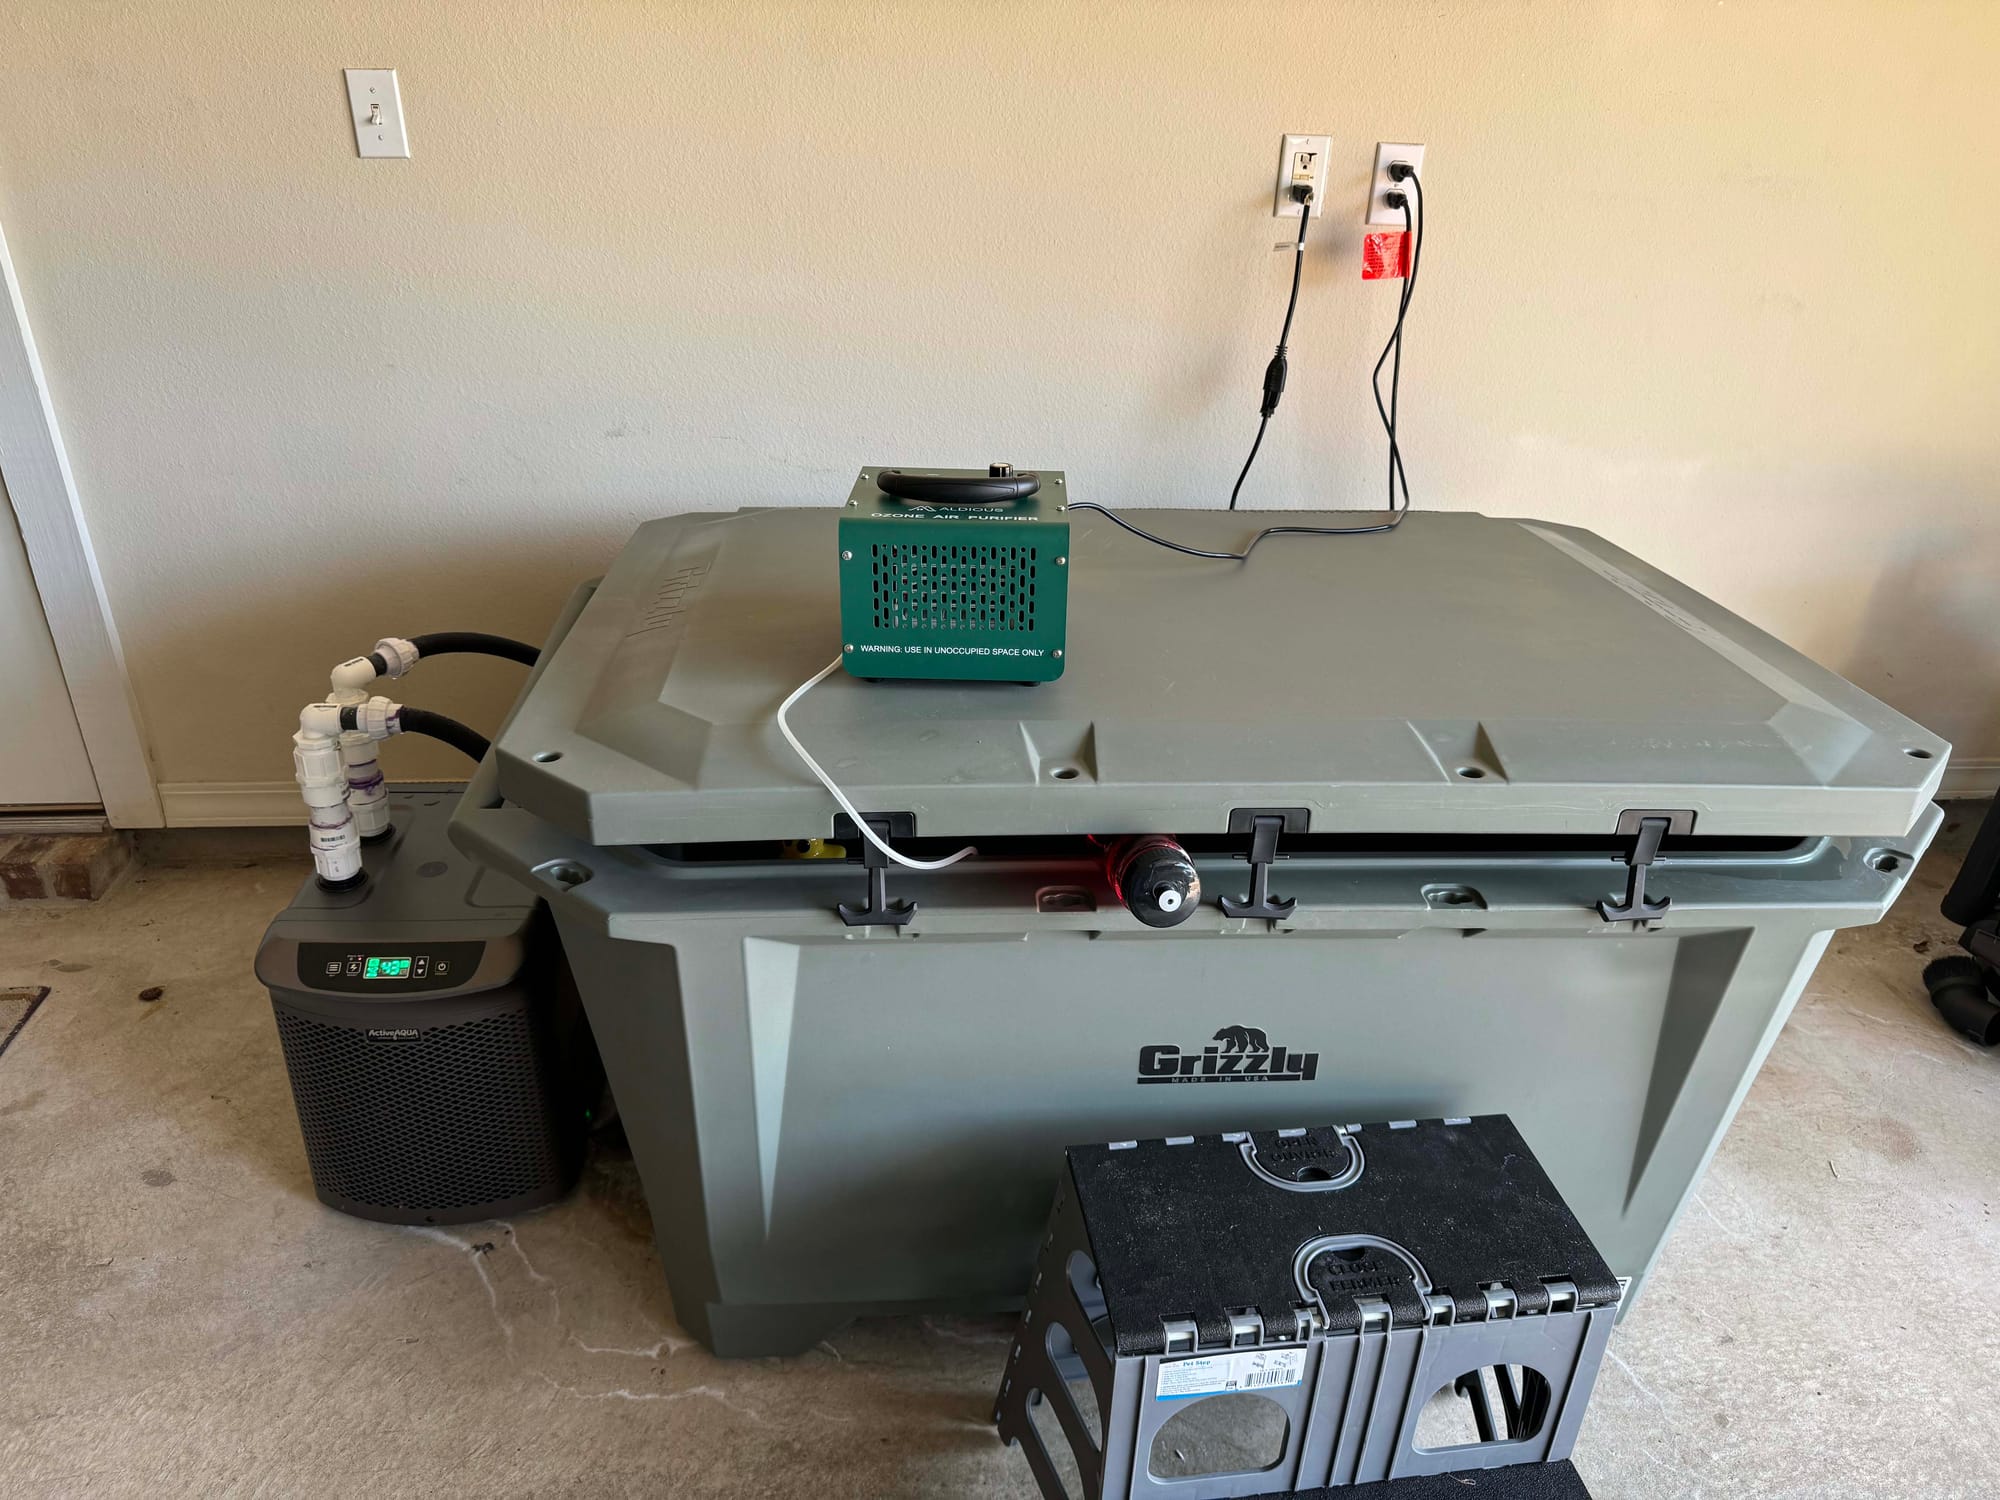
Things got a little wacky with the chiller connections. The chiller has two 1.25" male threaded ends sticking out of the top of it. This needs to be connected to the 3/4" flexible PVC hose. Simple enough. I couldn't find any of the pipe fittings I needed locally, so I had to improvise by making this monstrosity. It turned out to be just what I needed though. The added height to the fittings allowed for me to place the chiller closer to the cooler, and it made routing the flexible hose to the cooler inlet easier.
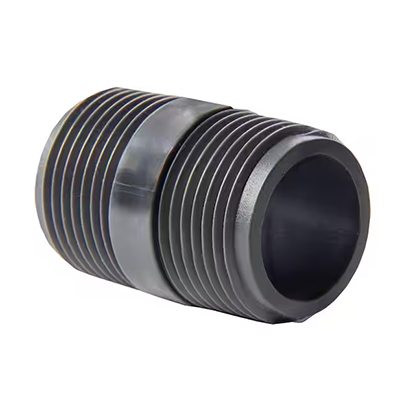
What I did was get a 1.25" Female NPT to 1.25" slip fitting, and then cut a small 3 to 4in section of 1.25" PVC to connect to another 1.25" Female NPT to 1.25" slip fitting. This turned the 1.25" male threads on the chiller into female threads basically. I'm sure there is a fitting for that, but I couldn't find one locally. From there, I used a 1.25" to 0.75" reducing bushing, to a elbow, to a 0.75" nipple, to the union.
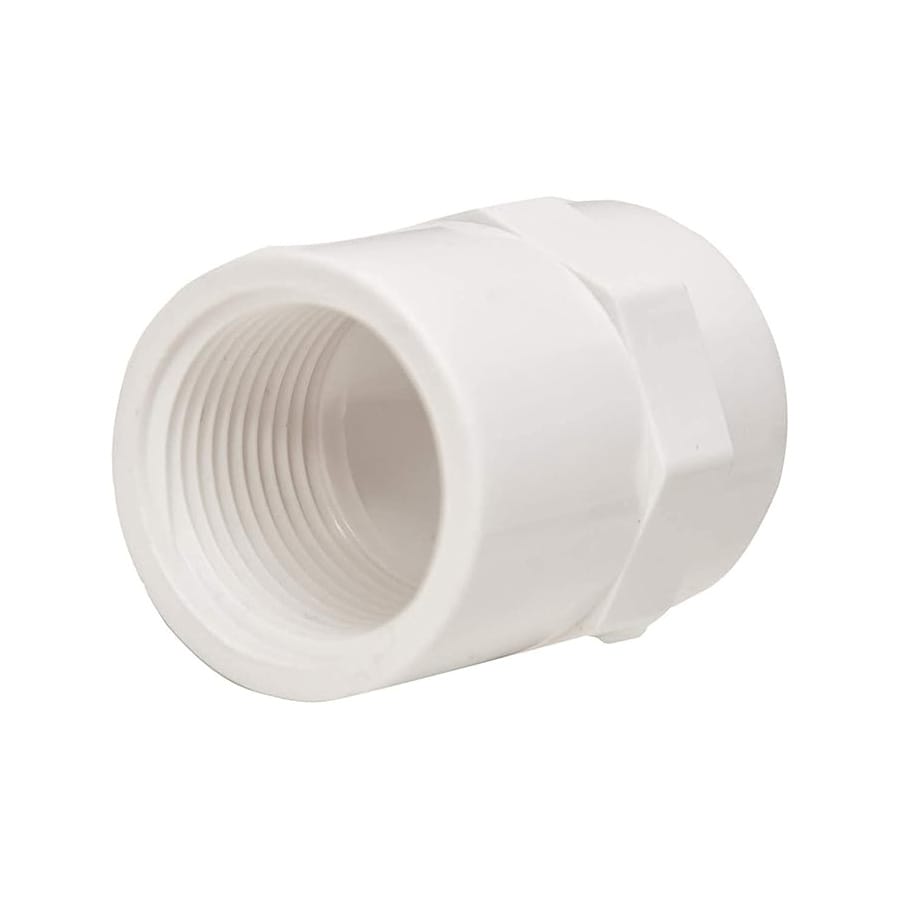
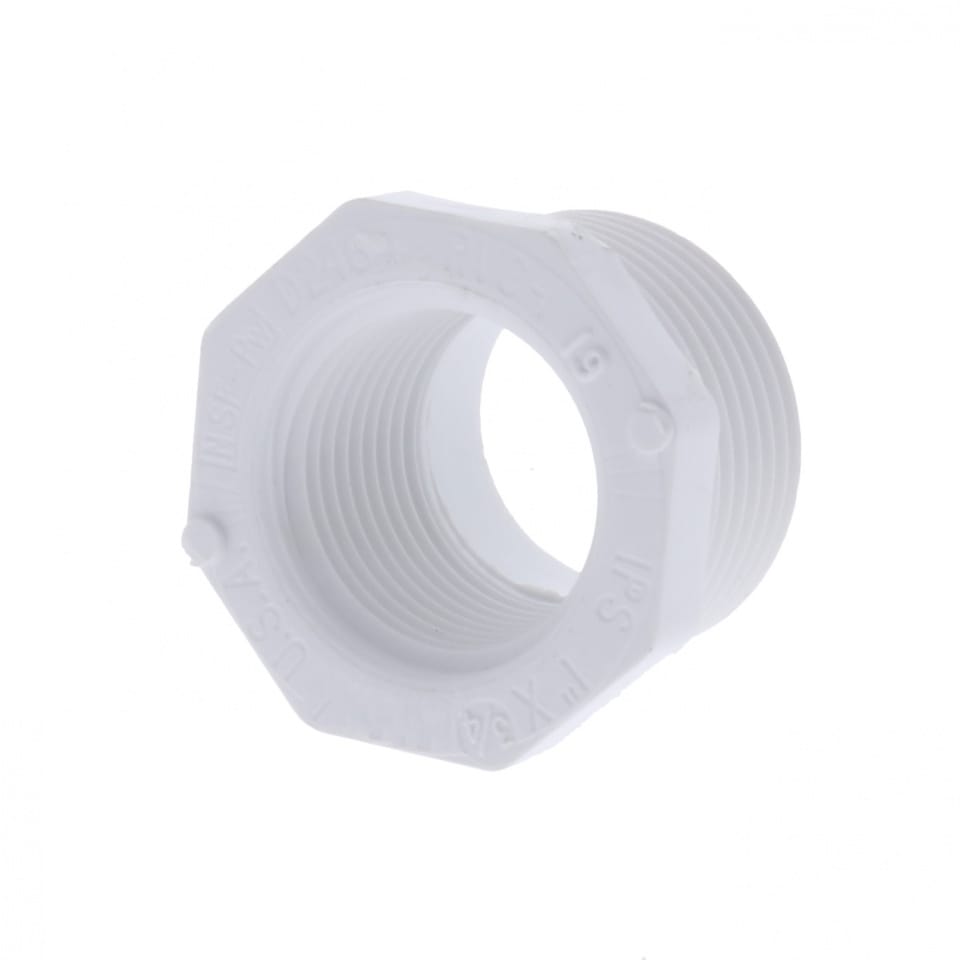
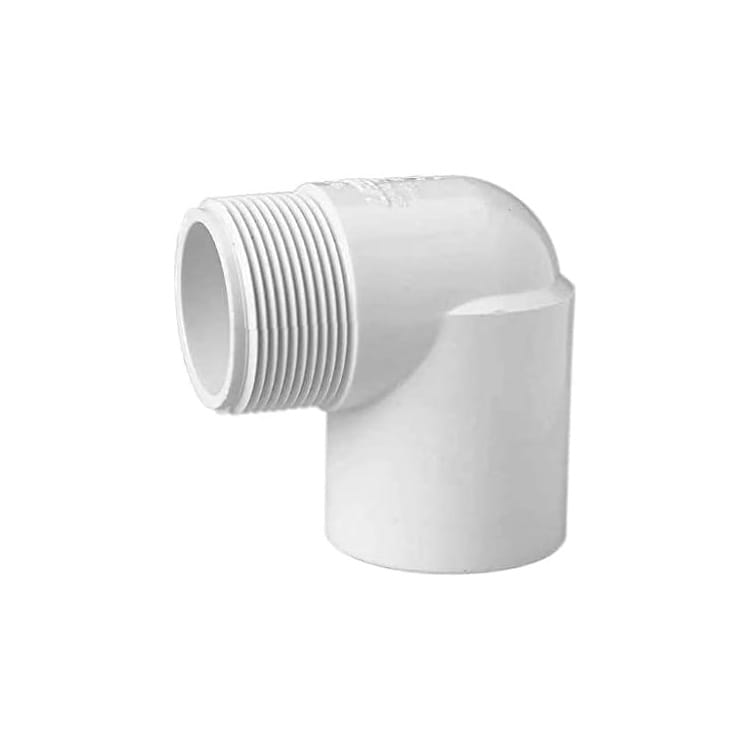
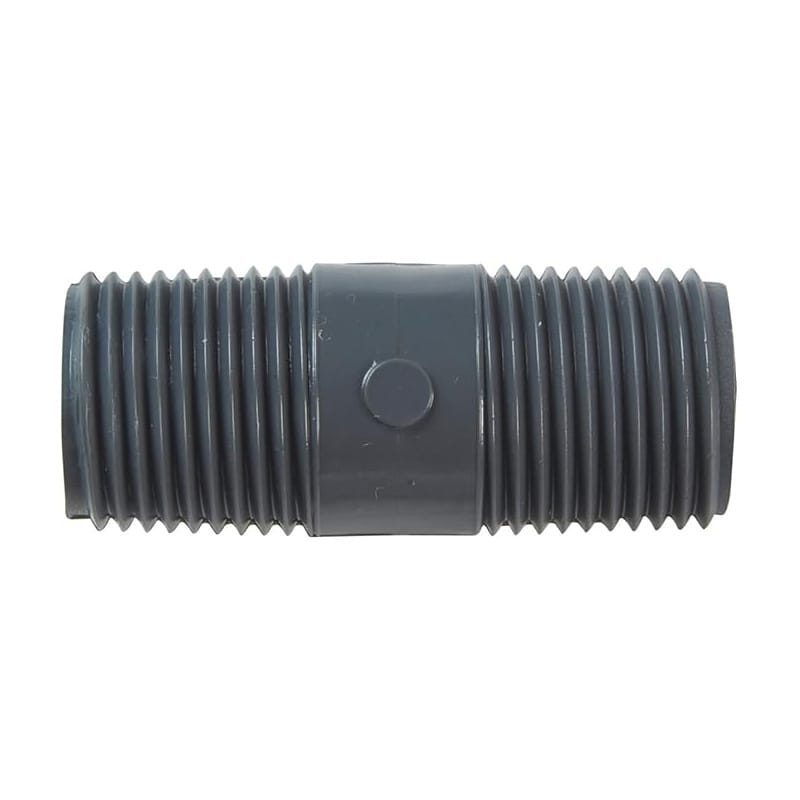
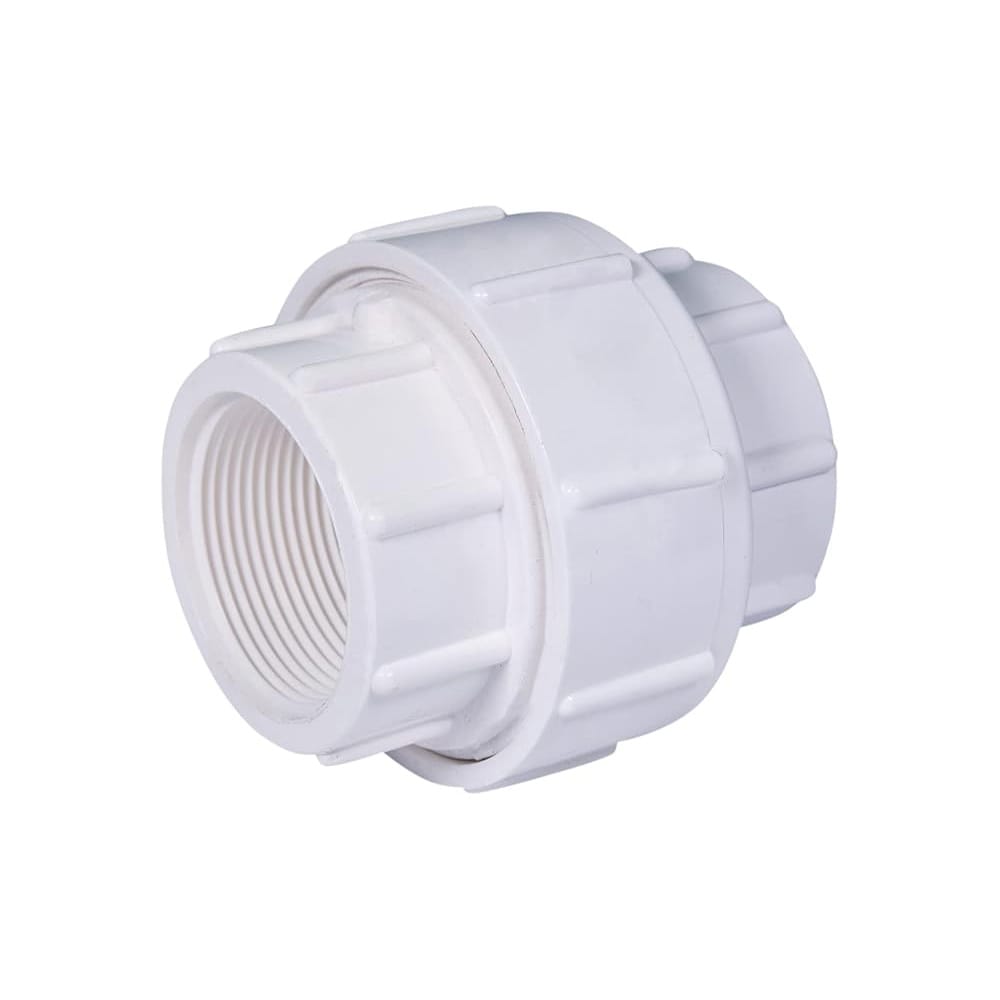
4x - 1-1/4 in FPT to Slip Socket Adapter
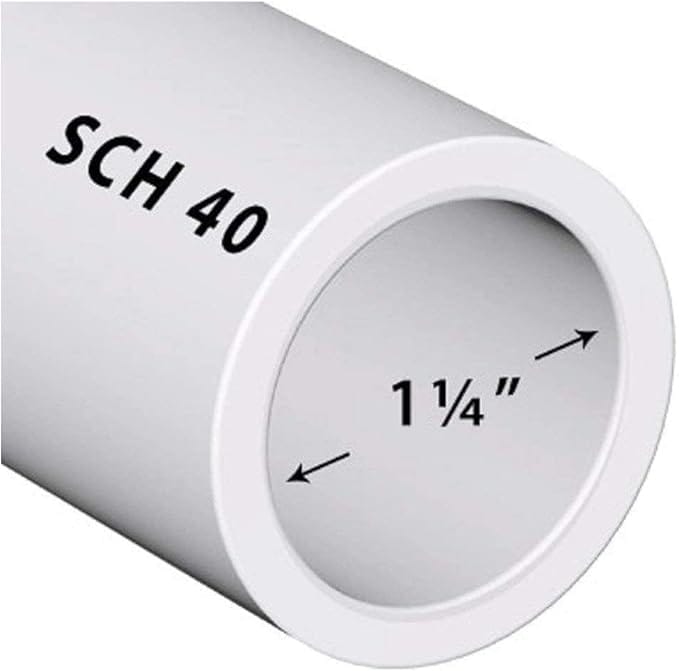
1-1/4 in PVC - Approximately Two 4in Sections
2x - 1-1/4 in to 3/4 in Reducing Bushing
2x - 3/4 in NPT Female to 3/4 in NPT Male Elbow
2x - 3/4 in Union NPT Female to NPT Female (Threaded)
Frankenstein'd with
2x - 3/4 in Union Slip to Slip (Hose End Connection)
Grizzly Inlet
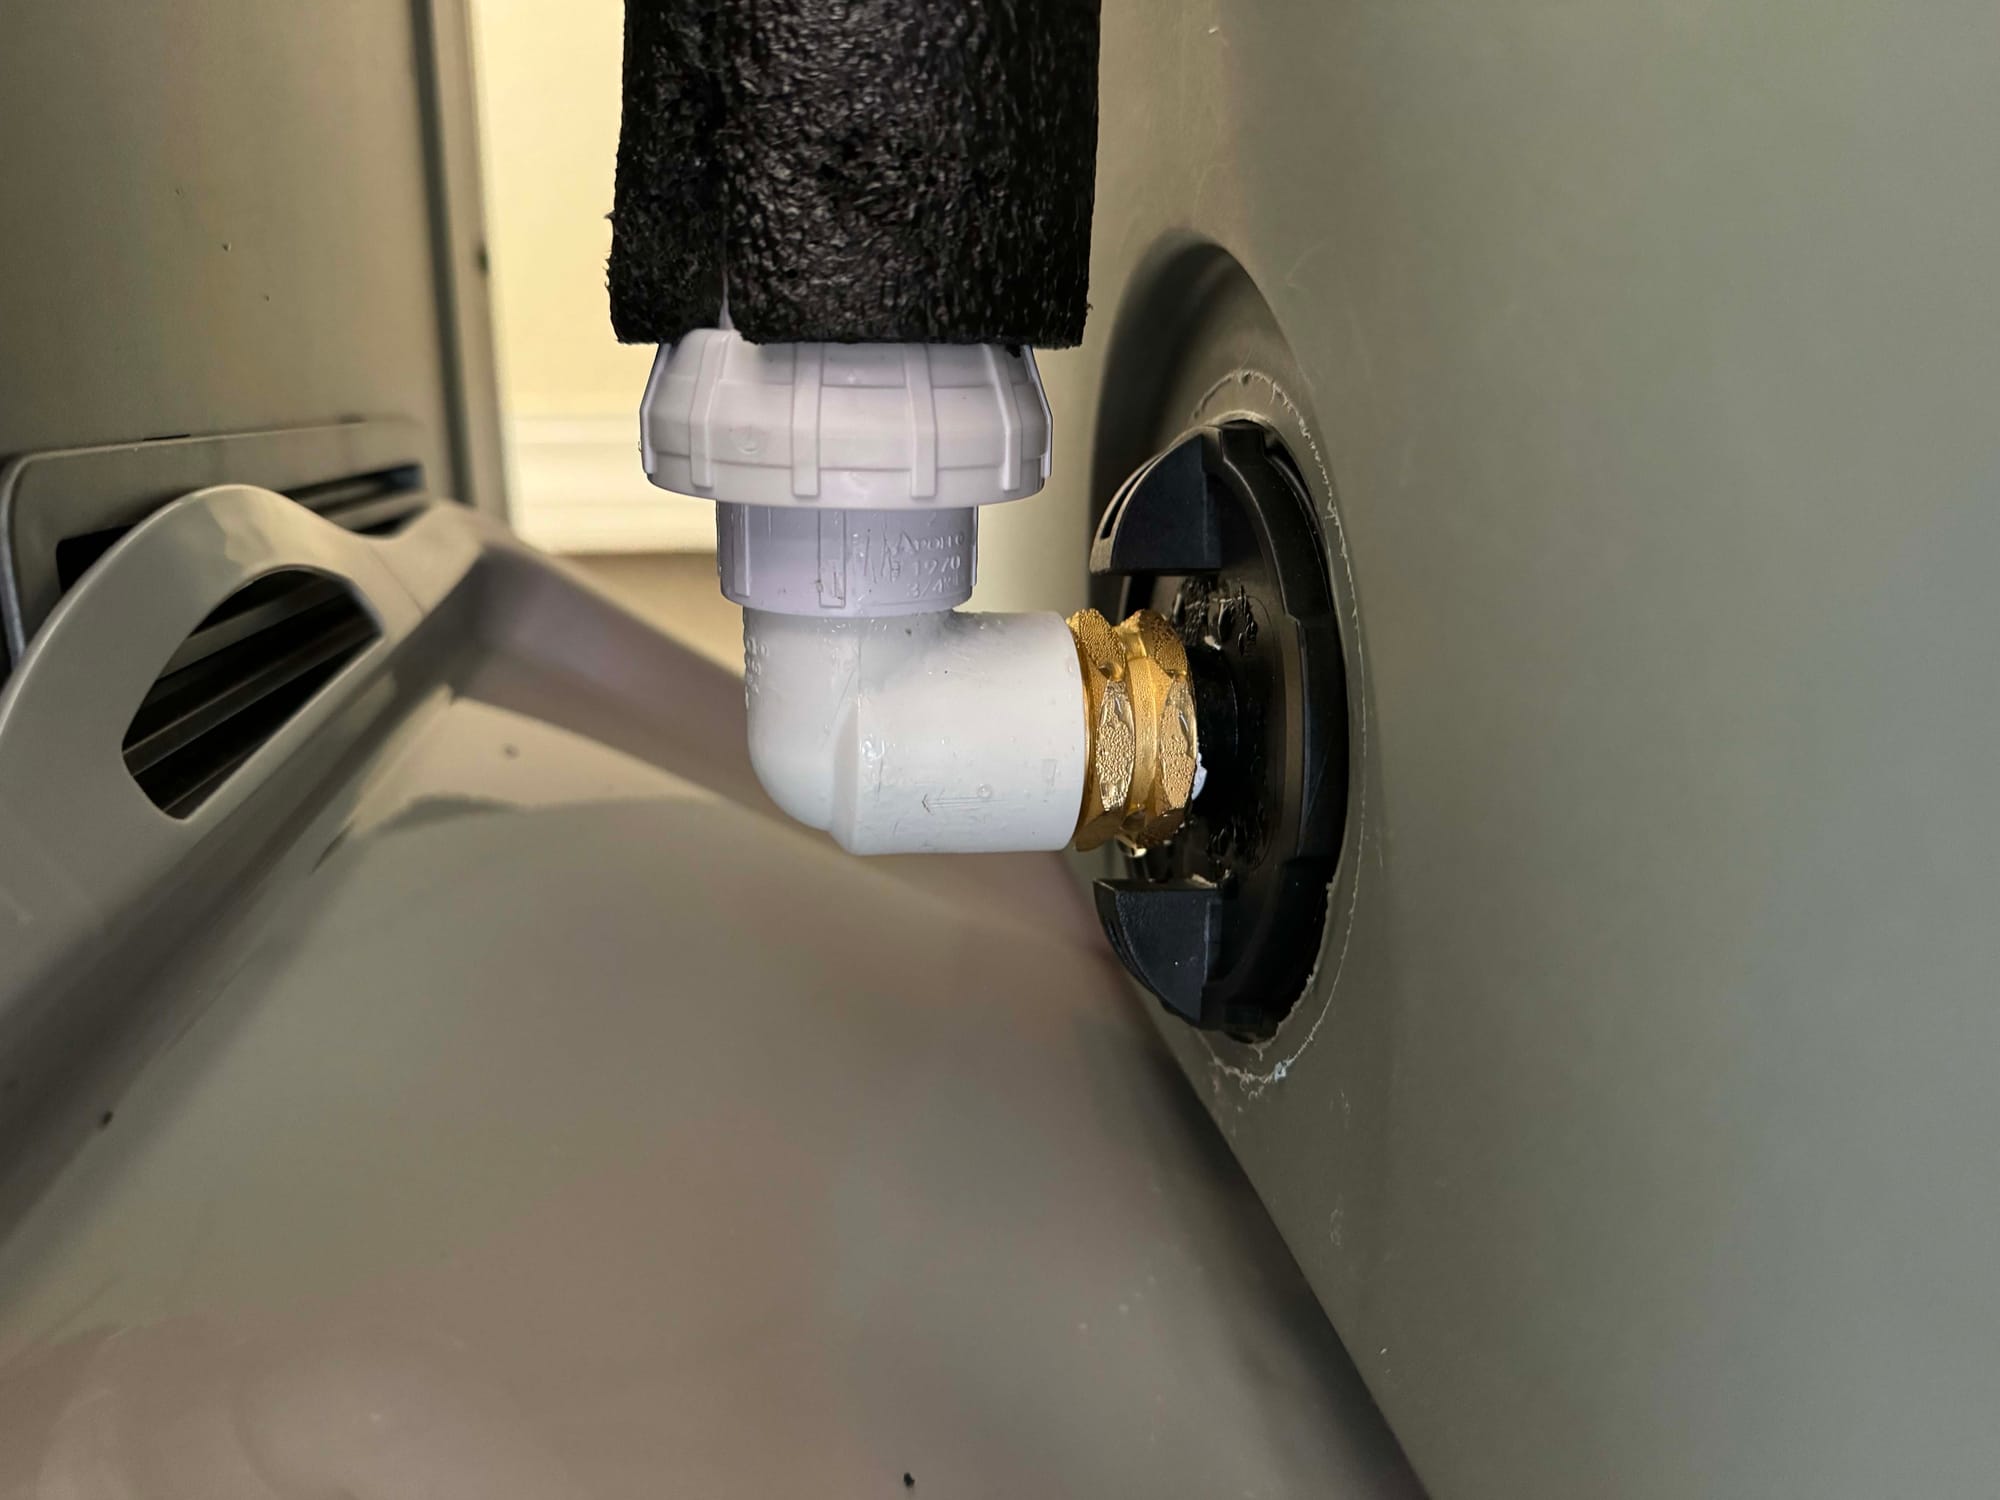
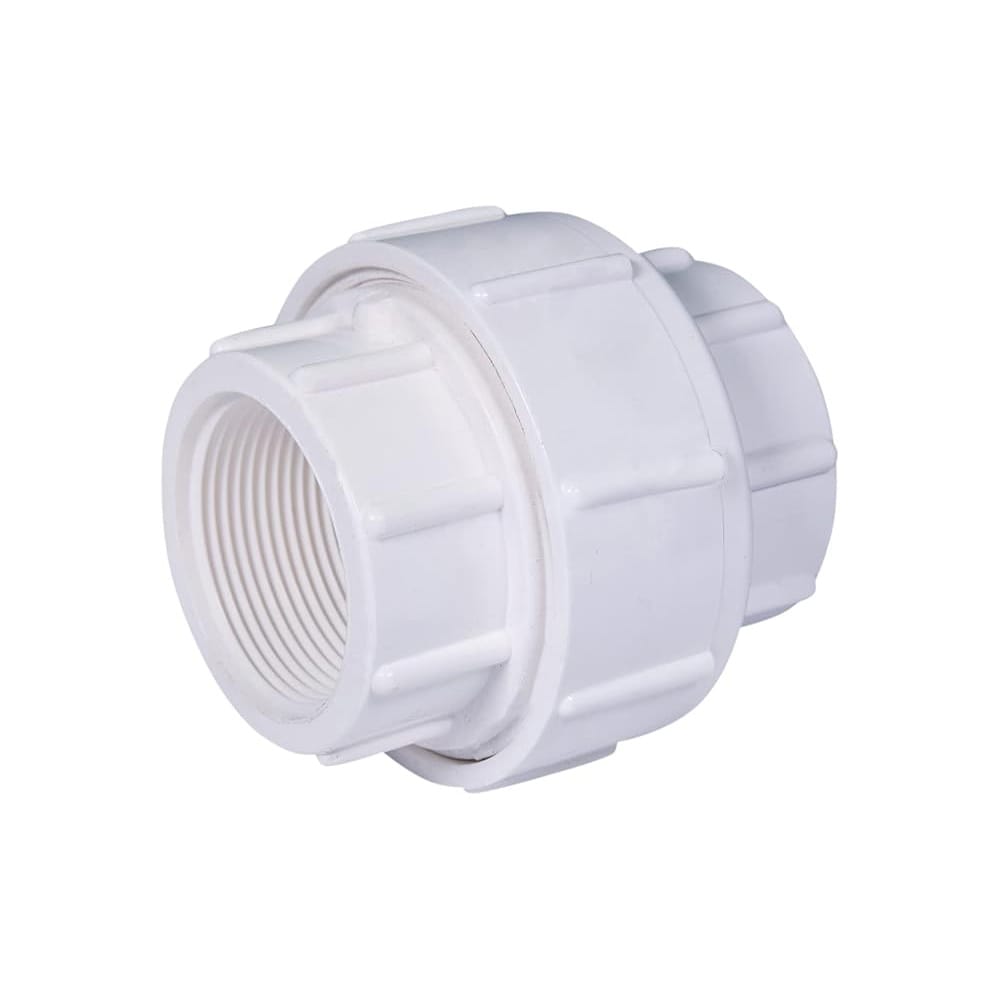
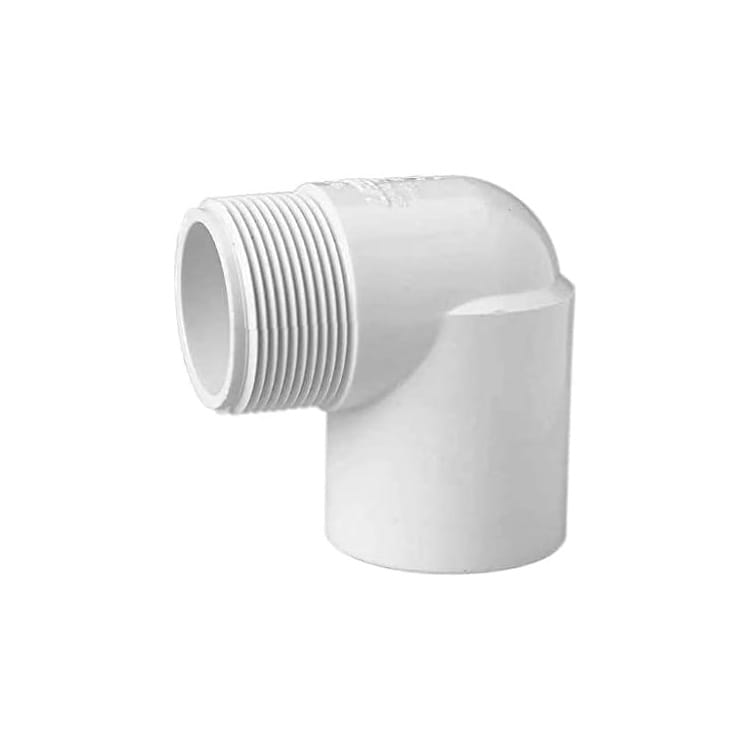
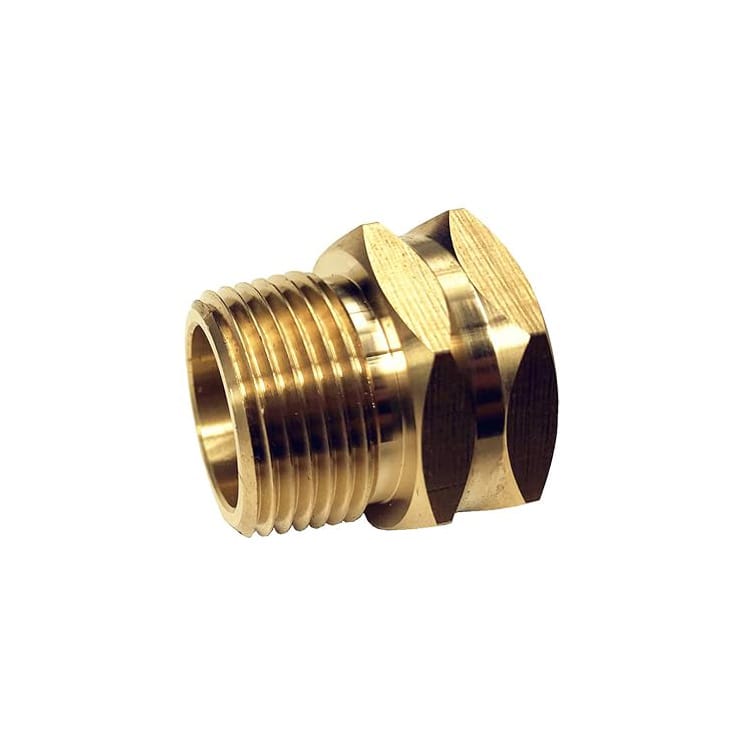
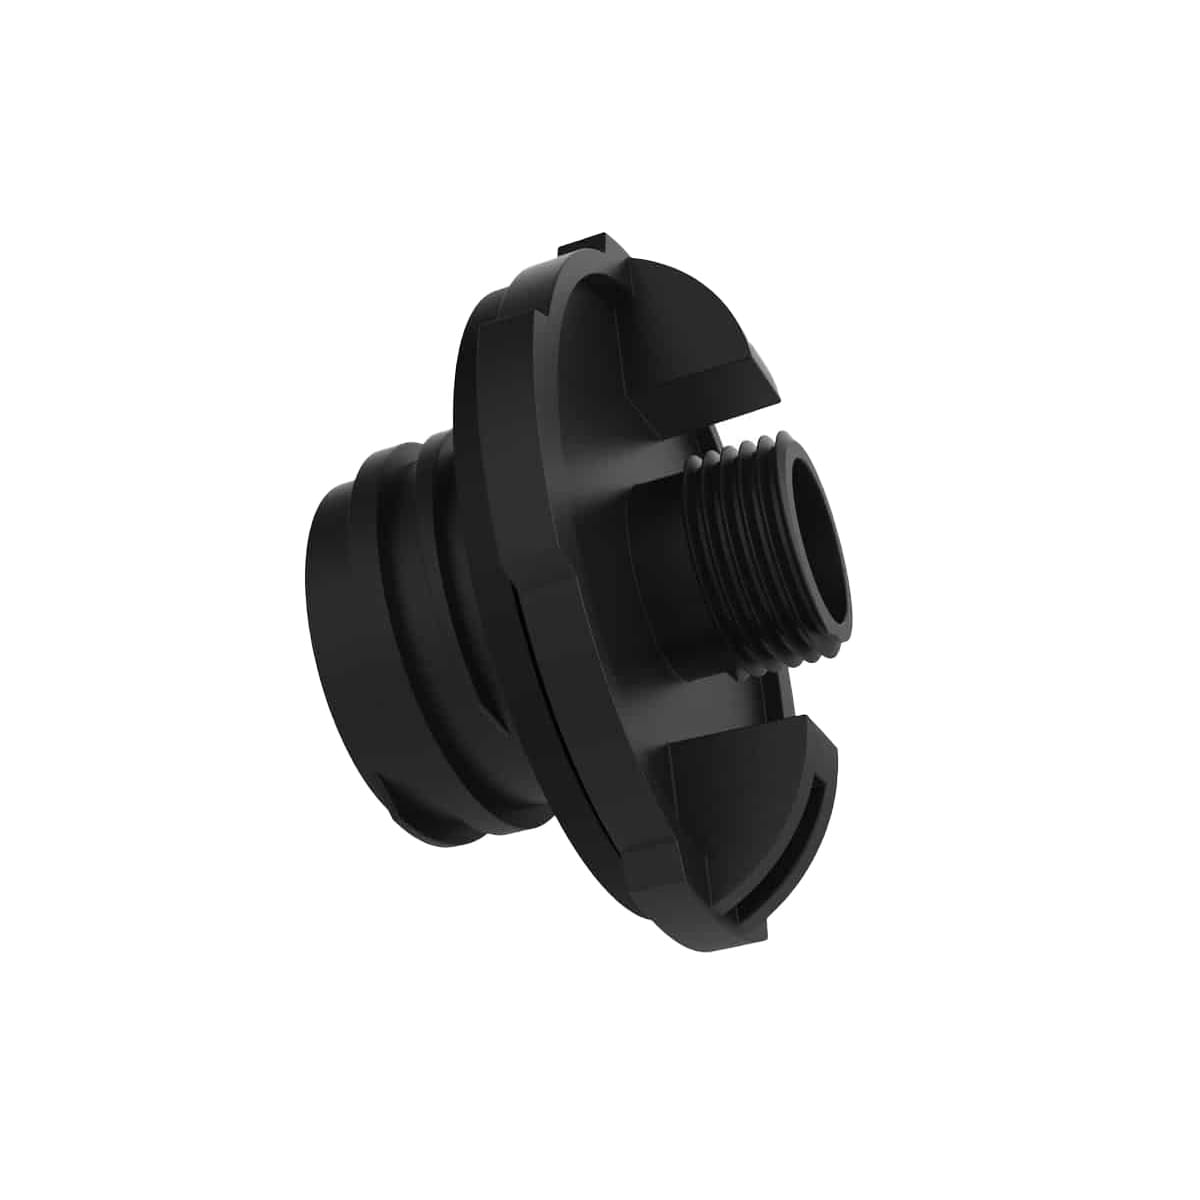
1x - 3/4 in Union Slip to Slip (Hose End Connection)
Frankenstein'd with
1x - 3/4 in Union NPT Female to NPT Female (Threaded)
1x - 3/4 in NPT Female to 3/4 in NPT Male Elbow
1x - 3/4 in GHT Female to 3/4 in NPT Male
Grizzly Torrent Twist with hose connection
Ozone Generator
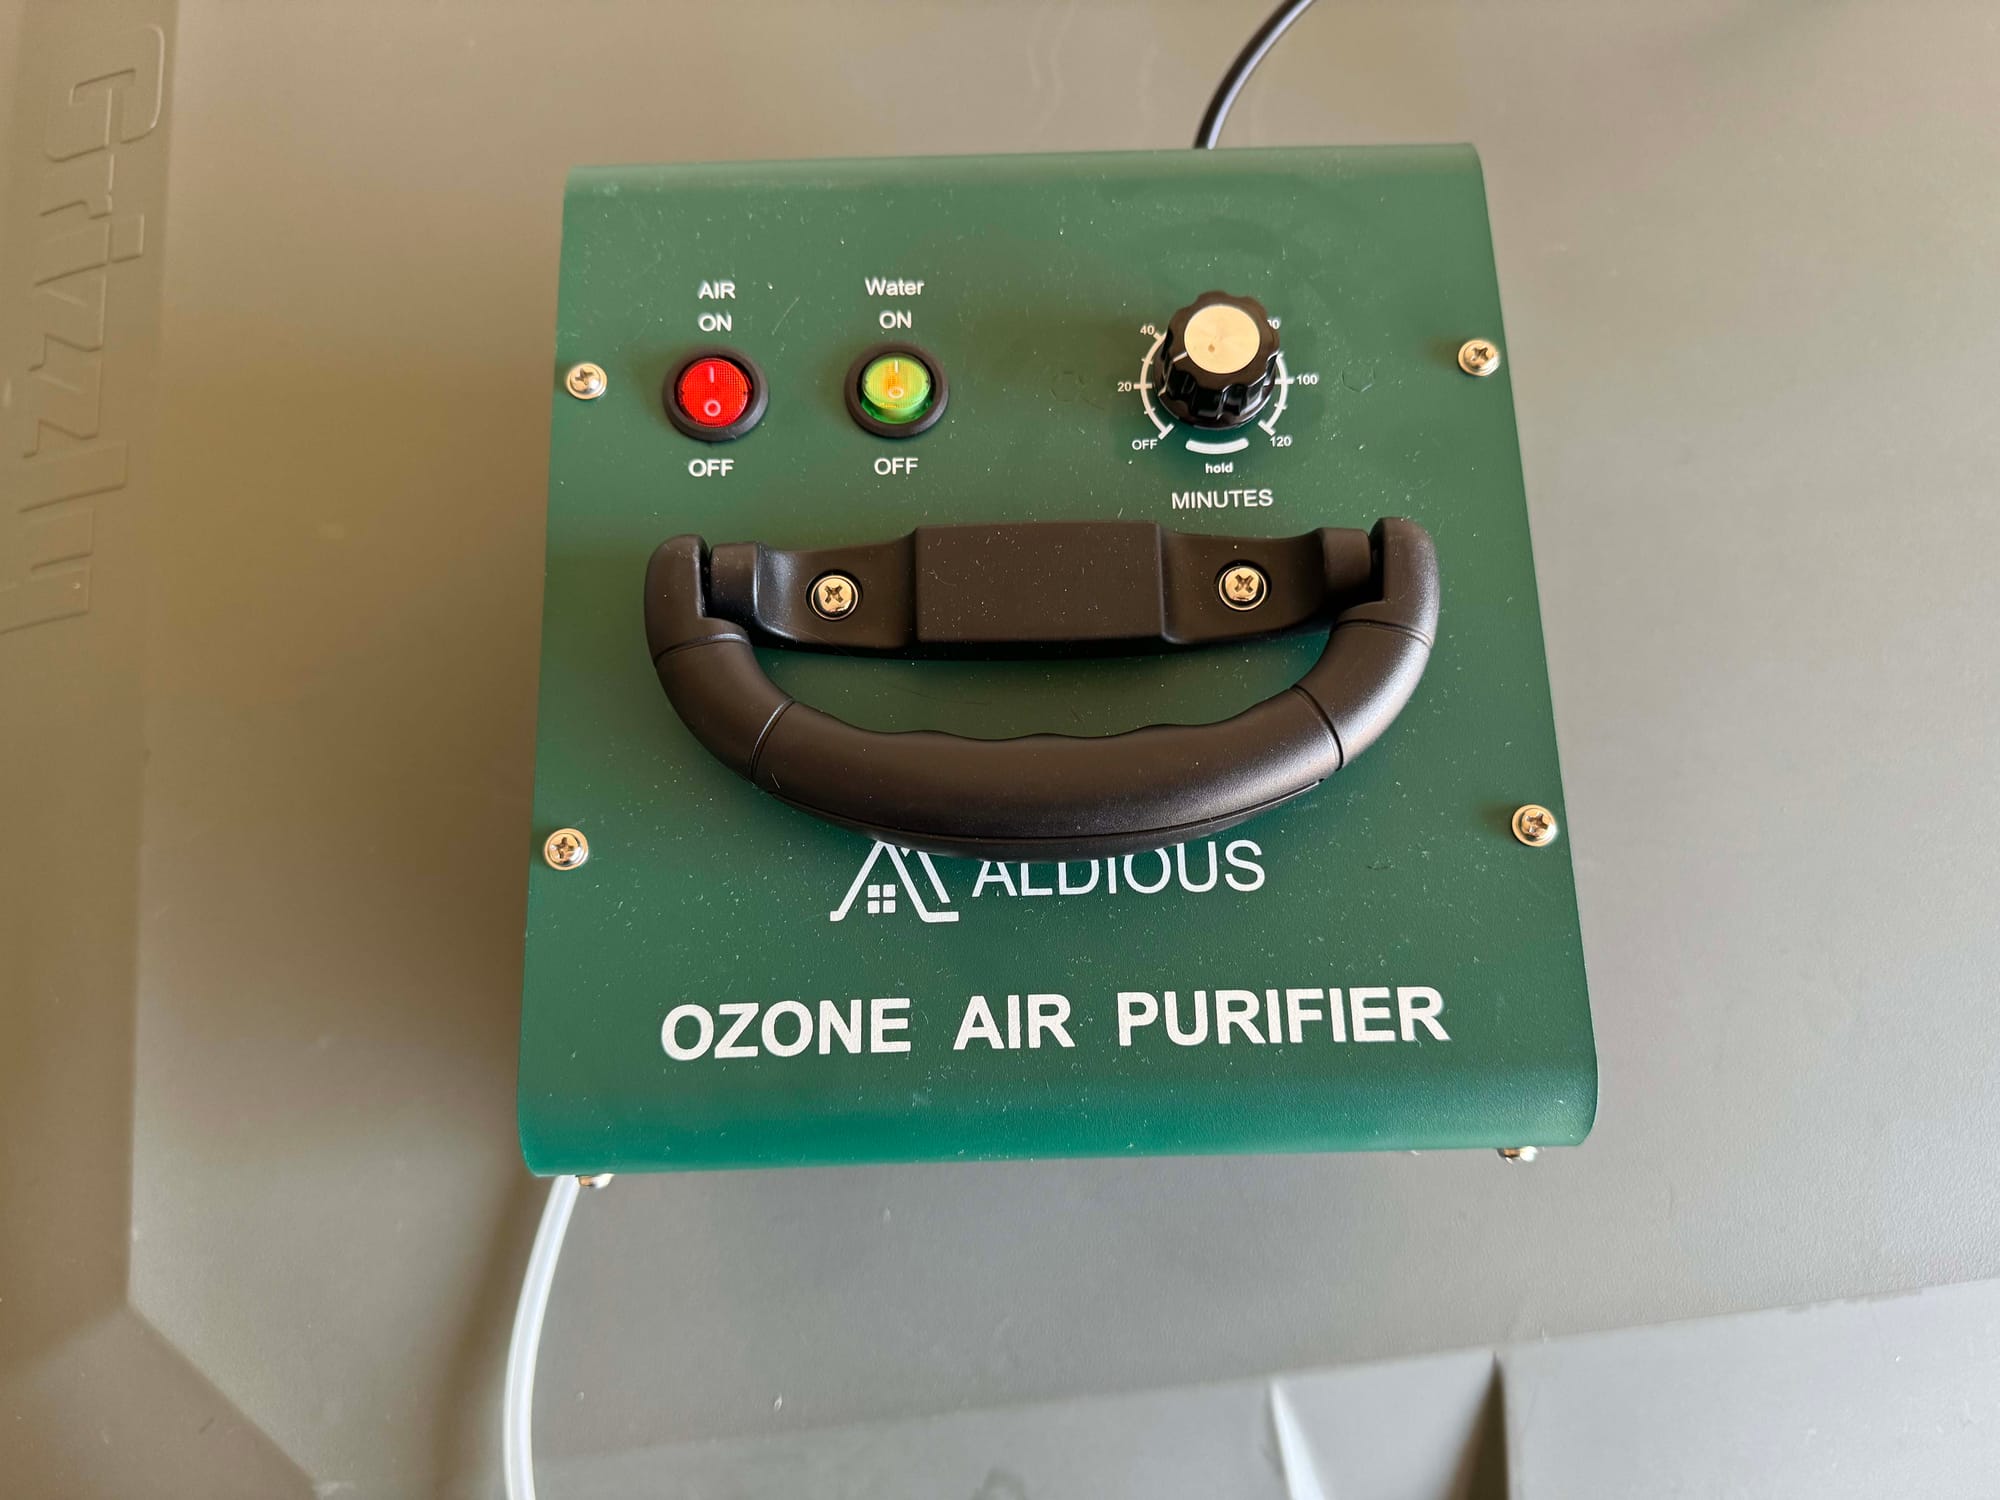
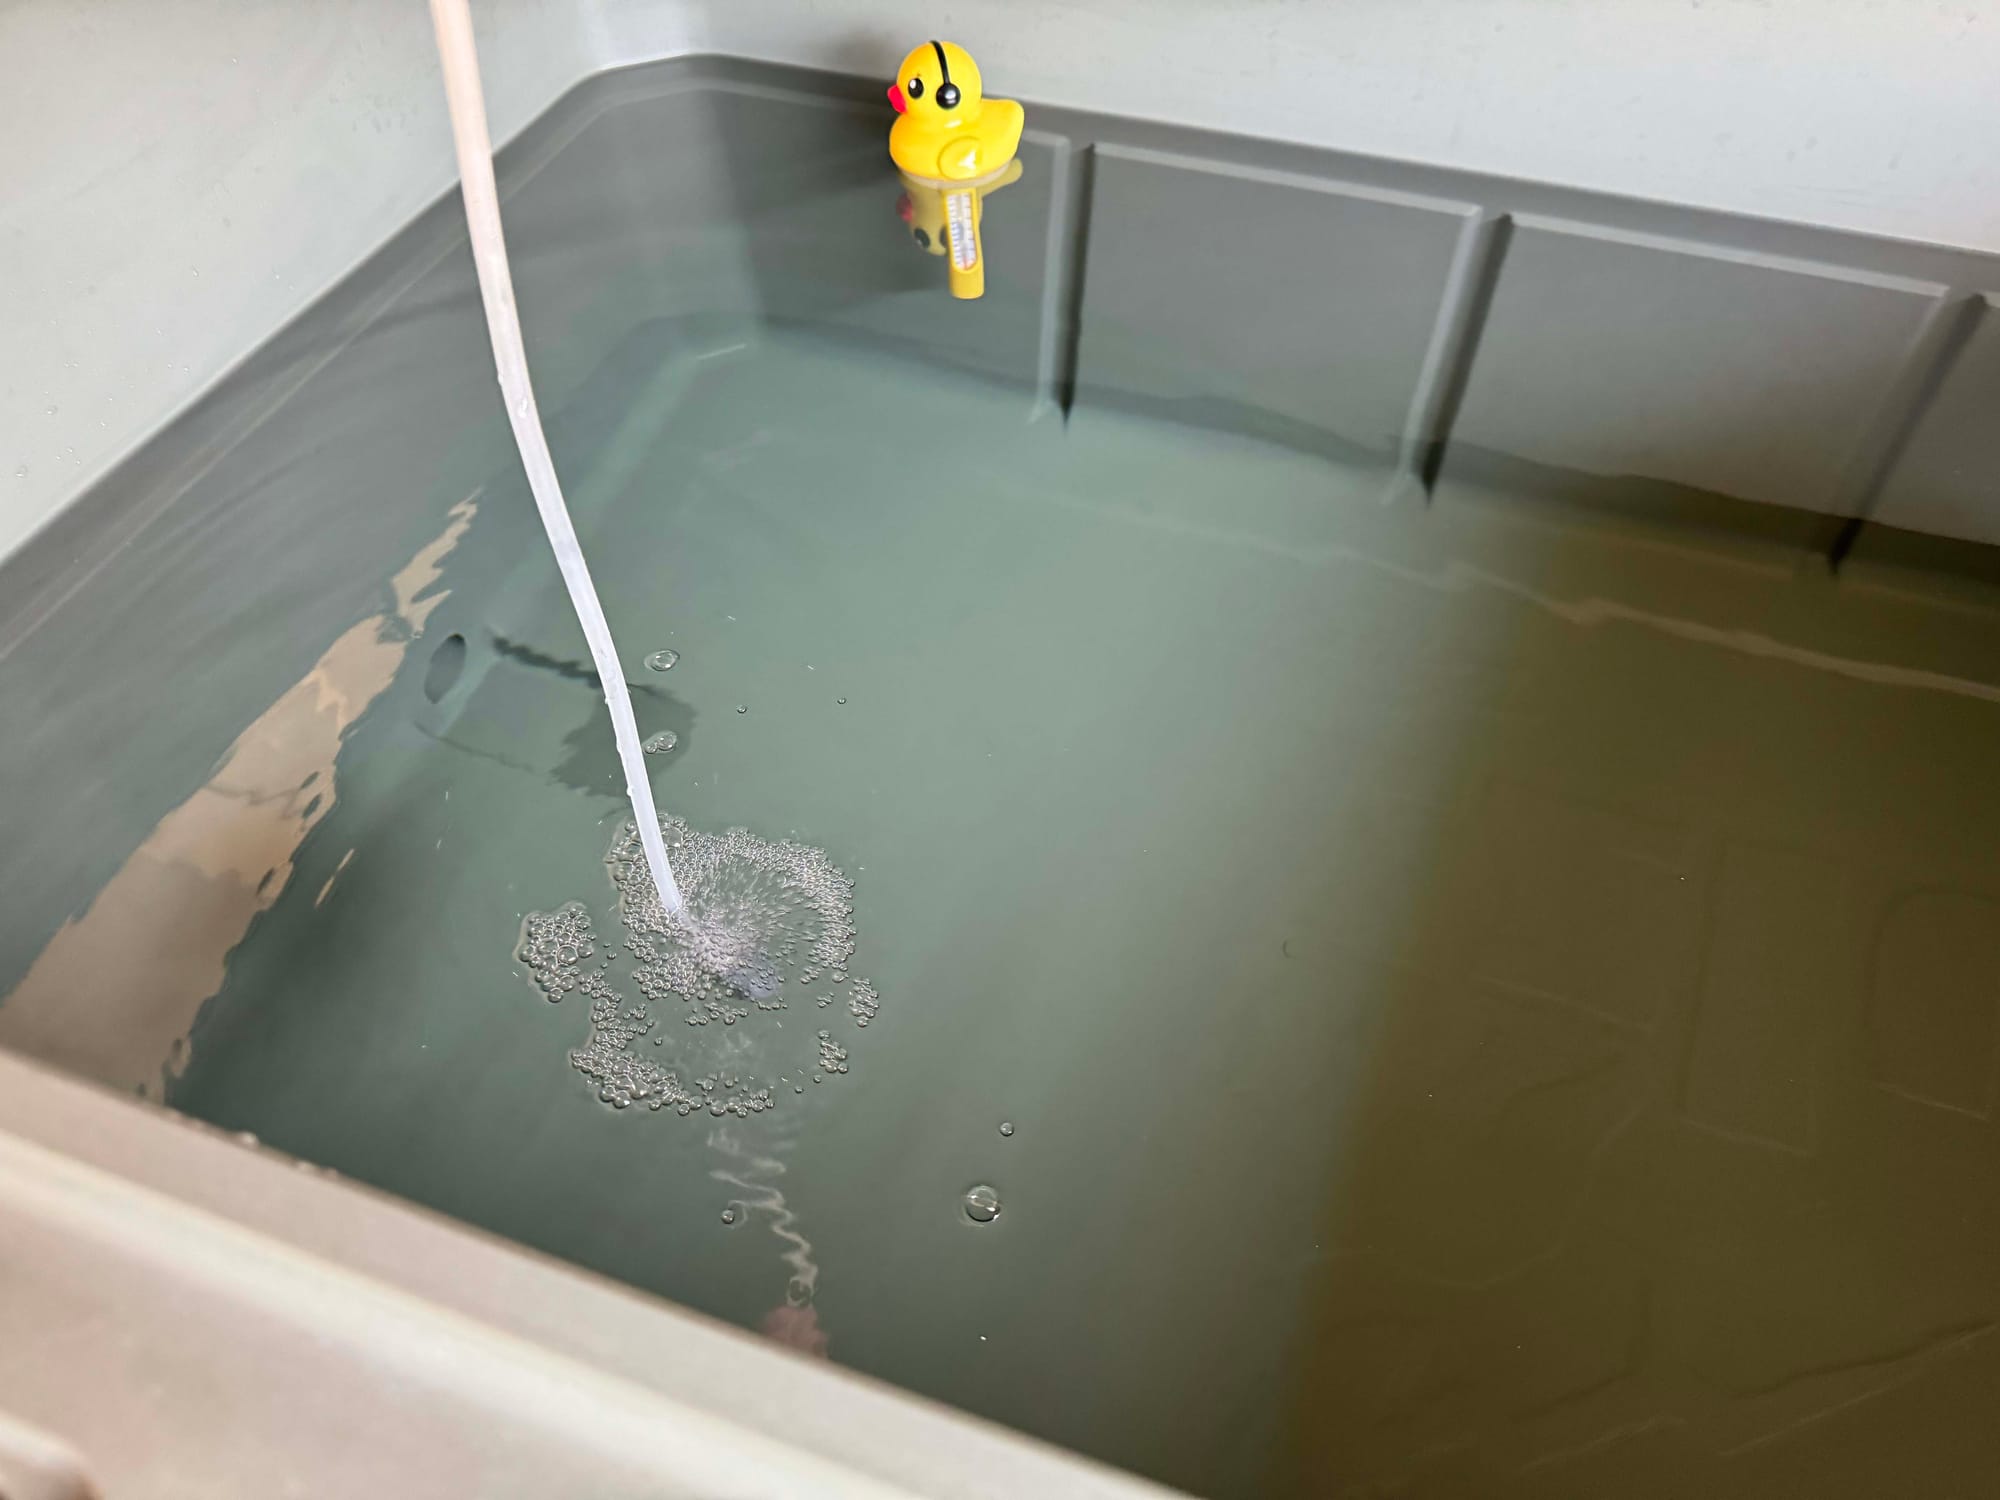
I decided to go with an external Ozone Generator rather than one that was added to the pump loop, and I'm glad I did. I use the cold plunge daily, and I have no issue keeping the water clean. And that's even without the use of the Ozone Generator. Basically, I just make sure I'm clean when I get in, and I'll use a pool skimmer occasionally for hair or debris on the surface. And I keep it closed when it isn't in use. That's like 90% of keeping it clean.
I've got the cold plunge in a spot where it isn't a hassle to drain and refill, so I'm not too concerned with optimizing the time between drain/refills. At the time of writing this, I have had it for about 3 months. The first drain was about a month in so that I could address the condensate issues and change some fittings. In that month, I used the Ozone generator three times. It works by just plugging it in the wall, setting it to the water setting, and dropping the little bubbler into the water. It can be set on a timer for up to 2 hours and left until it is complete. It's important to leave the area while it is doing its thing because the ozone can be harmful to your respiratory system if inhaled. You're supposed to wait like 15 minutes after running it before you get in the cold plunge, but I jumped in immediately after removing it, and I didn't die. YMMV
Now I'm on the second fill up, and I don't think I've used it once since refilling it. I do keep the pump running 24/7, and I let the chiller kick on when it needs to (the chiller is set to keep the temperature within 2 deg of it's set point). I'm sure the constant circulation of water helps keep things from getting nasty.
Condensation Issues
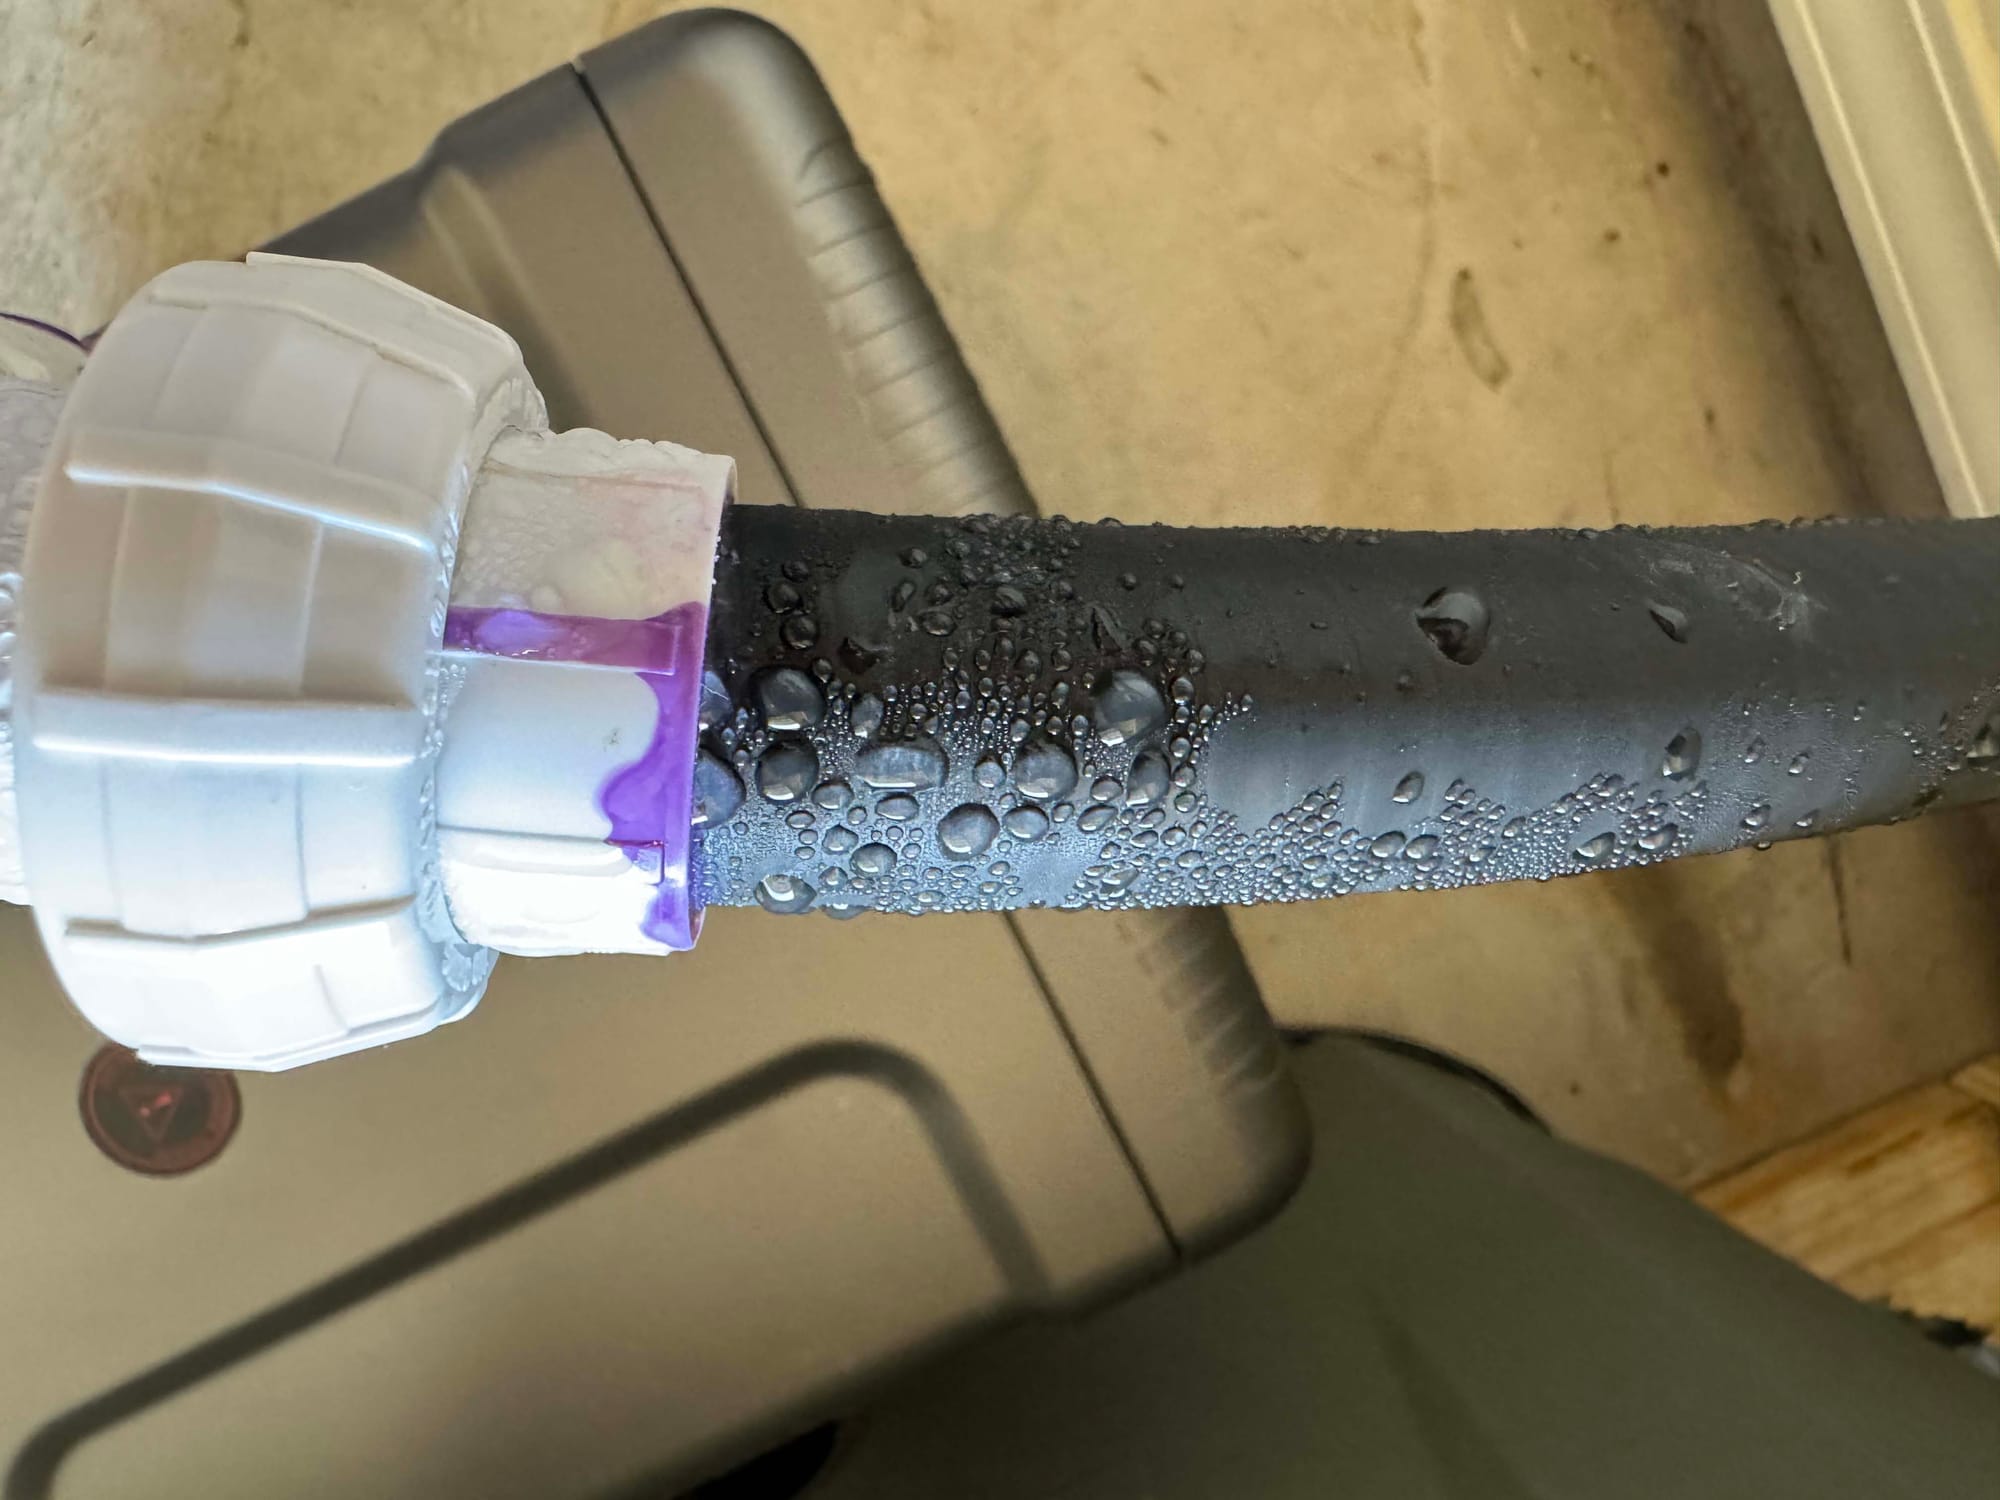
I live in Louisiana, and it is humid as hell down here. When that humid air hits these cool line, the water just condenses out of the air and beads up all over the place. I neglected it for about a full month before I found the time and energy to drain the cold plunge and address the issue.
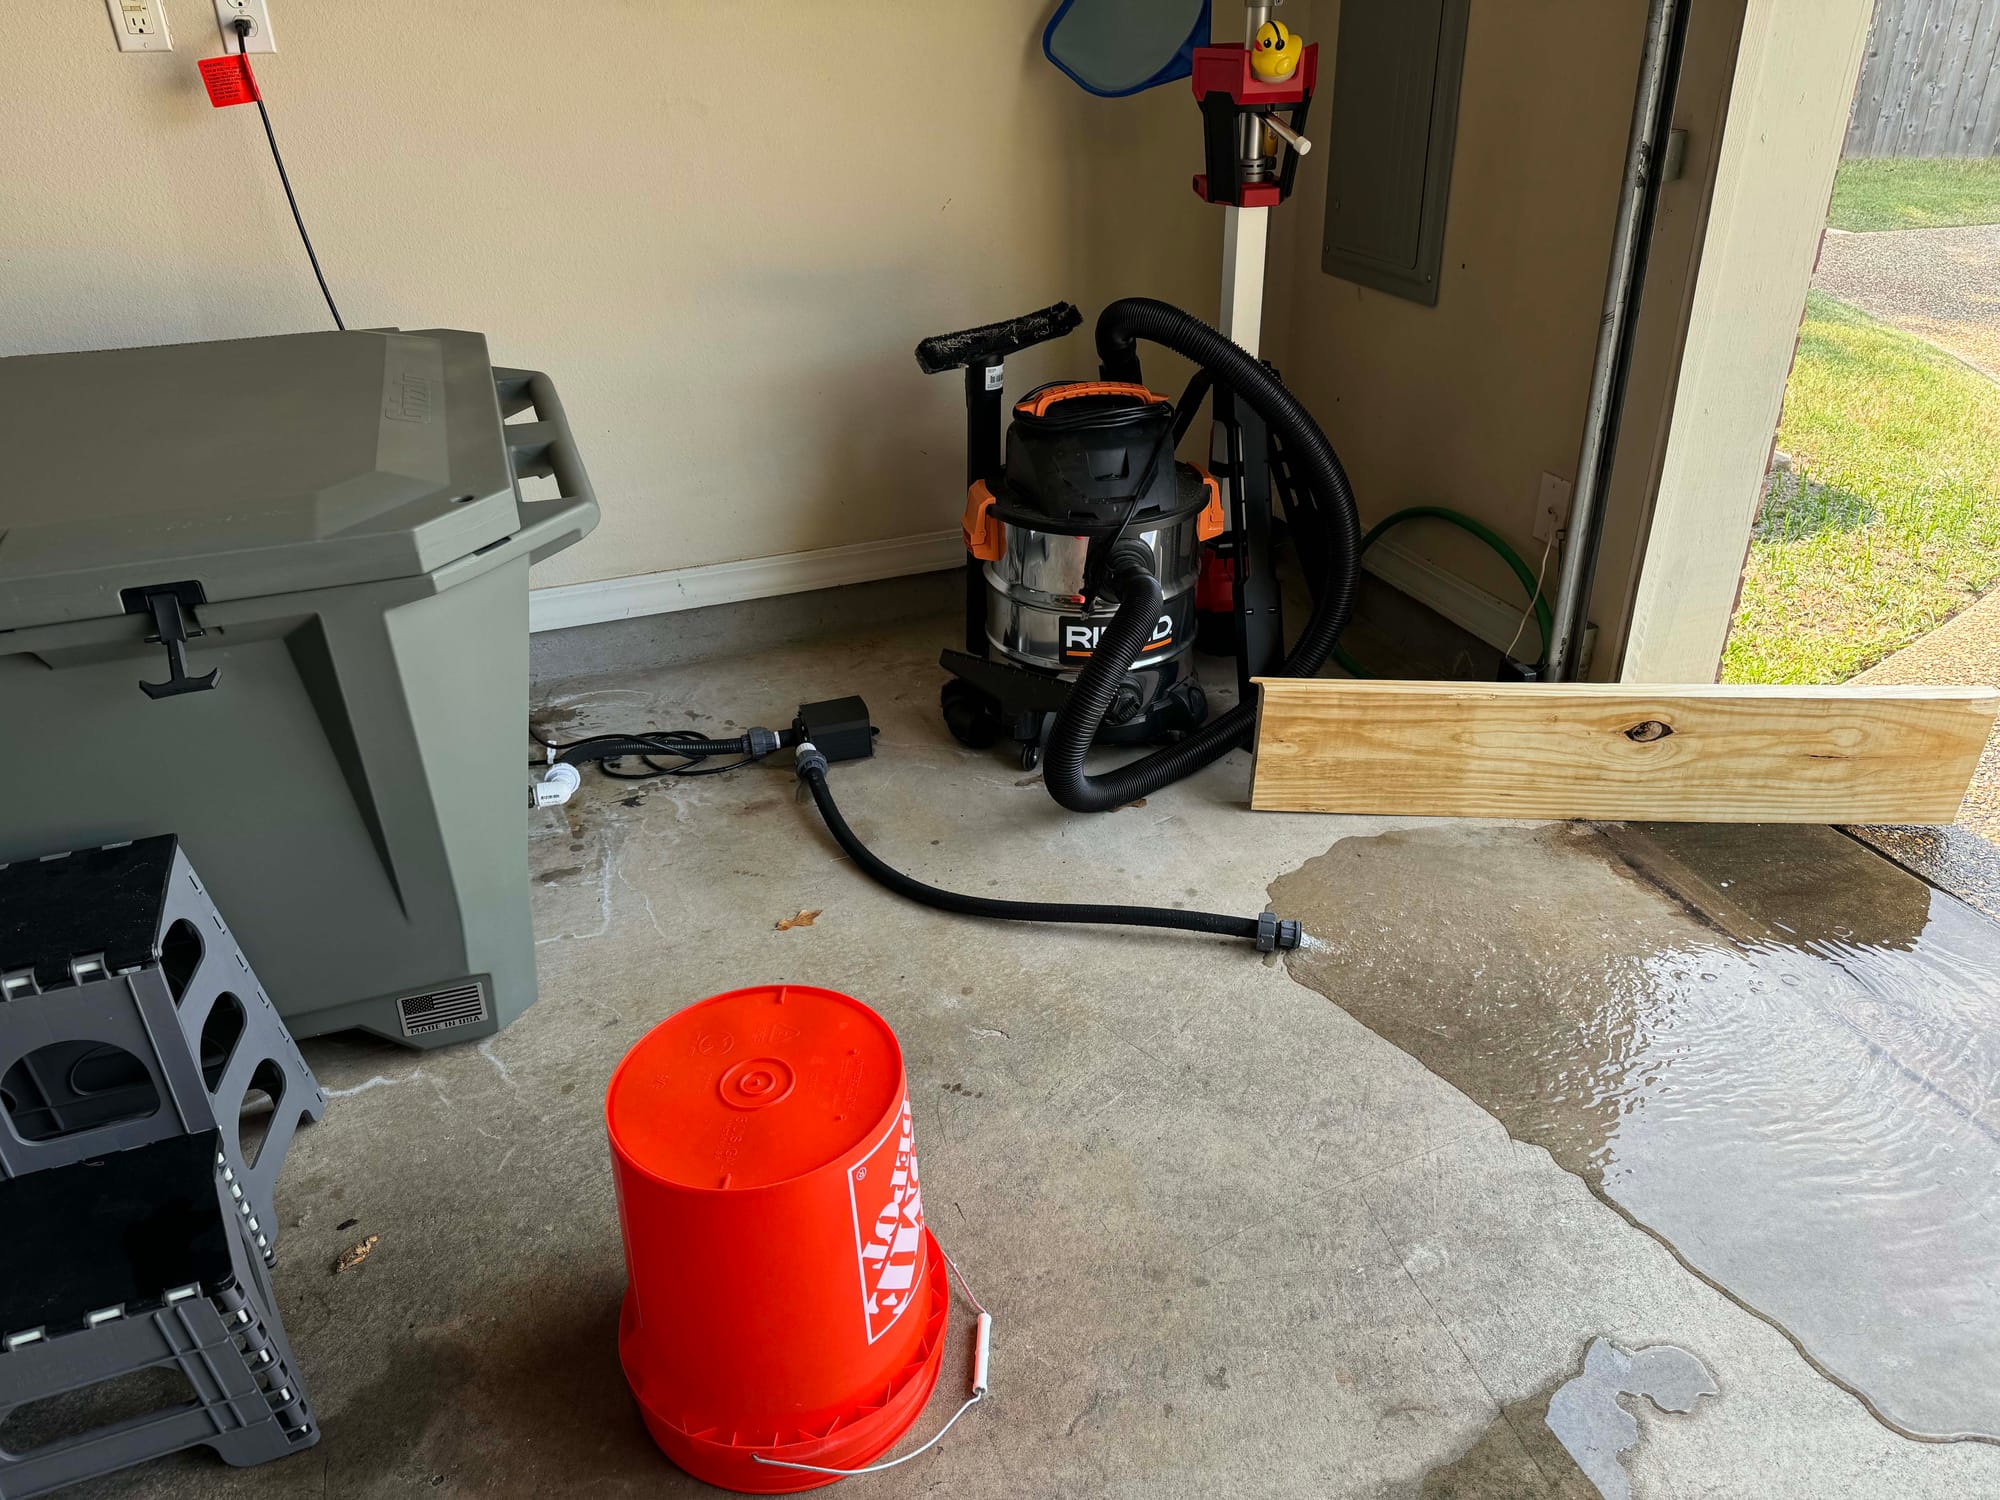
To drain the cold plunge, I just disconnected the line on the outlet of the pump and pointed it out the garage. At about the same time I was taking the picture of it draining that can be seen below, I heard the pump start to cavitate, and I knew it hadn't been draining long enough for it to be empty. After immediately unplugging the pump, I realized my mistake. I had the lid closed and pulled a vacuum on the cooler as I was draining it. I had a pretty good time trying to pry it back open.
Once I had it drained, I moved everything and cleaned up the mold and water spots that had formed under the cooler. I was adding in the elbow on the Inlet side of the cooler so I went ahead and took care of that. At that point, I had all the hoses disconnected so I could put the insulation on them easily. I moved everything back in place and piped it all back up and filled it up.
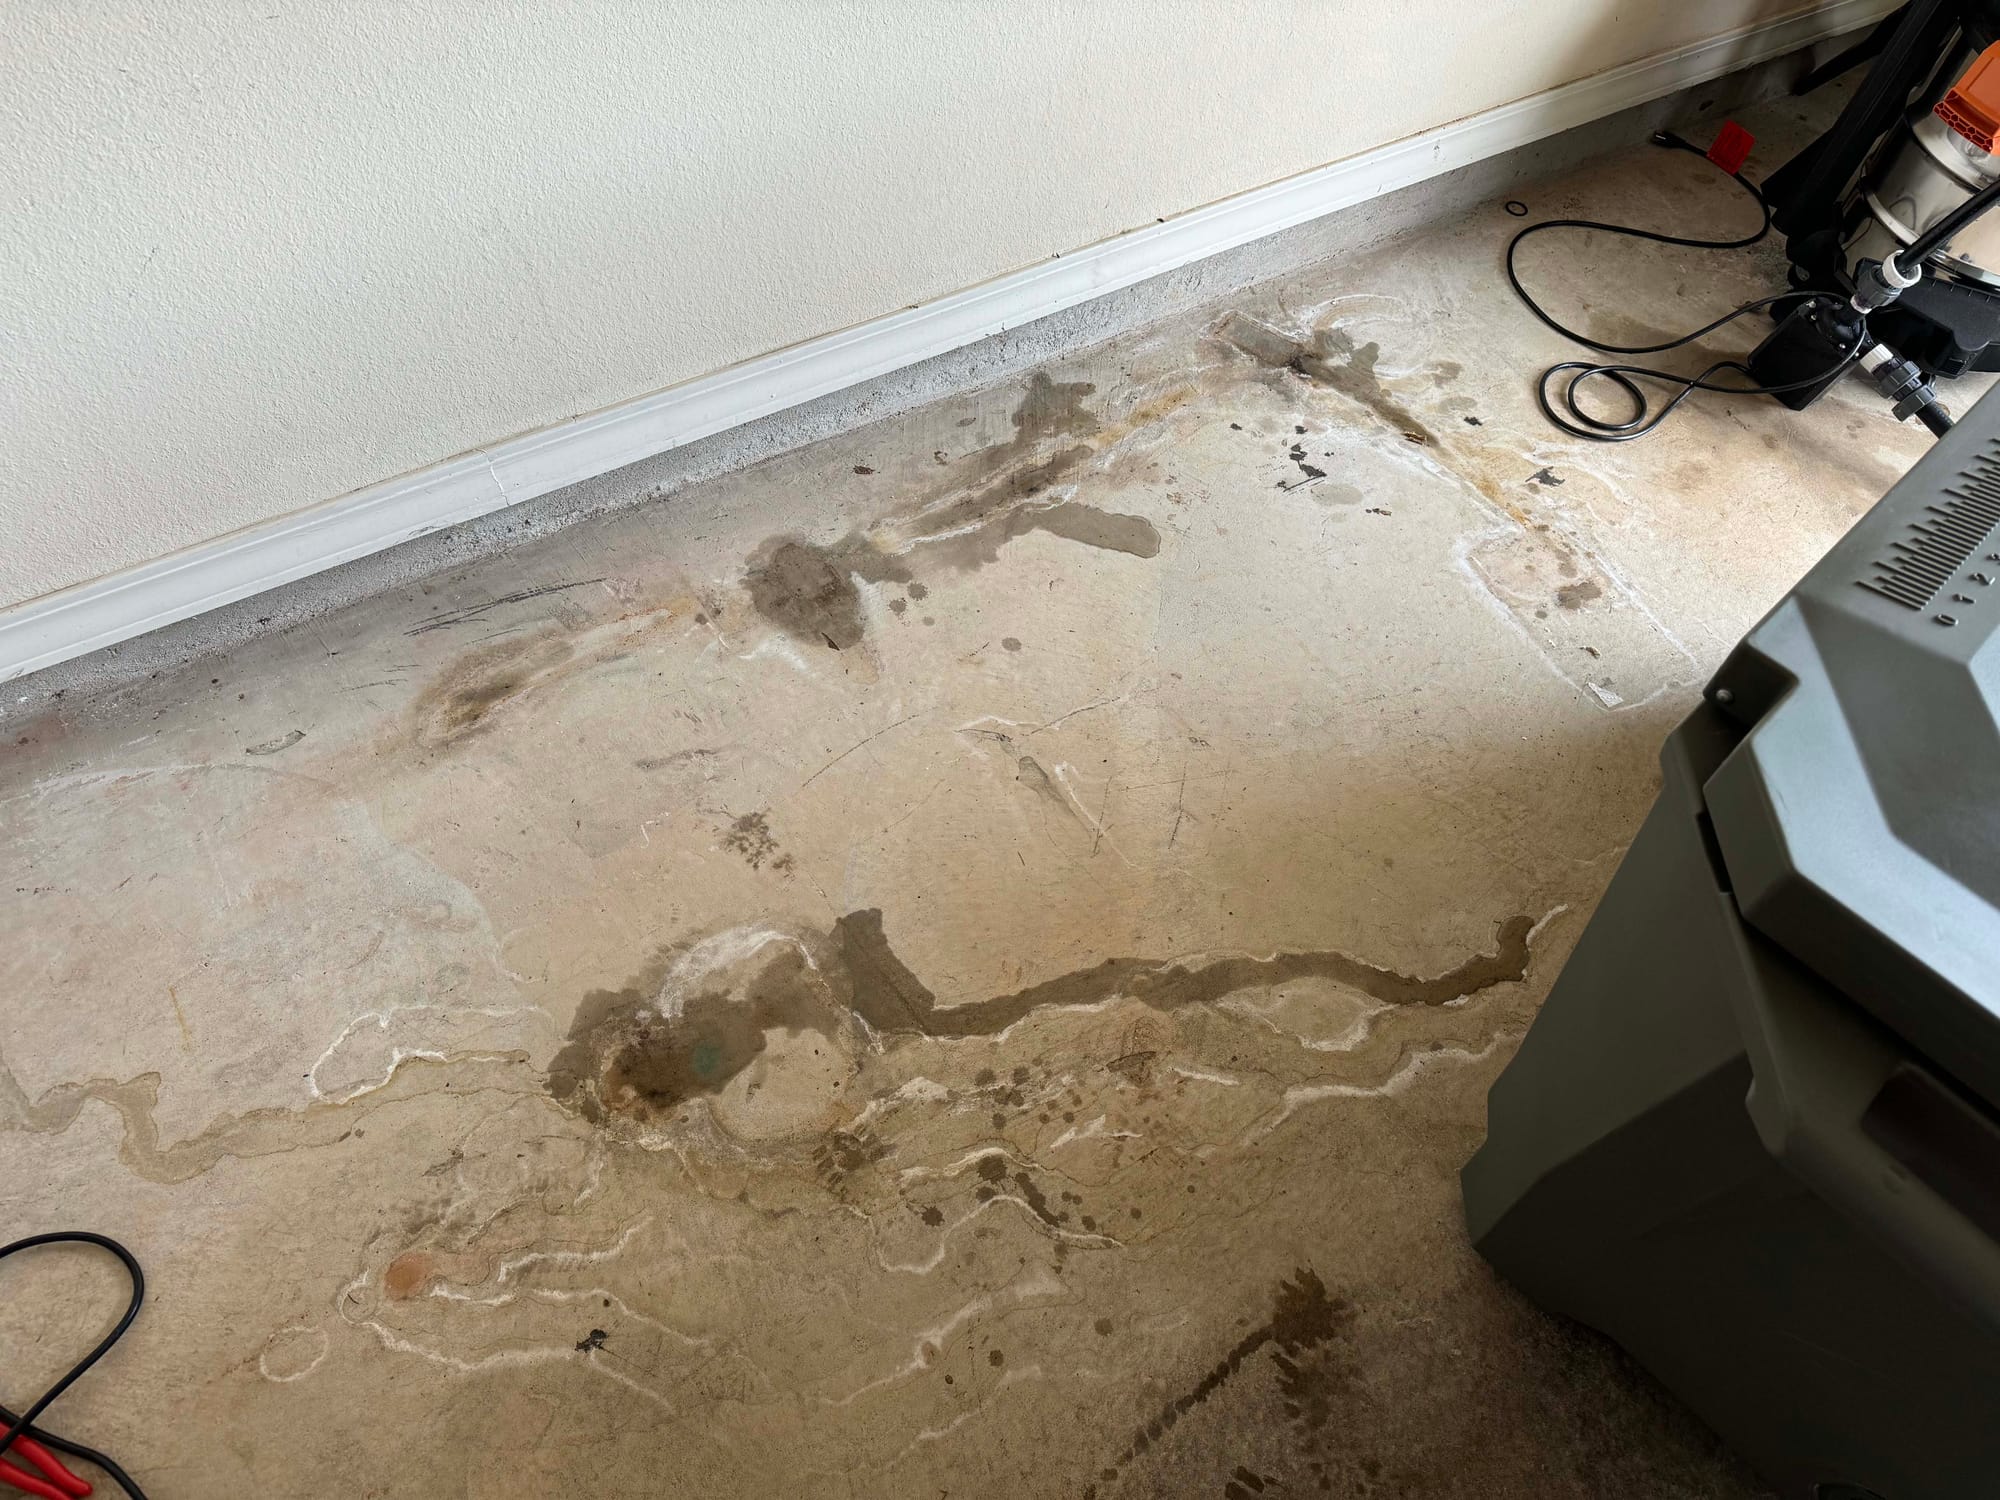
I left it like that for a day or two, and it really solved the problem of sweating on the hoses. It completely eliminated the problem of sweating everywhere except for the exposed filter housing. But I didn't really want to cover the clear filter housing with insulation.
I got to brain storming and thought of using a drain basin, which are typically used to pipe rain water from the gutters away from you house. I hopped on amazon and found a drain basin that had promising dimensions. It has been working great so far. There isn't any water buildup under the filter anymore. However, now it is piped out of the way and there is some accumulation along the bottom of my garage door that I can live with. The sweating has been going down significantly as the weather cools down a little bit.
Conclusion

I'm really happy the way the build turned out. Functionally, it works perfectly. The layout of the pump loop is very efficient, and the use of space is pretty well optimized. The Grizzly 450 naturally sits back away from the wall due to the way the lid opens and the tapered bottom of the design. The filter housing fits nicely in this space even with the homemade filter stand. And since I haven't drilled any holes in the cooler, I can still use it as a cooler or resell it easier I decide to in the future.
I do believe that I could have done better with the fittings. The Frankenstein'd union fittings going from slip fit to threaded added a bit more to the overall cost (8 additional unions). When I was starting this project, I was a little intimidated by priming and gluing the slip fits, so that played a pretty big role in deciding to use threaded fits where I could. But in hindsight, the threaded components were a bigger PIA than the slip fits and more prone to leaking too.
Additionally, there are a lot of inefficiencies with the chiller connections. There has to be a fitting that just goes from 1-1/4 in MPT to 3/4 in MPT. I just couldn't find one locally. However, the tall monstrosity turned out to be a net positive. The added height allowed for the chiller to be positioned closer to the cooler and allowed the flexible PVC to be routed easier to the cooler inlet.
Since building this thing, I have used it daily. I can tell you one thing. It sucks every single time. Sometimes it sucks more sometimes it sucks a little less. People say that it is good A or good for B, but the one thing that it is certainly good for is getting used to doing things that are hard. It absolutely makes a difference when doing hard things in life. It is like you are strengthening a muscle that you can use to take that first step in a difficult situation. You kind gain this ability to just turn off that voice in your head that is telling you not to do something because it is hard and just do it. It translates well to things like pushing through that hard workout, having that difficult conversation, or just starting on that project you've been putting off. That alone is worth it for me.
But there are some other little benefits I have noticed. The immediate response is pretty good. You feel alert and accomplished. It last a couple of hours. I do feel like it is a more grand experience if it has been a few days since your last cold plunge. For example, we went on vacation for a week, and the response from the first cold plunge back was much more intense than normal. It does help to immediately reduce soreness. But the affects do wear off and you could be sore again by the end of the day in my experience. And then there are the medical benefits like increased brown fat and bs like that is unmeasurable for the average person, so we'll just have to take their word for it.
However, the one thing it is undeniably good for is getting better at doing hard things.

